
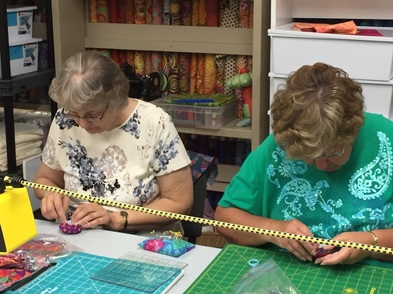
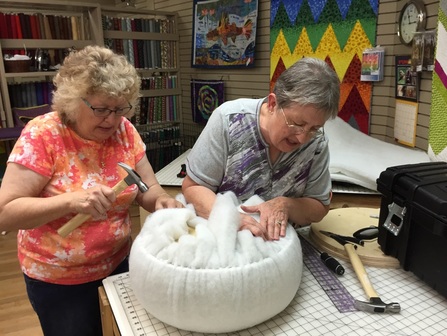
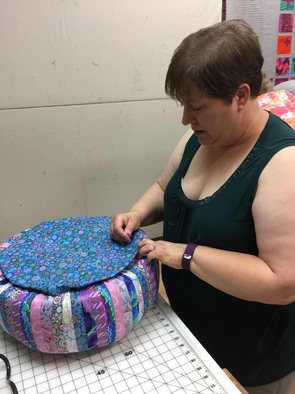
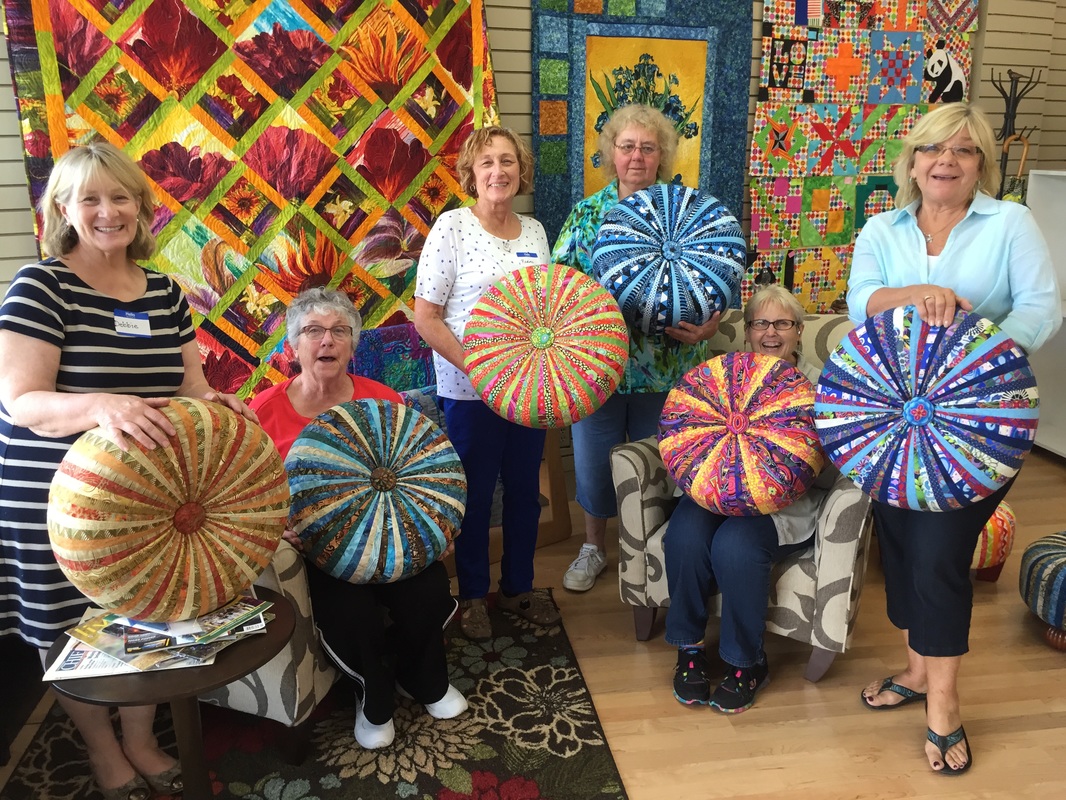
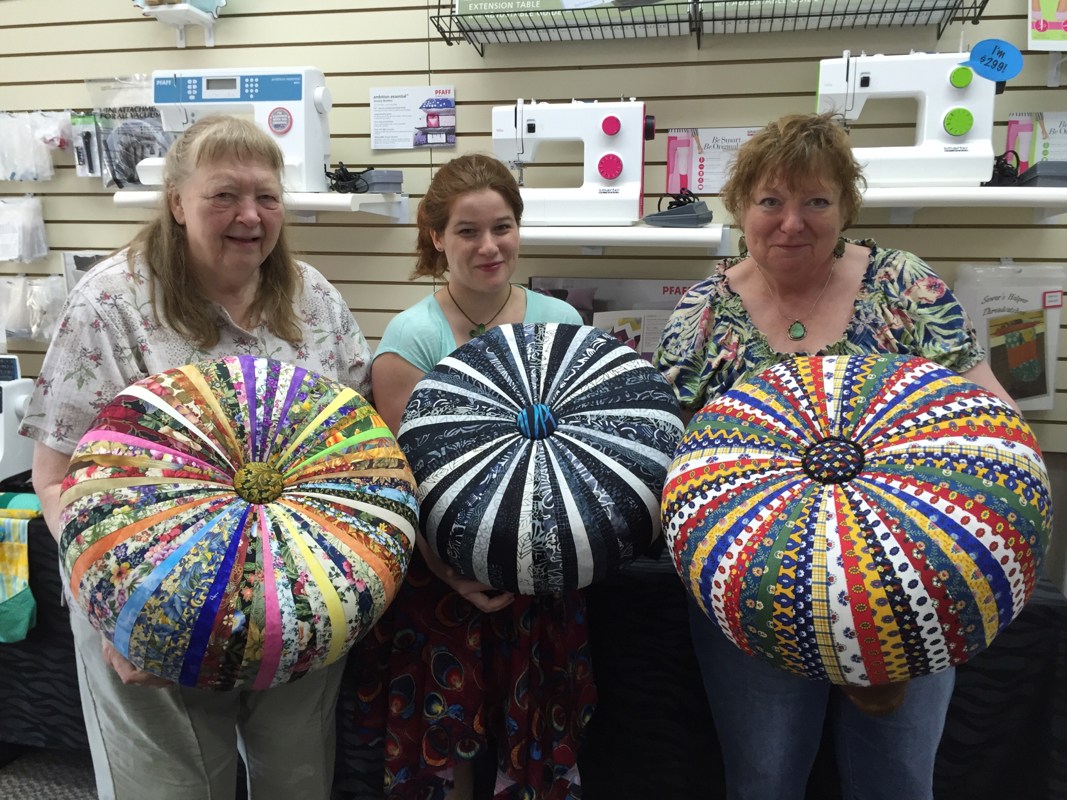
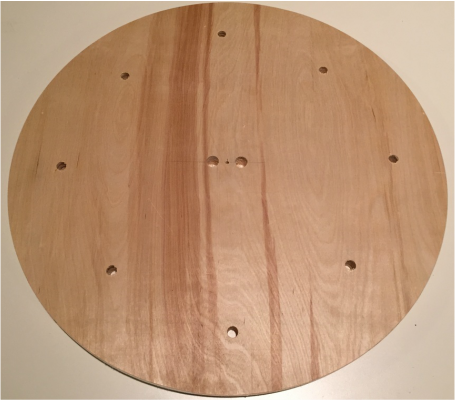
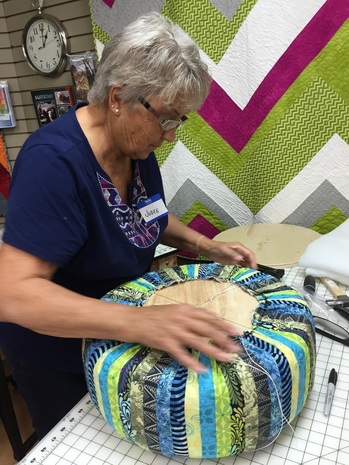
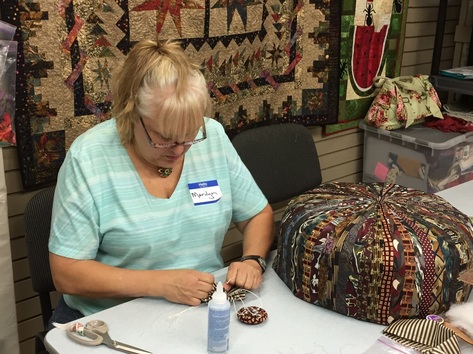
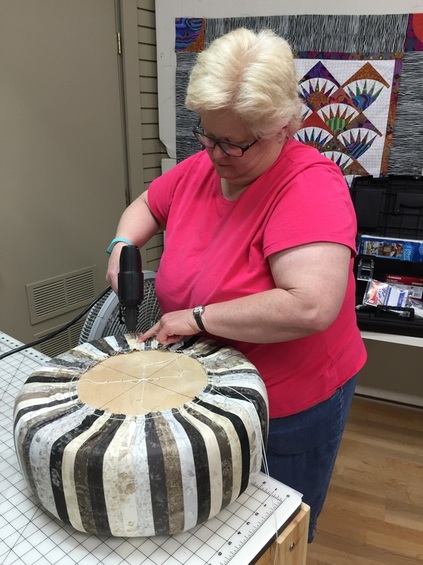
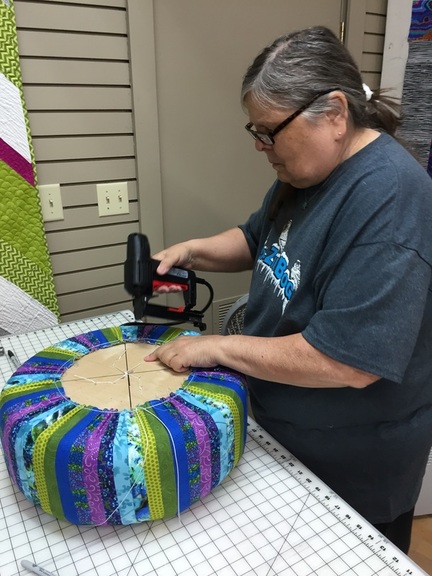
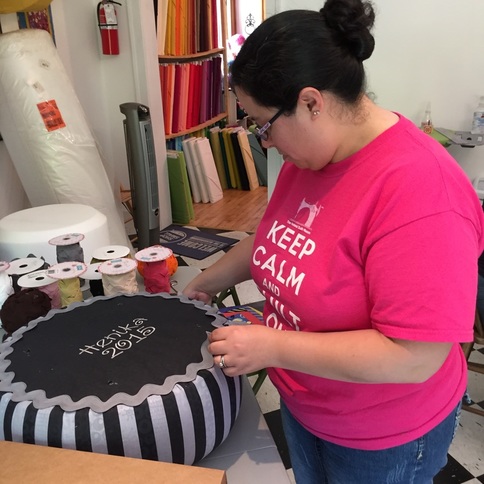
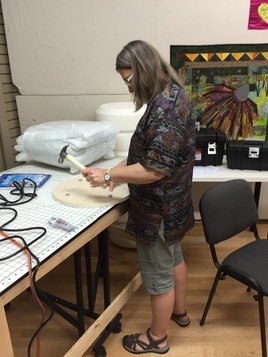
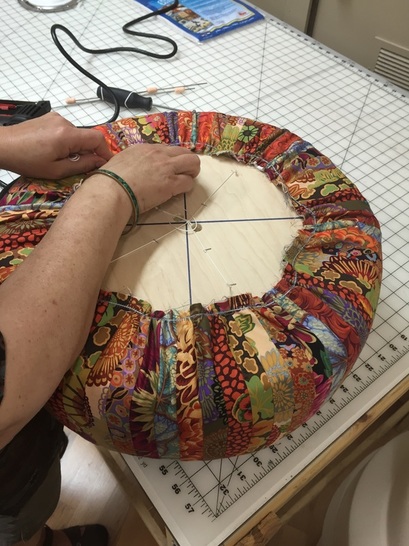
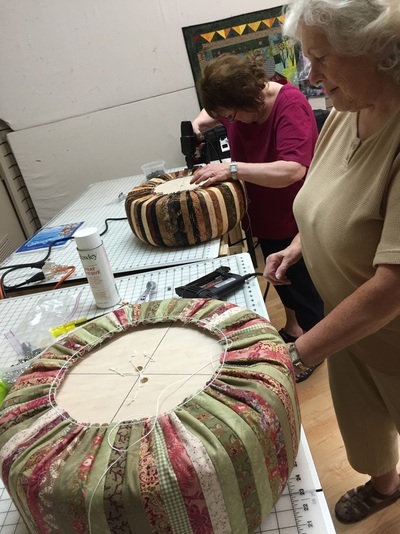
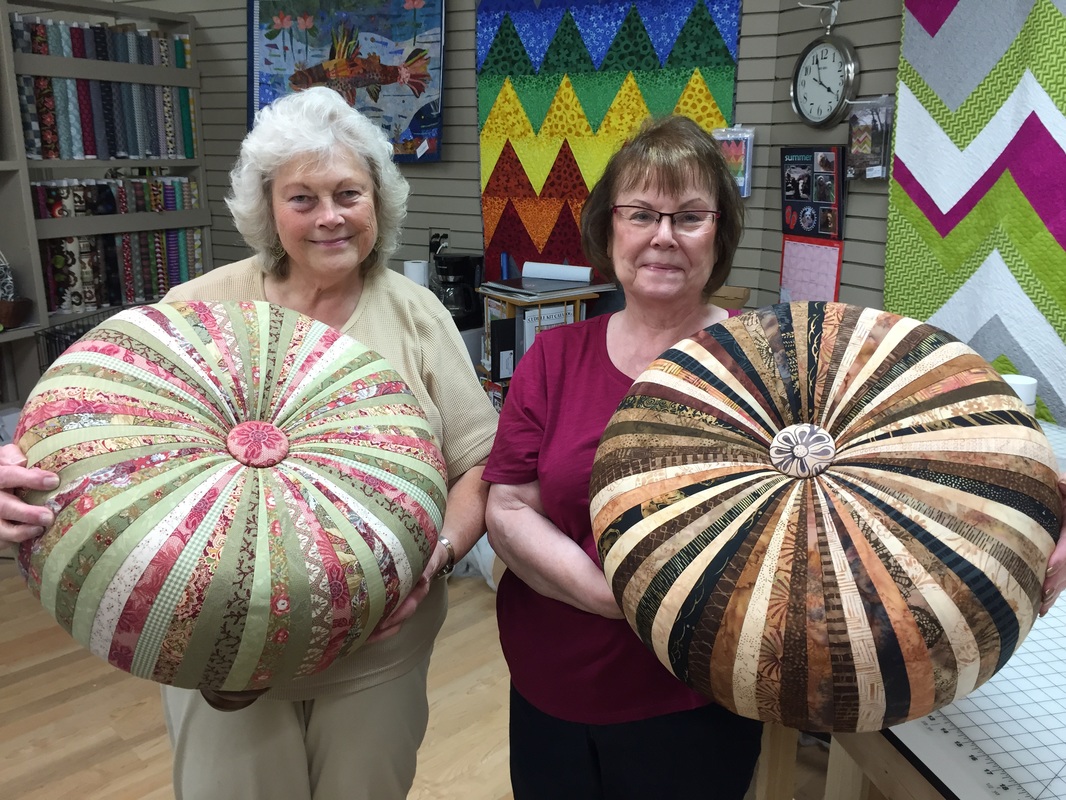
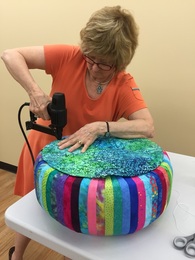
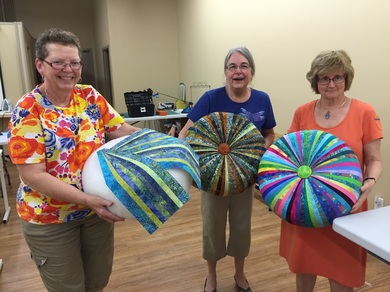
Six lovely ladies finished their tuffets at Quintessential Quilts in Madison Tuesday night. It was, as they say, a dark and stormy night, but their tuffets were bright and fun! And we laughed a lot! Never underestimate the sense of a humor of a woman drilling the button pilot hole on her tuffet. Or making her dimple, for that matter.
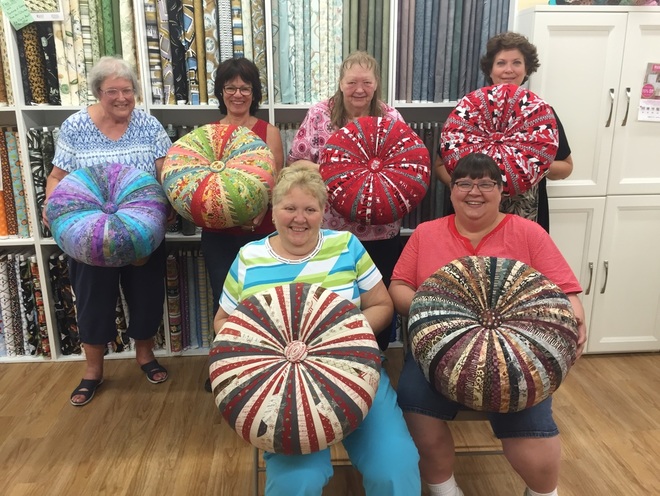
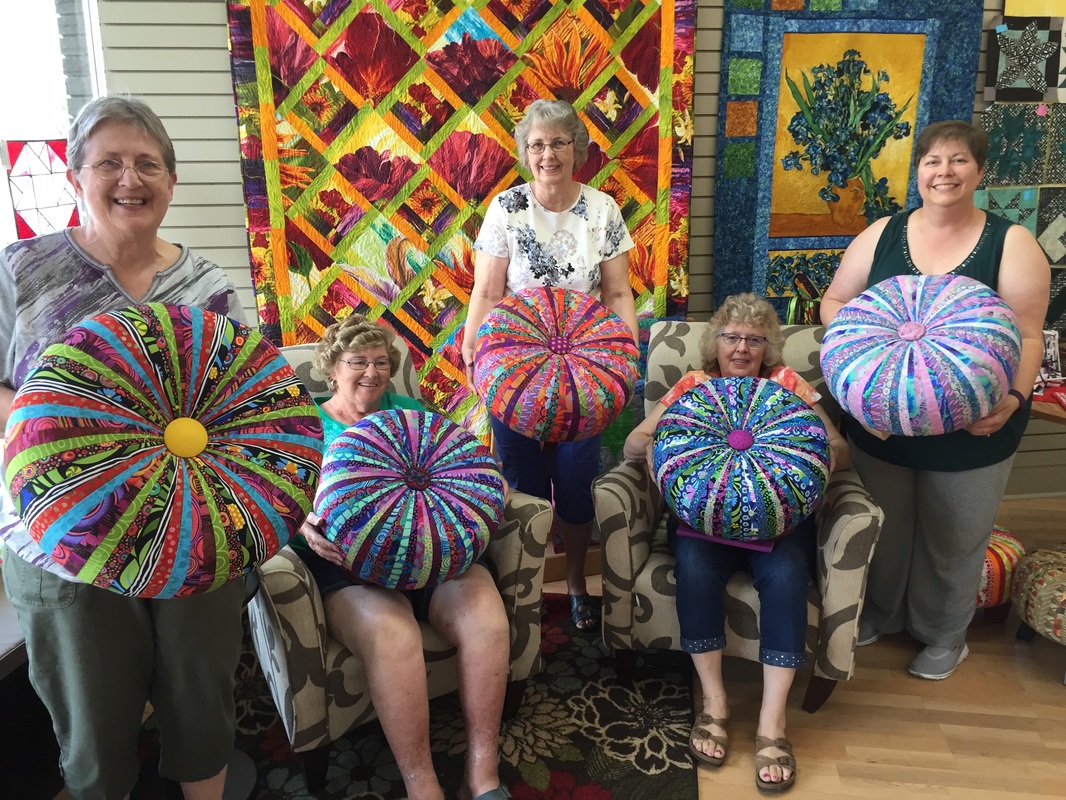
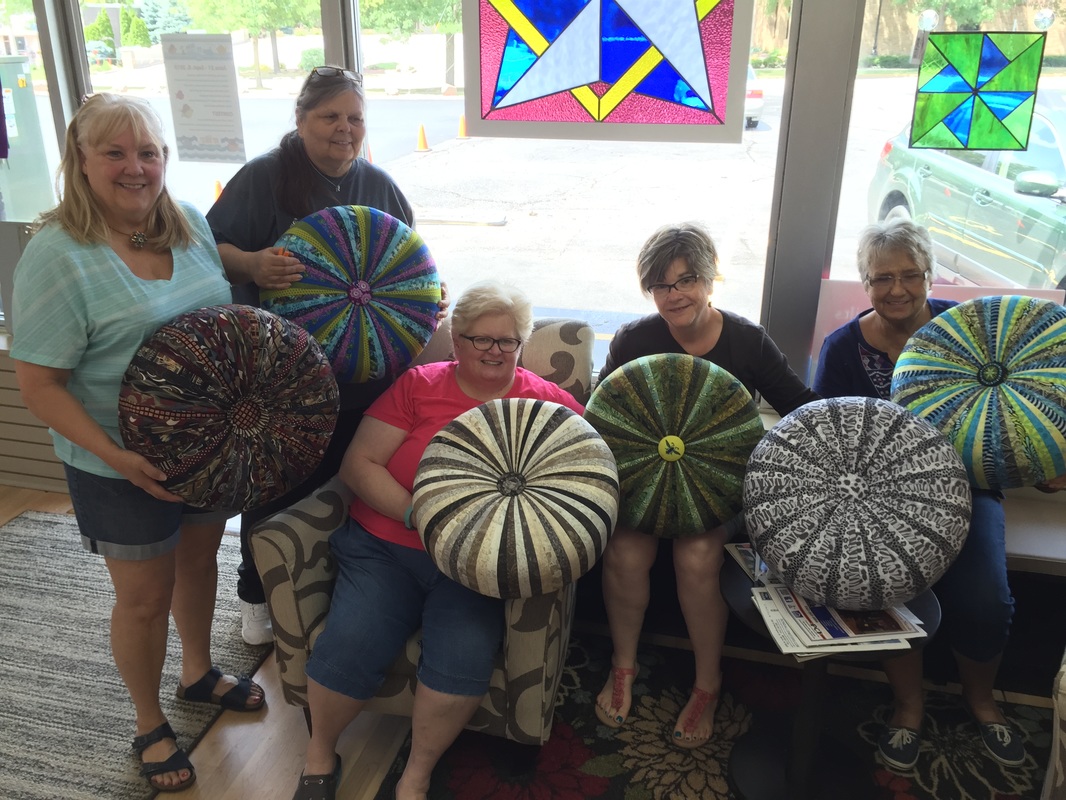
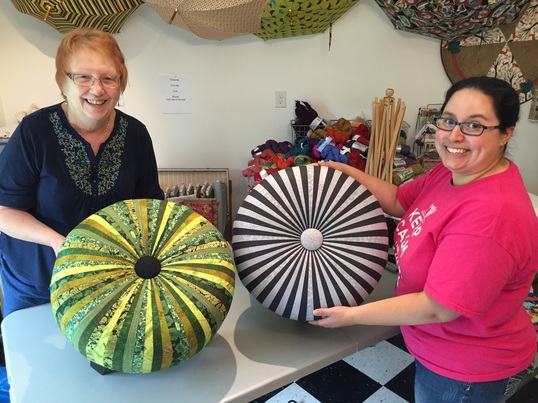
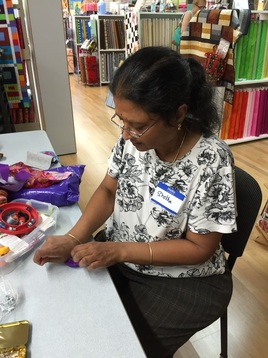
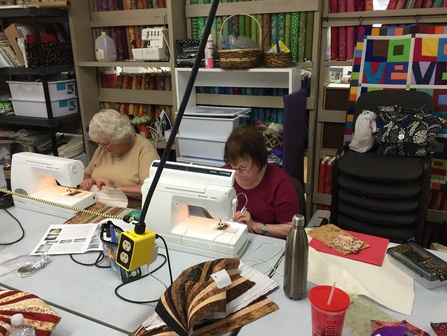
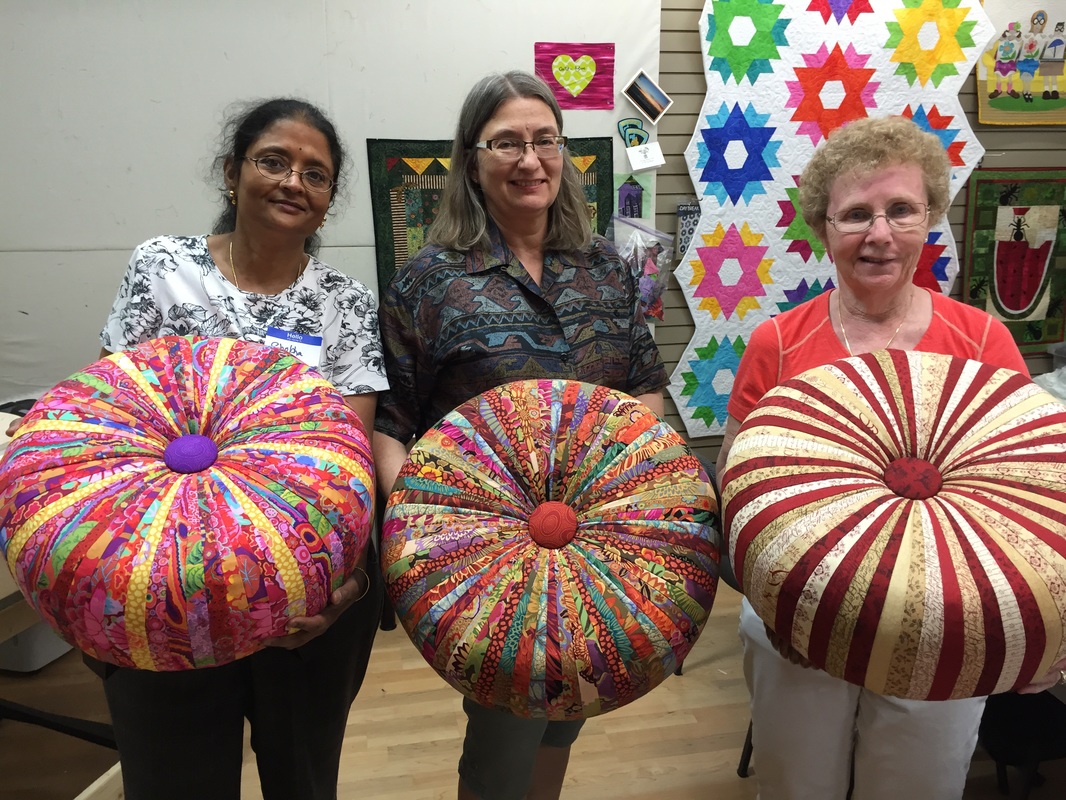
Jane, Deb, Berdeen, Deb, Linda, and Rose Mary all had a blast!
You might notice a theme here.
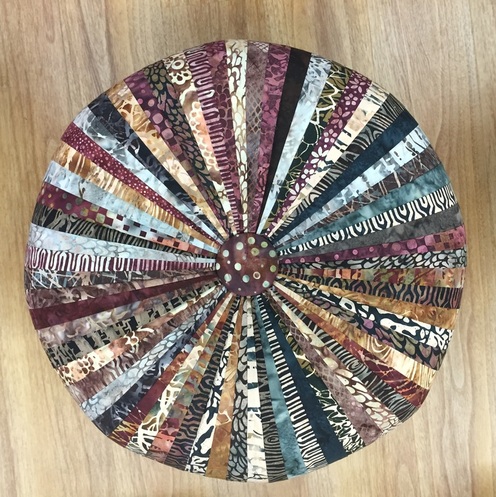
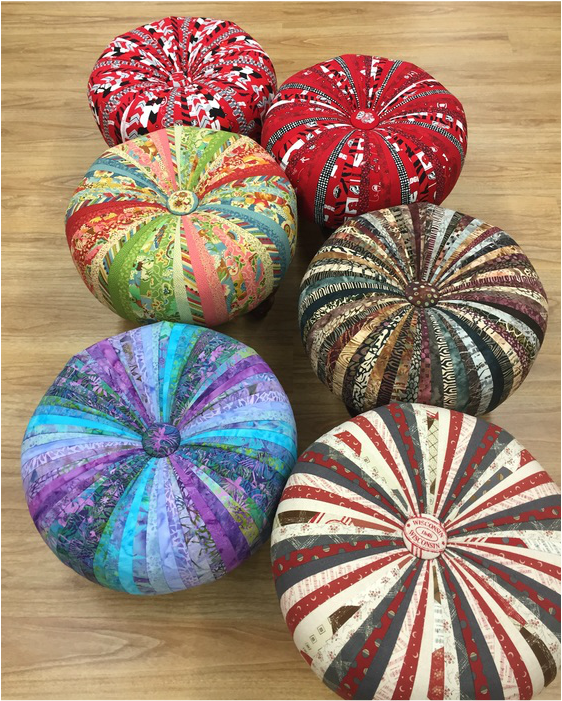
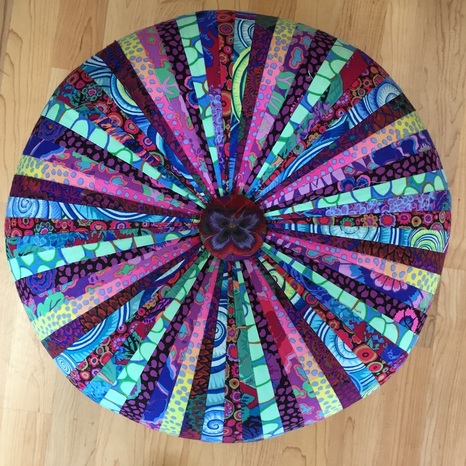
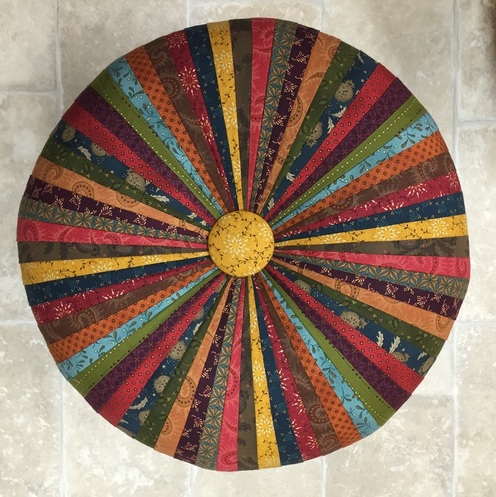
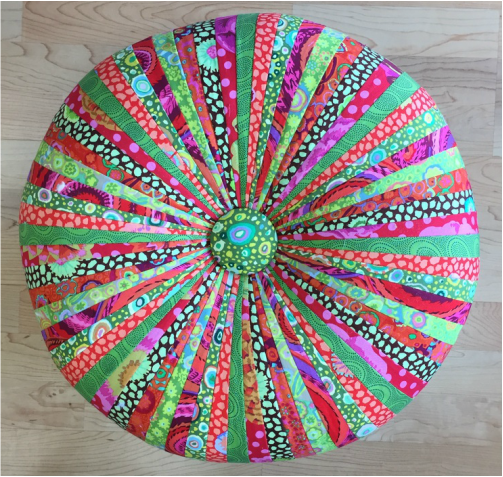
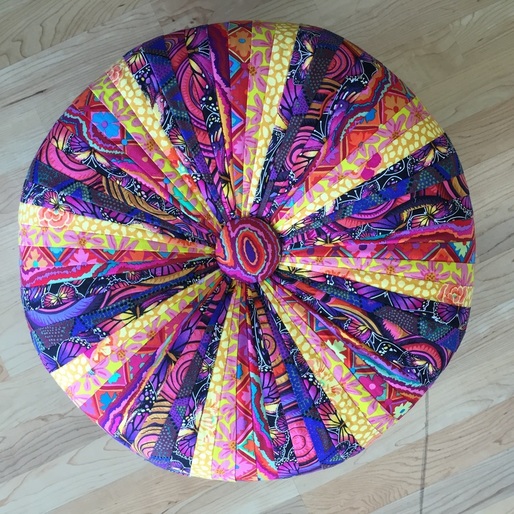
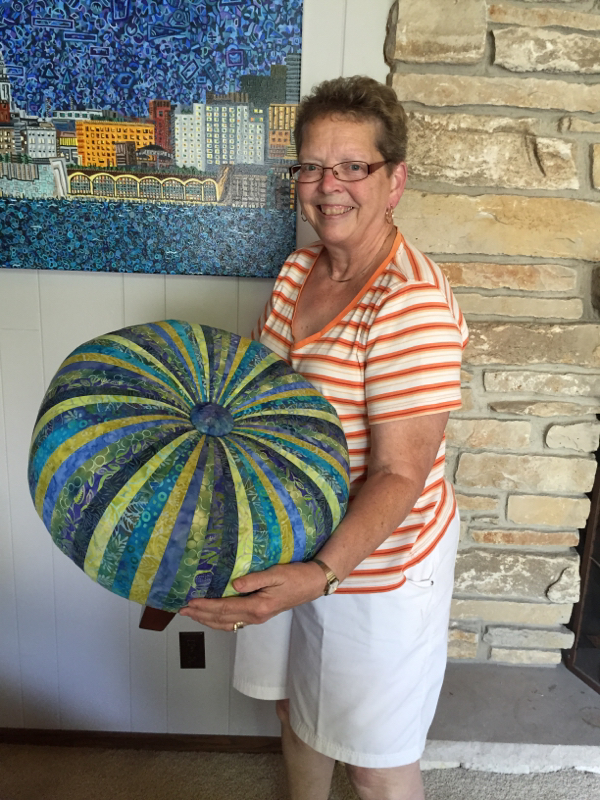
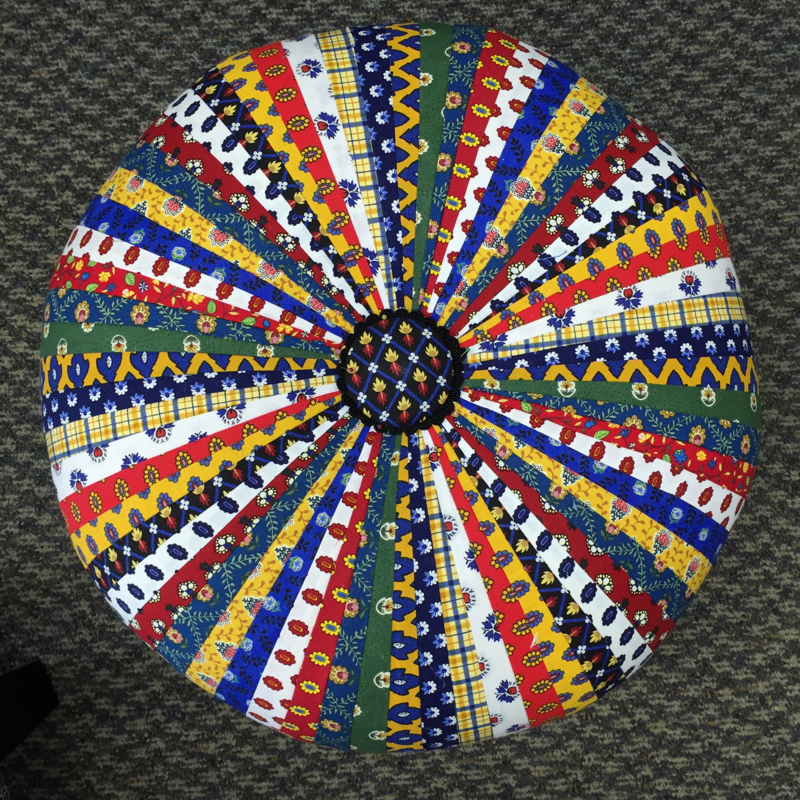
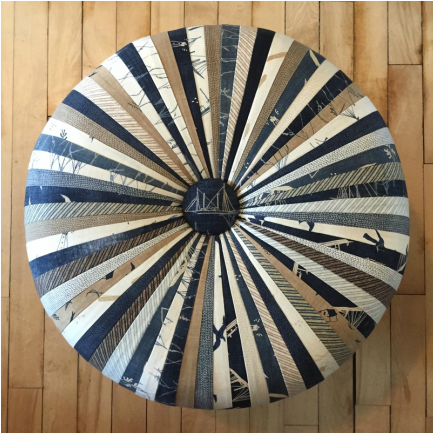
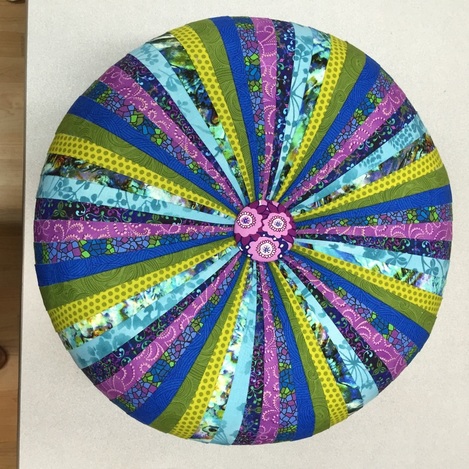
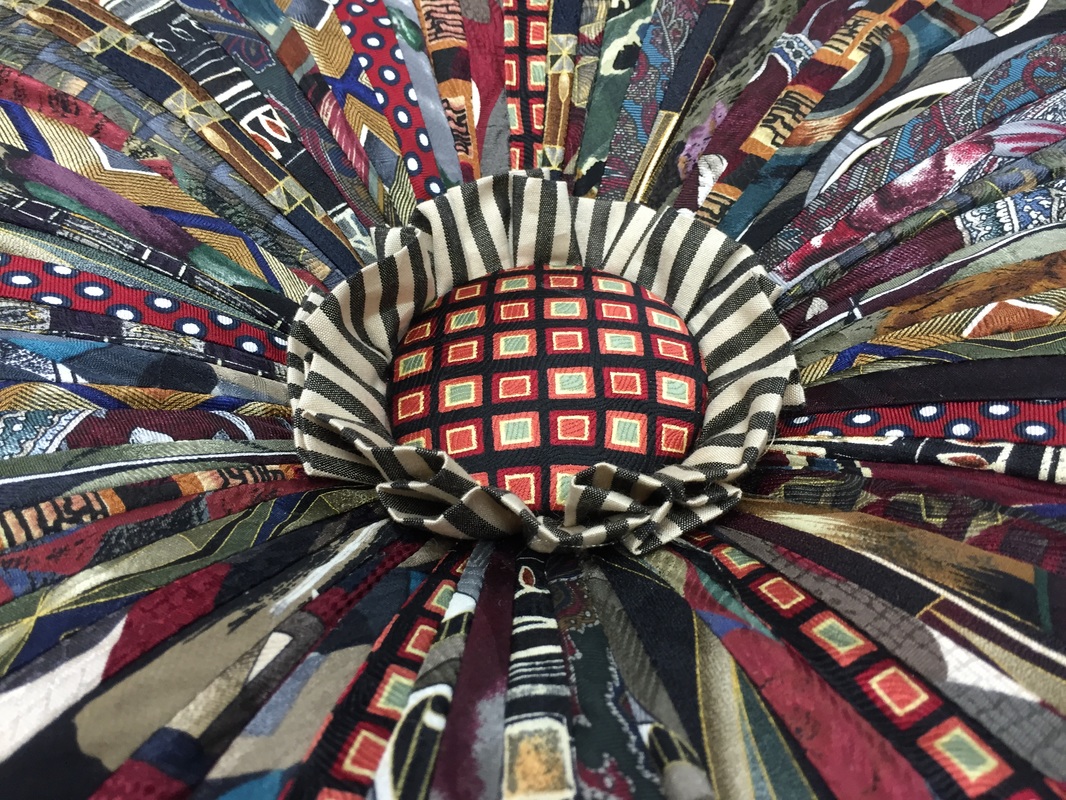
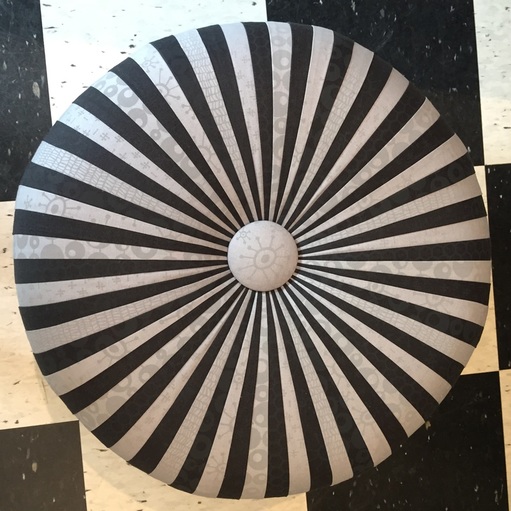
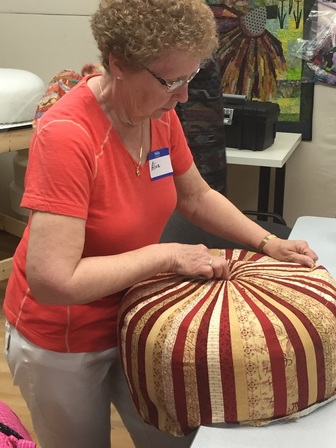
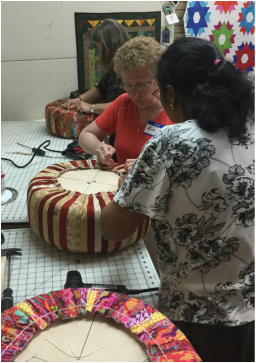
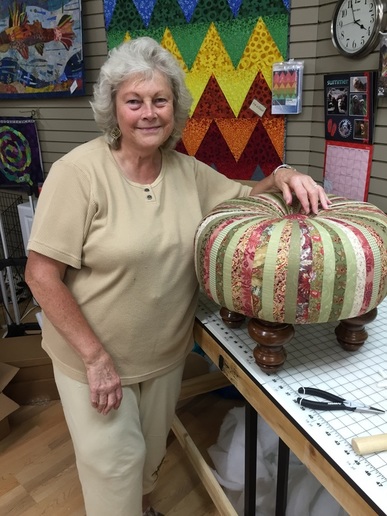
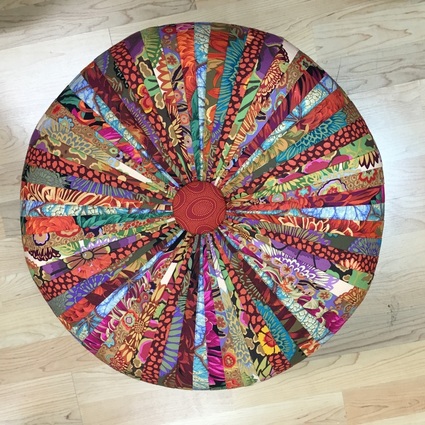
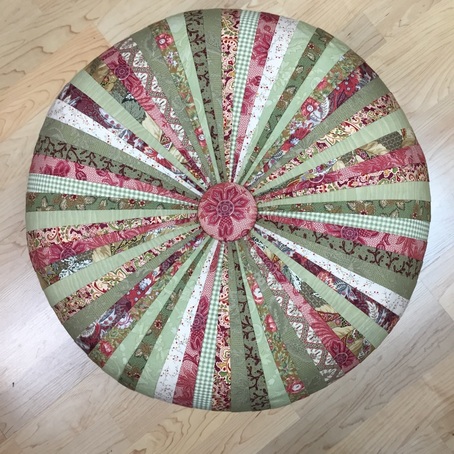
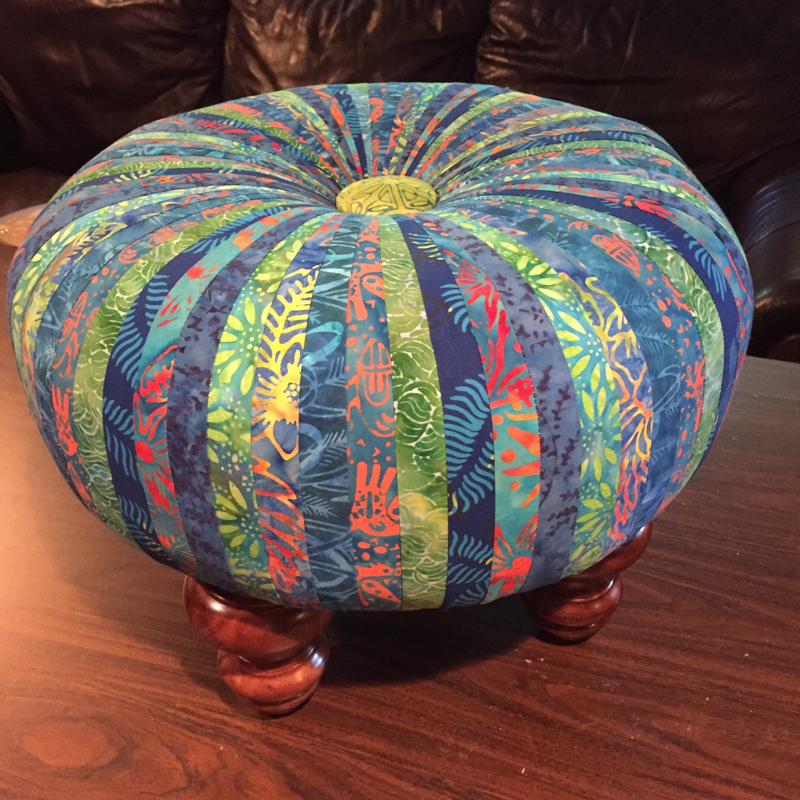
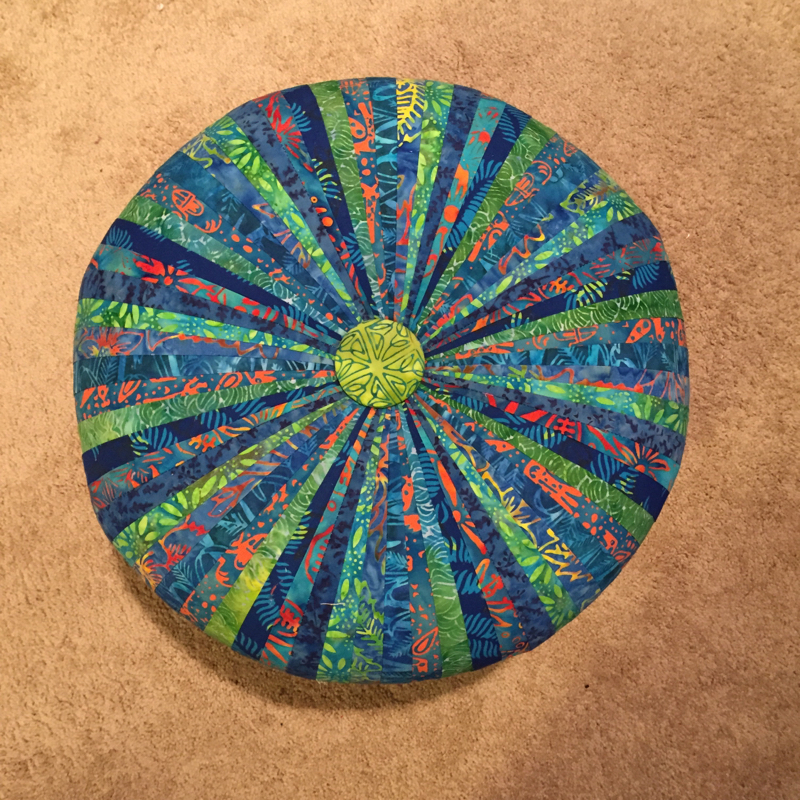
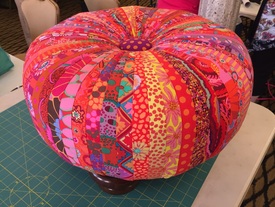
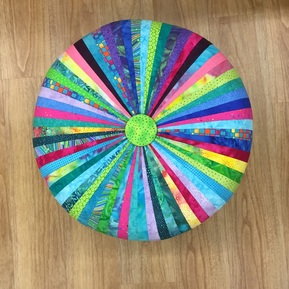
Rose Mary's tuffet. It took a lot of faith for her to trust in the random look. It came out great!
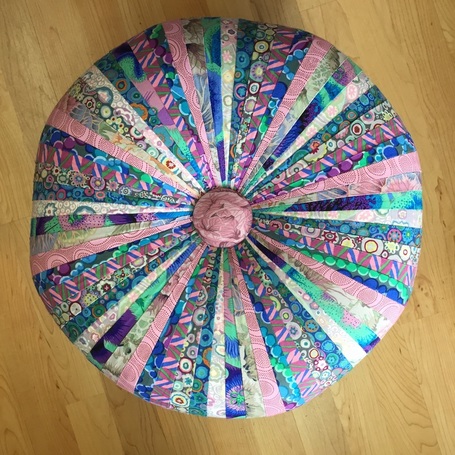
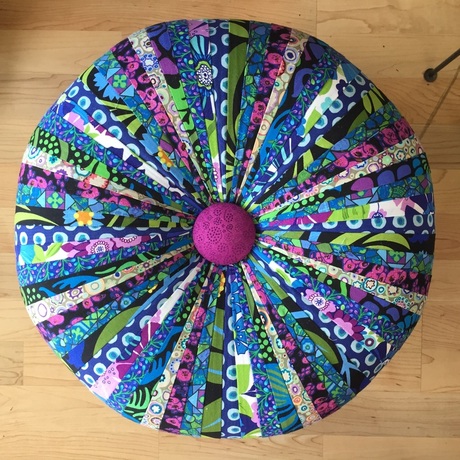
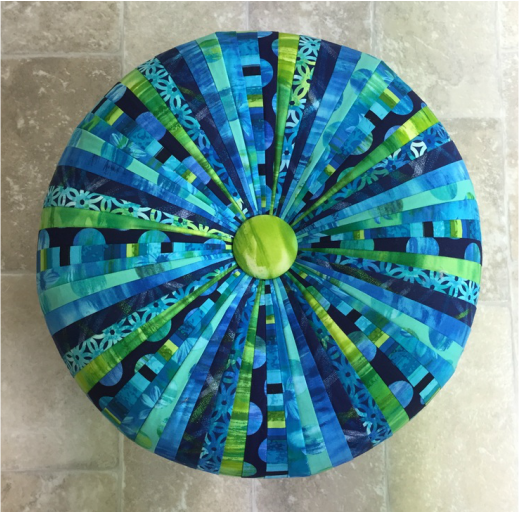
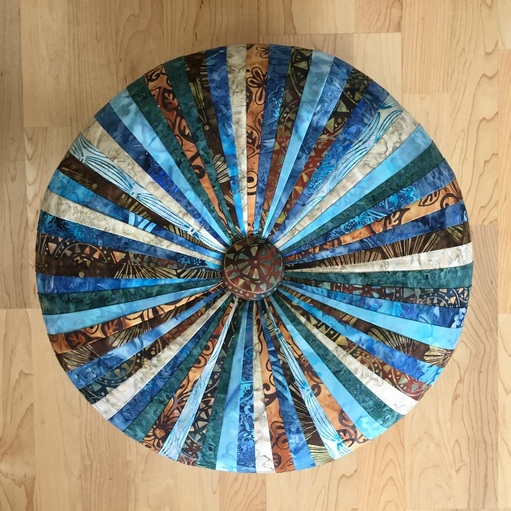
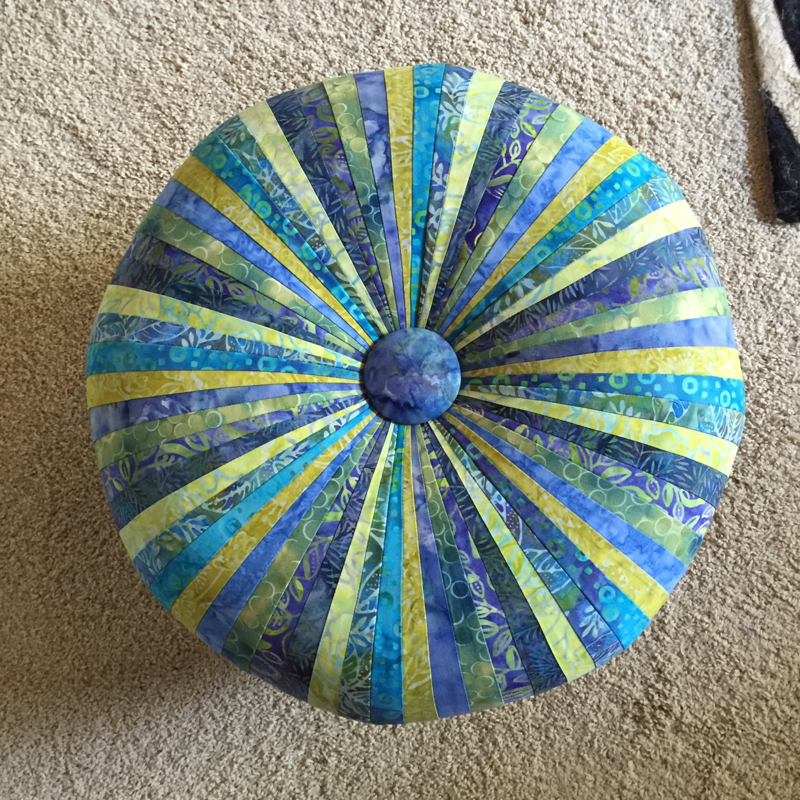
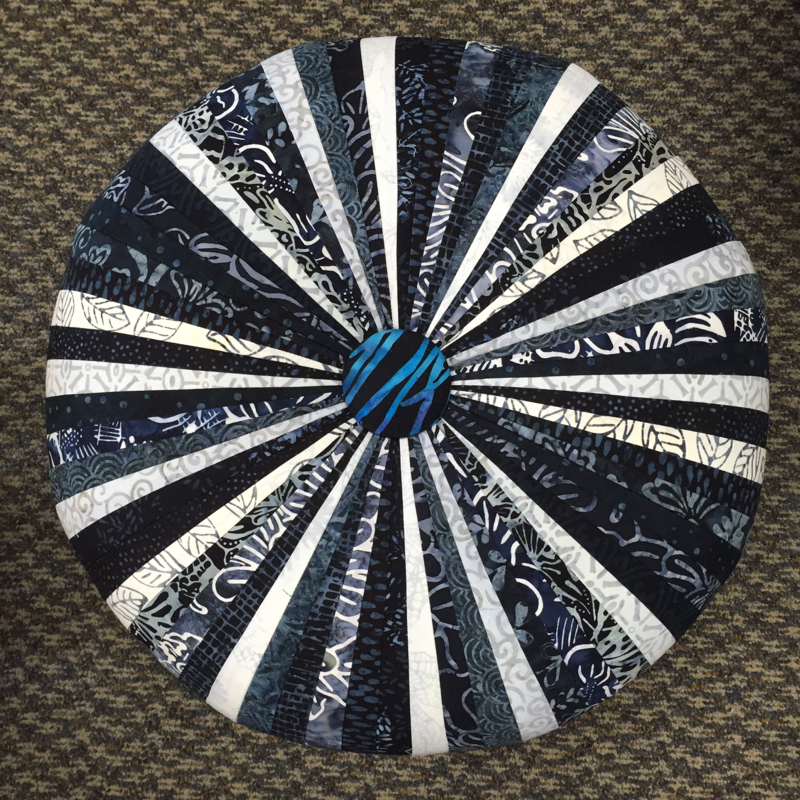
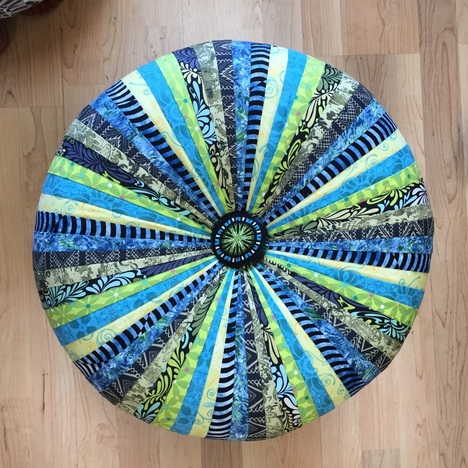
I love how the blue makes the button on Deb's tuffet stand out.
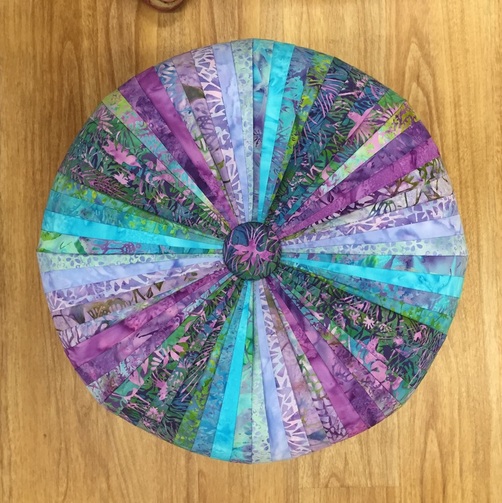
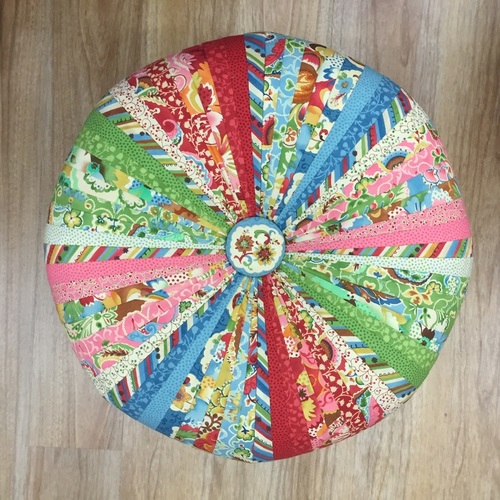
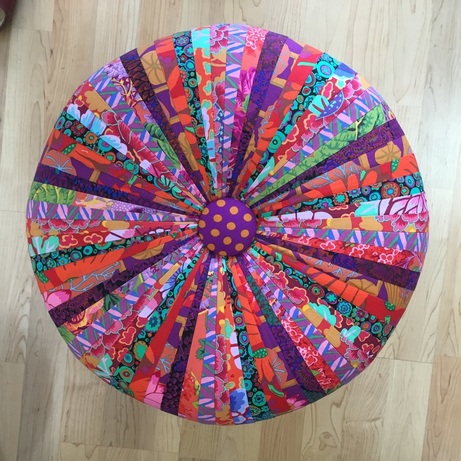
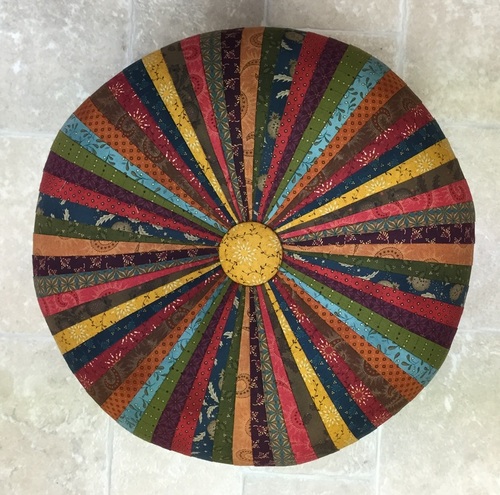
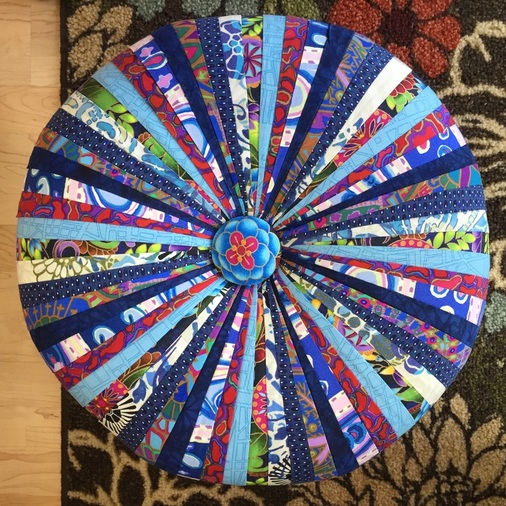
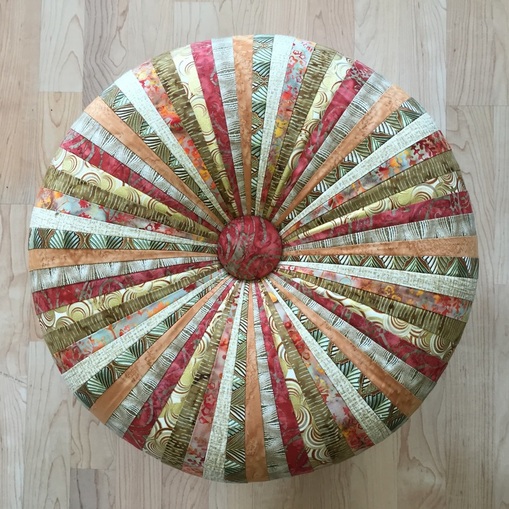
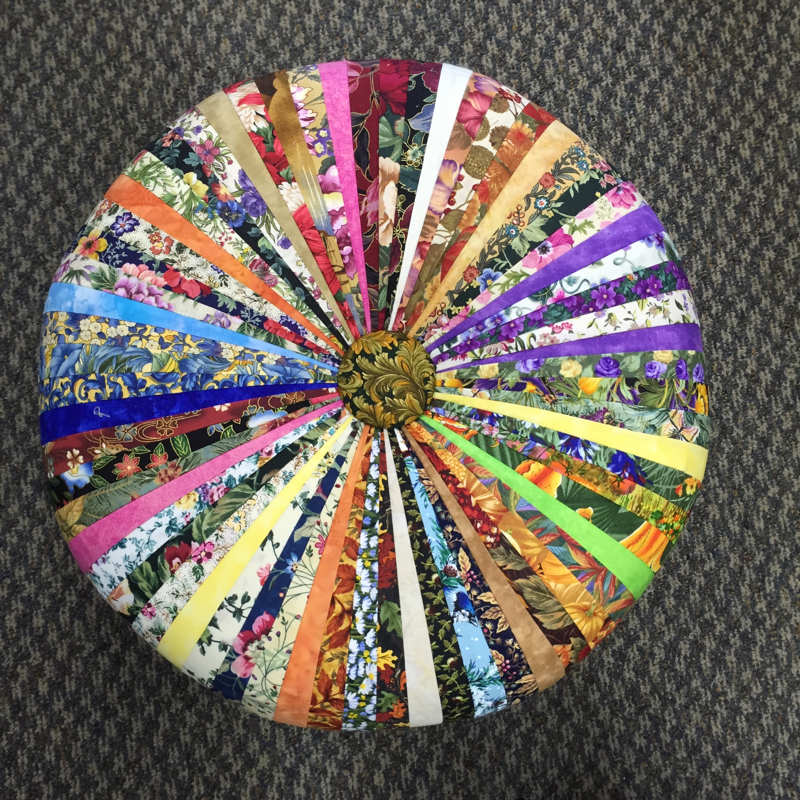
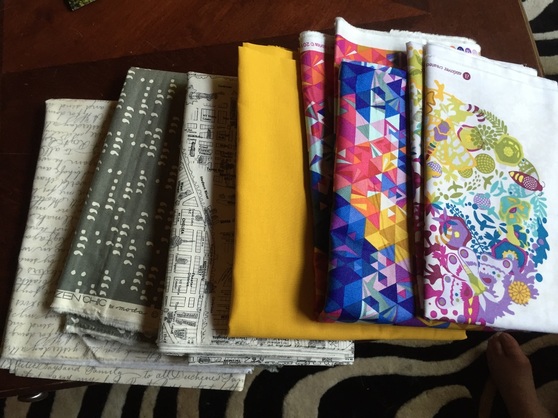
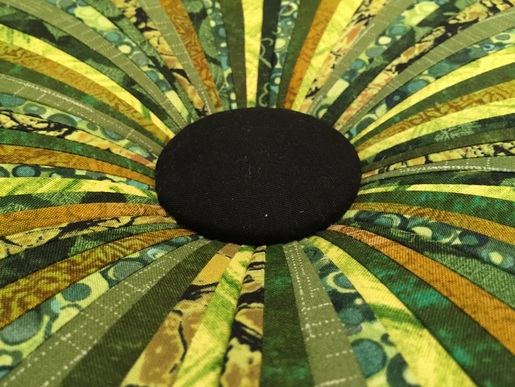
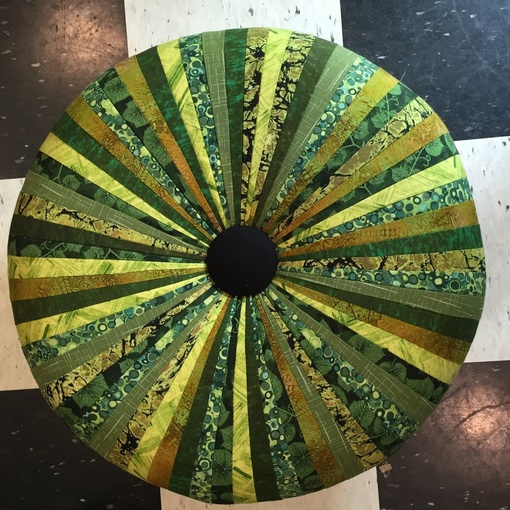
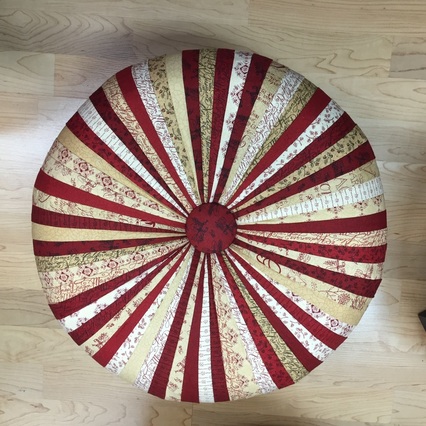
Jane arranged sixteen different fabric so that they blended from one to another. It's so pretty!
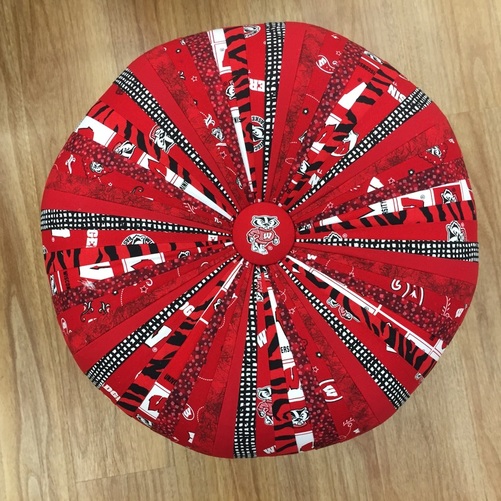
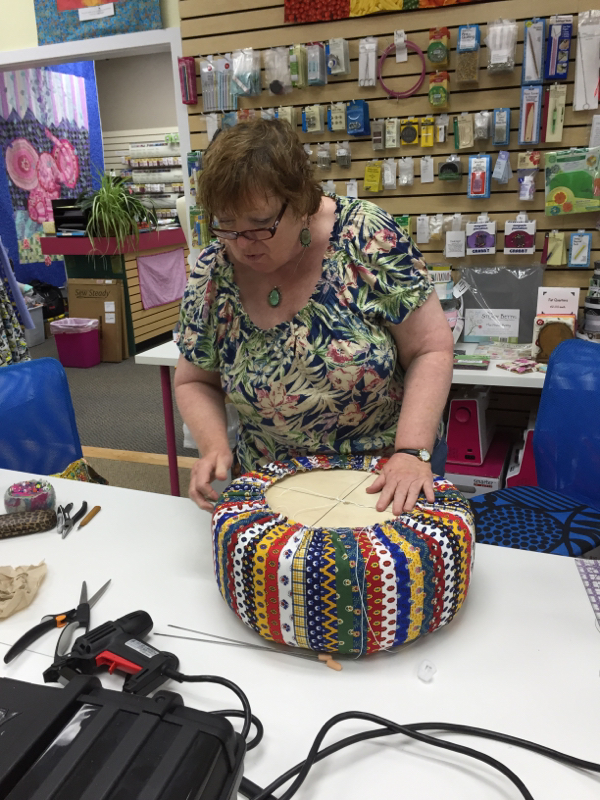
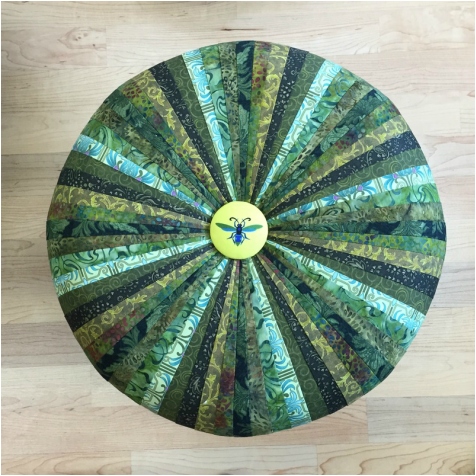
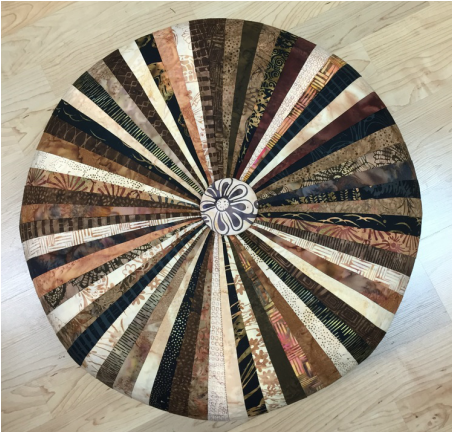
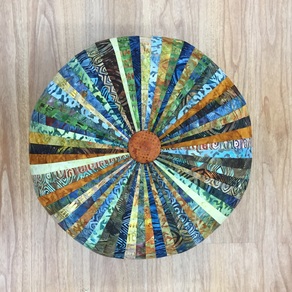
This is Berdeen's second tuffet. She has definitely caught the bug!
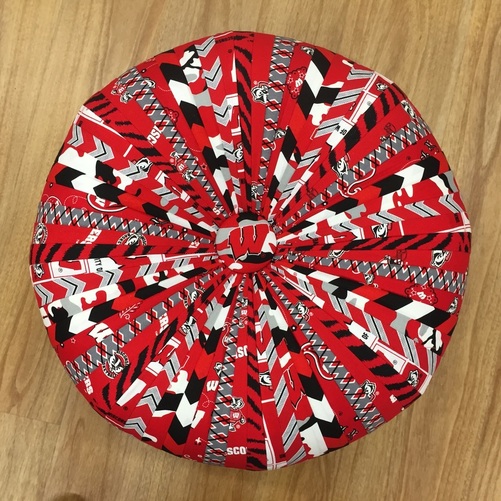
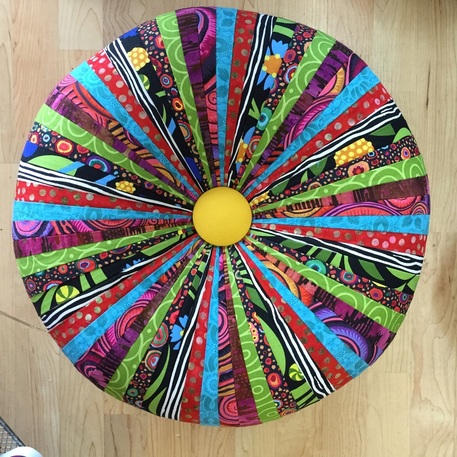
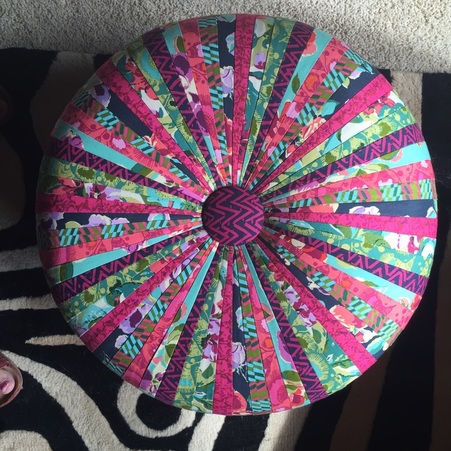
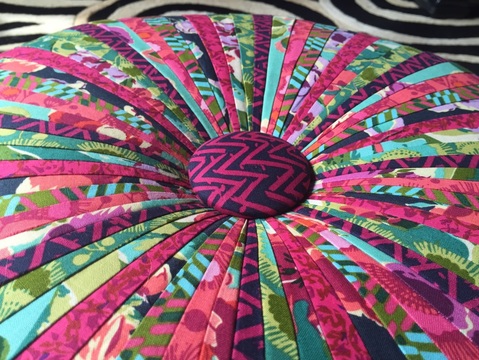
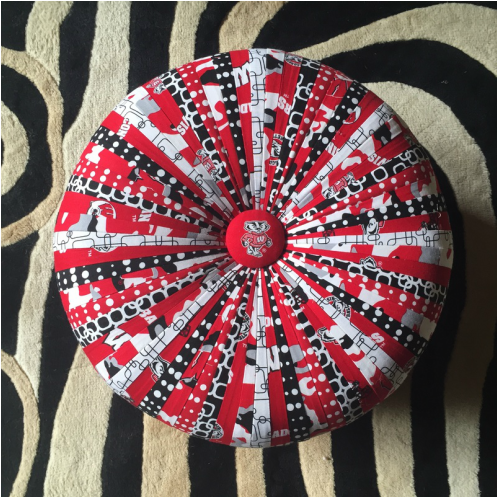
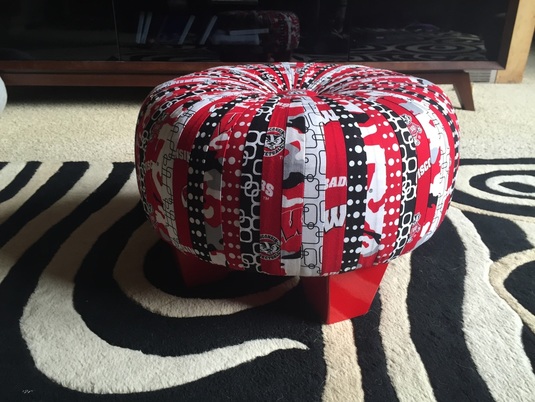
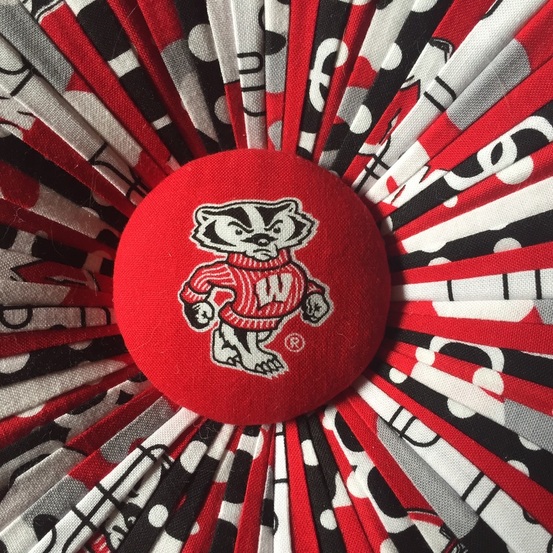
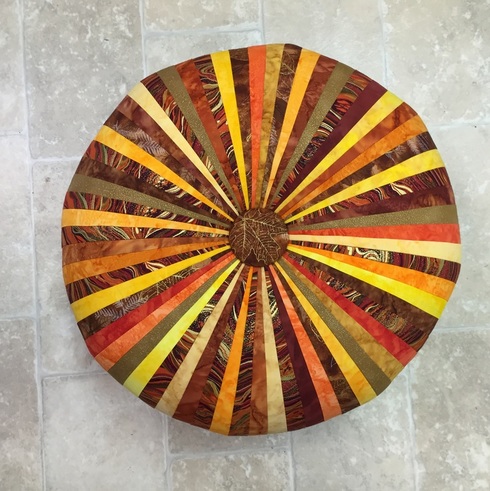
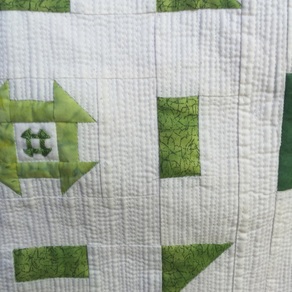
Deb also made a Wisconsin Badger tuffet. I love the chevron fabric!
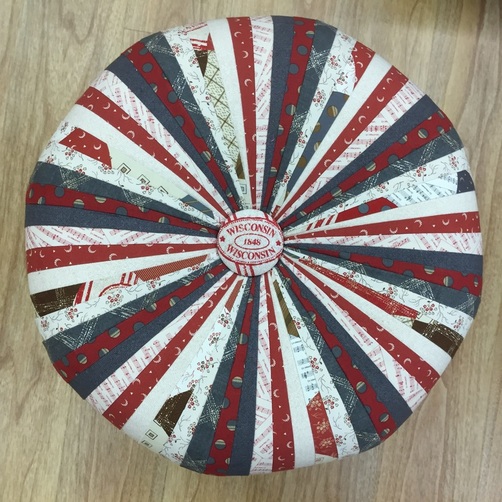
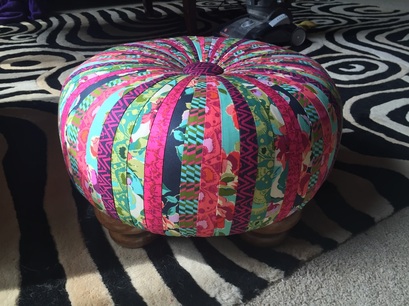
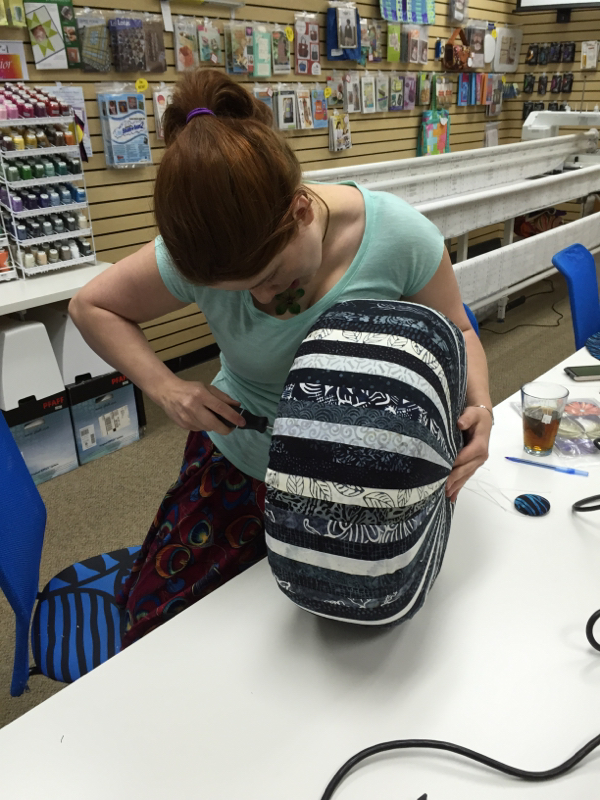
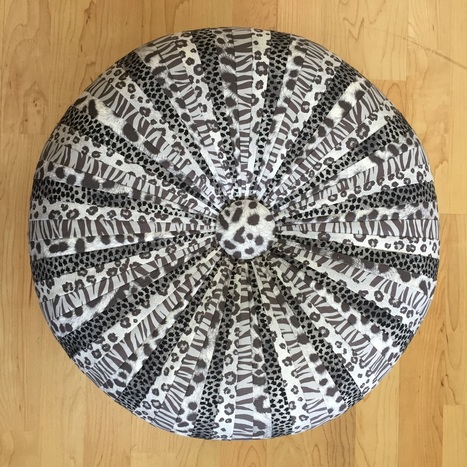
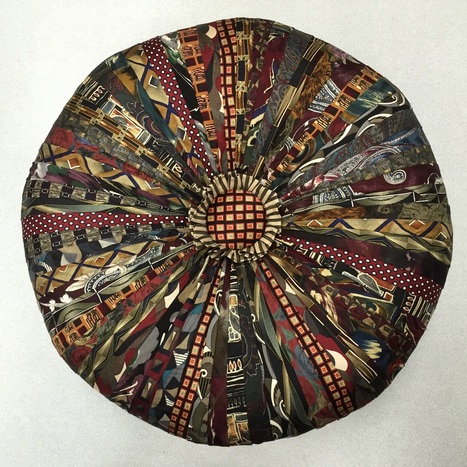
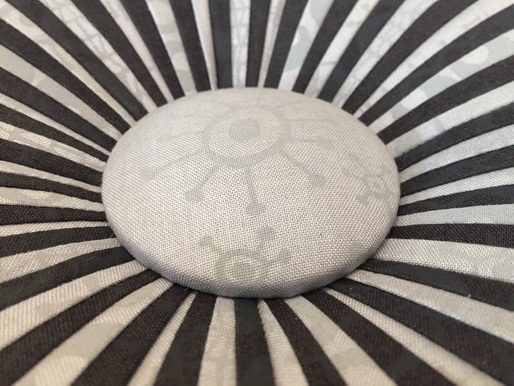
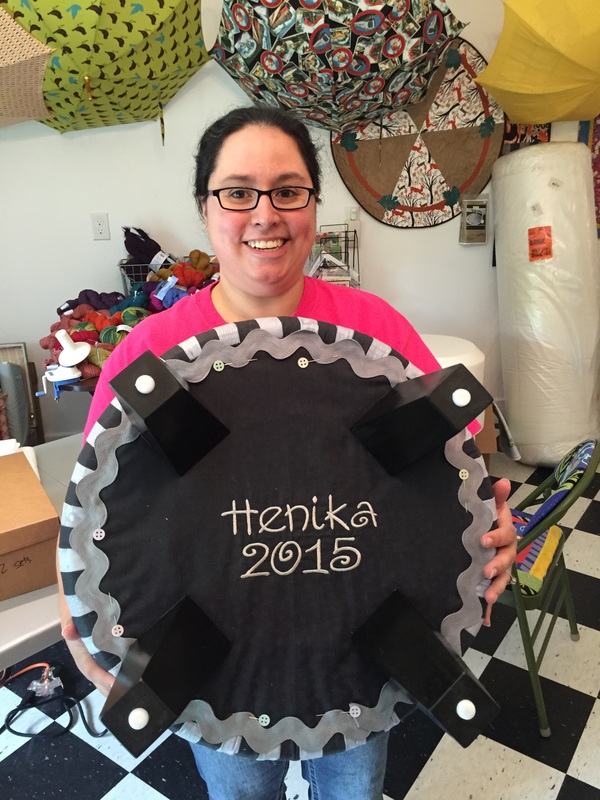
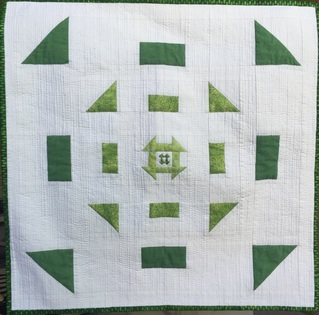
Linda's tuffet is not Bucky Badger, but it is Wisconsin themed!
Here's a little more information about the fabric used in the last tuffet. For those of you not from Wisconsin, this is an exclusive line designed by Jeanne Horton and Julie Hendricksen for Windham Fabrics and was available at shops participating in the Wisconsin Quilt Shop Hop. Very cool! If you're curious about the Wisconsin Quilt Shop Hop fabric line and want to see more of it, visit their site here.
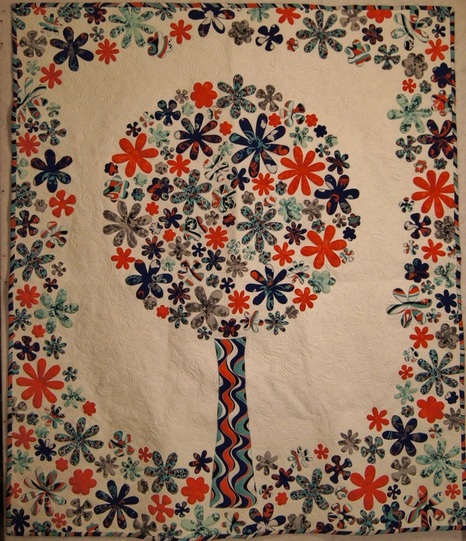
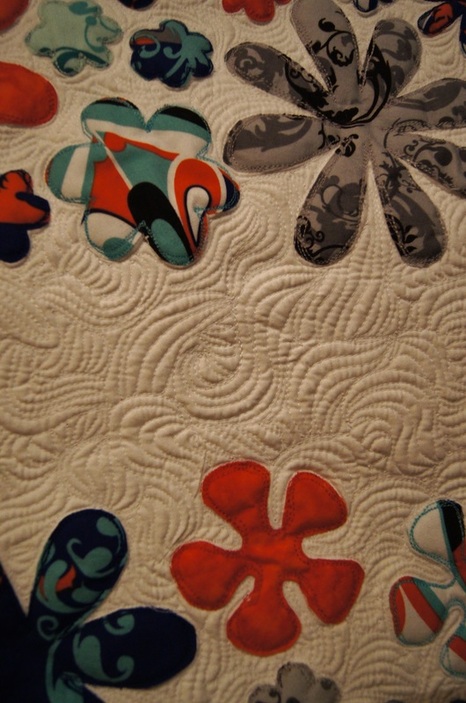
Well, I'm off to drop my Meg's Garden quilt off at Nancy's Notions so they can be ready for QuiltExpo. then I'm going to Mukwonago to teach Tula Pink's 100 Modern Quilt Blocks at Quilt-agious. I'm having so much fun!
Well, I'm off to drop my Meg's Garden quilt off at Nancy's Notions so they can be ready for QuiltExpo. then I'm going to Mukwonago to teach Tula Pink's 100 Modern Quilt Blocks at Quilt-agious. I'm having so much fun!


 RSS Feed