unSpooled
  • Home
  • Galleries
    • Tuffet Gallery >
      • Student Tuffet Gallery
    • Quilt Gallery
    • Costume Gallery
  • Retreats
  • Tuffets
    • Tuffet fabric requirements
  • Store
  • Blog
  • About
    • Contact
    • Newsletter
    • FAQ
  • Classes

how to baste a quilt without breaking your back, part 2

4/19/2016

0 Comments

 
In my previous post, I showed you what you need to baste a quilt without breaking your back. Now it's time to get started!

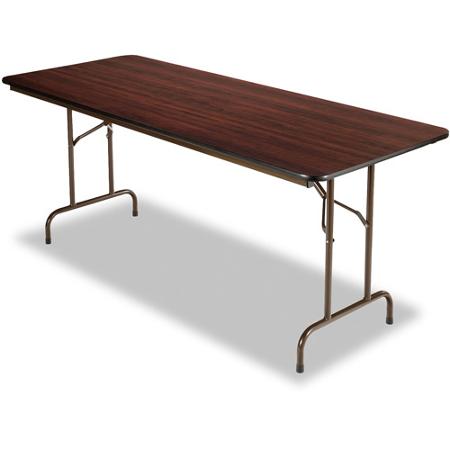
So, the first thing I did was put my folding table on bed risers. This will raise it to more of a counter height and will help you from bending over as much. Shorter people might not need the bed risers. I've seen people use lengths of PVC pipe too, but bed risers work really well.

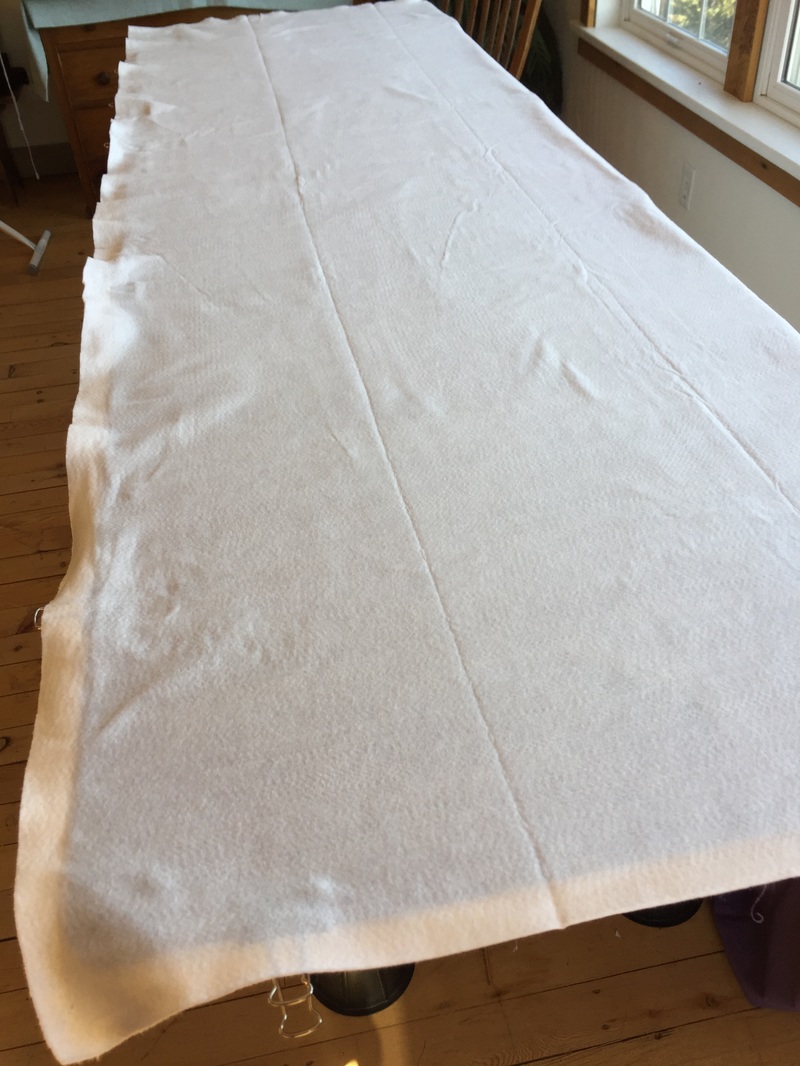
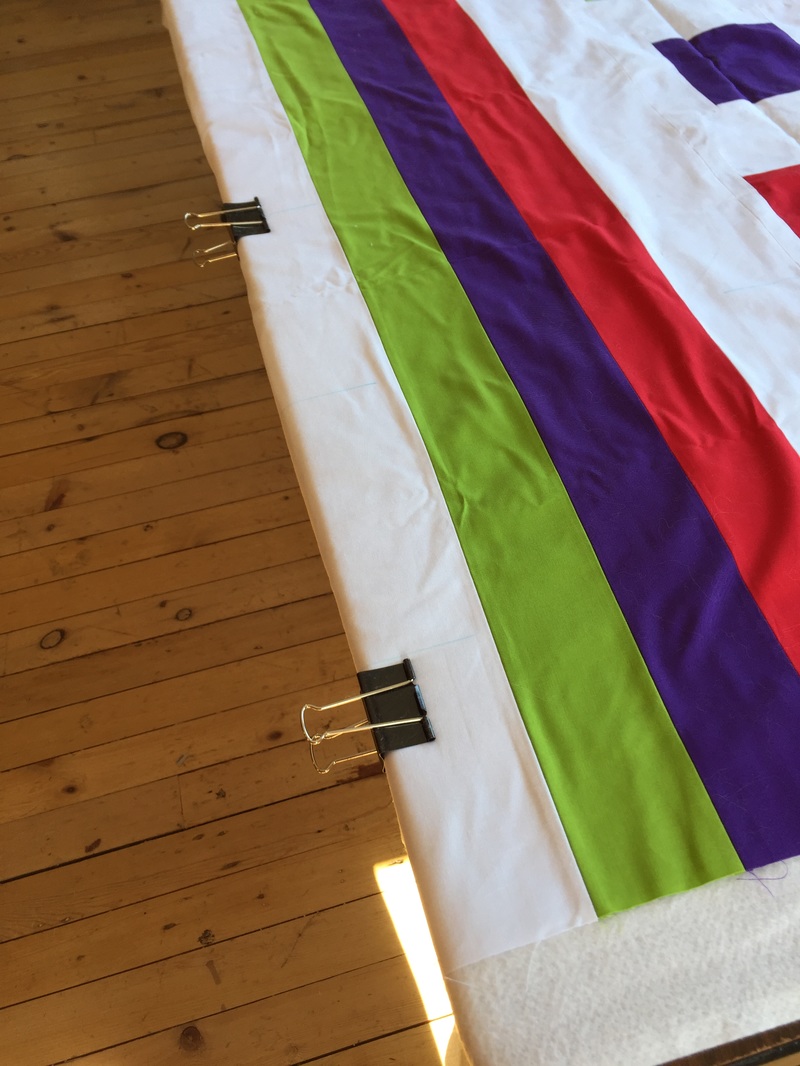
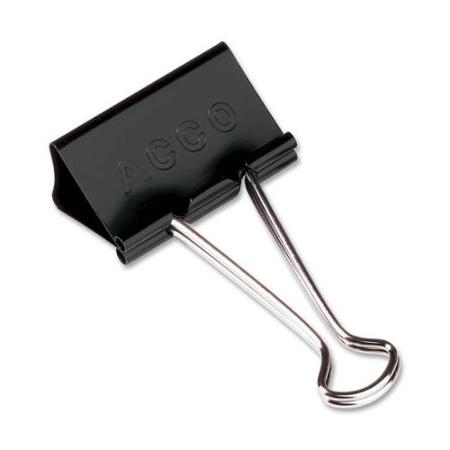
Lay out your backing on the large table, right side down. Make sure the backing is flat, but not stretched. Secure with binder clips, or masking tape if your top isn't too big. There are a few minor waves in this photo, but nothing that will cause a pleat in your quilt. 
Picture
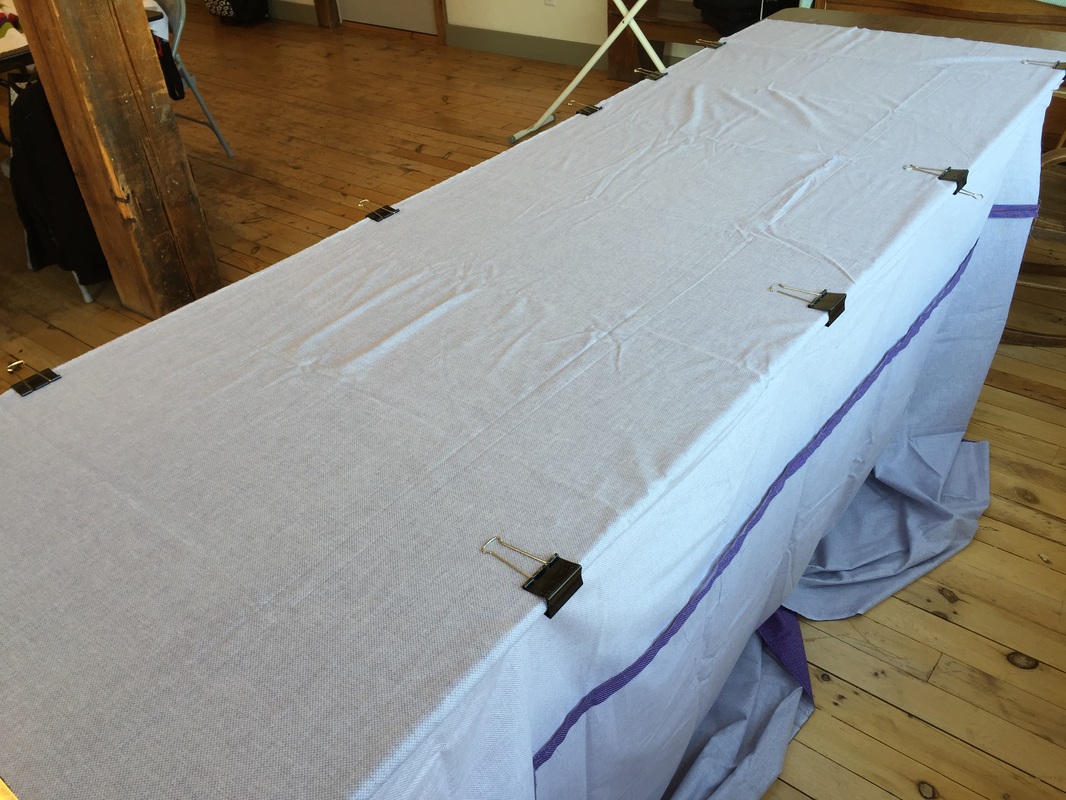
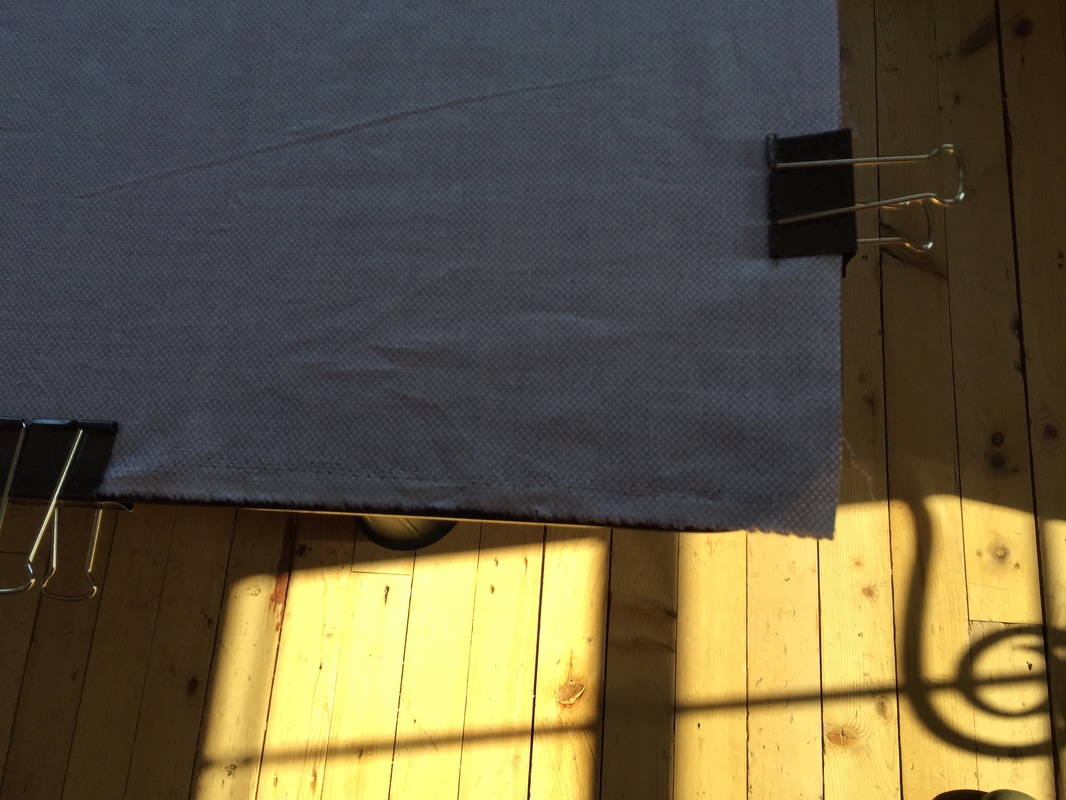
Here you can see that I used the corner of the table to help make sure the backing is straight on the table.
Picture
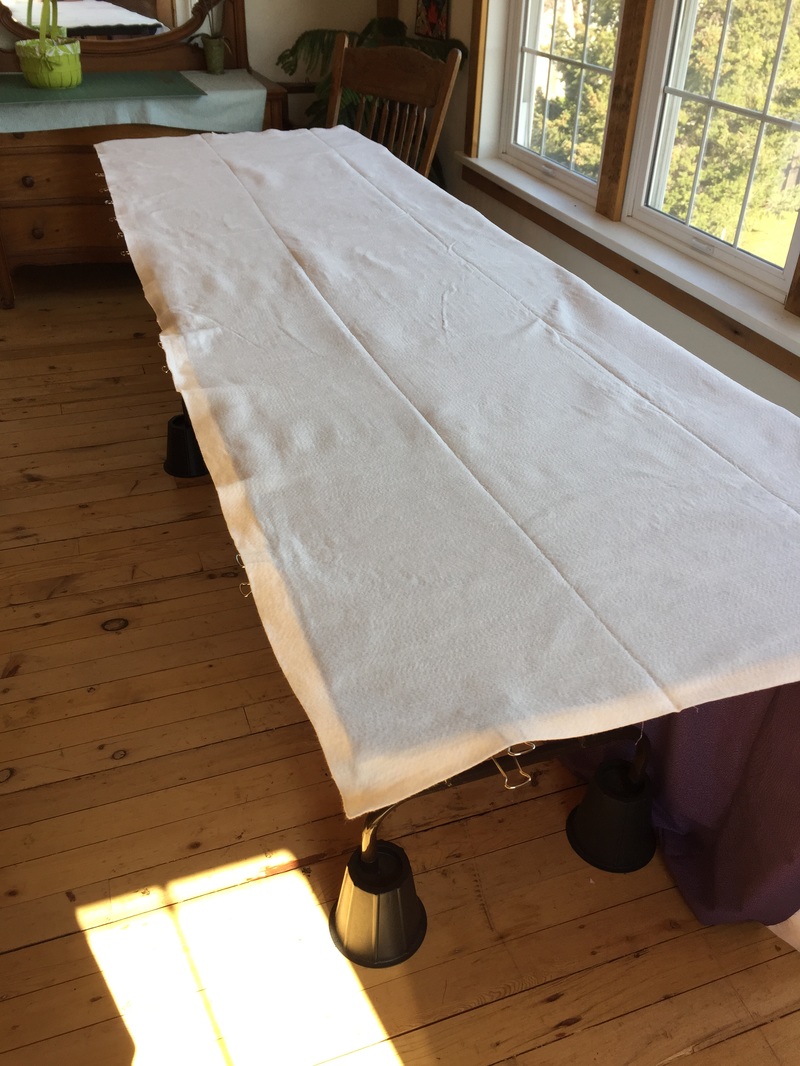
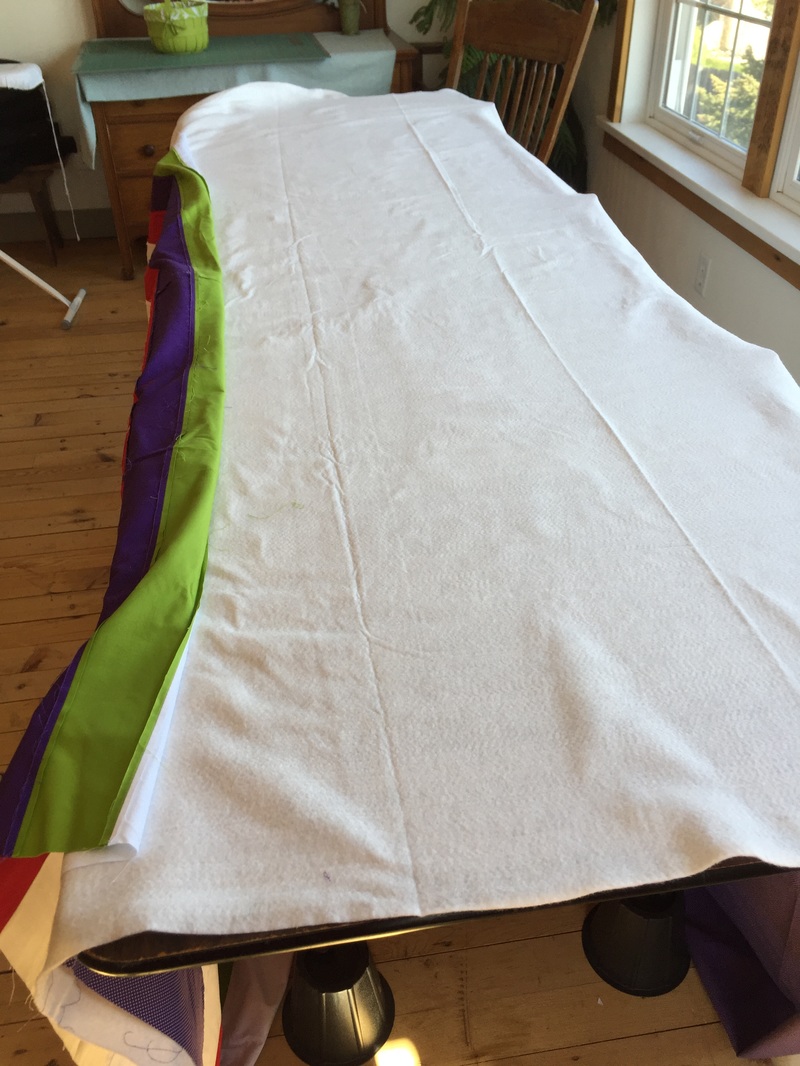
Lay your batting out on top of the backing. You can see here where the batting is hanging over the edge of the table by a couple of inches. That will help you to hold on to your quilt while you're quilting it. You can also see the bed risers!
Picture
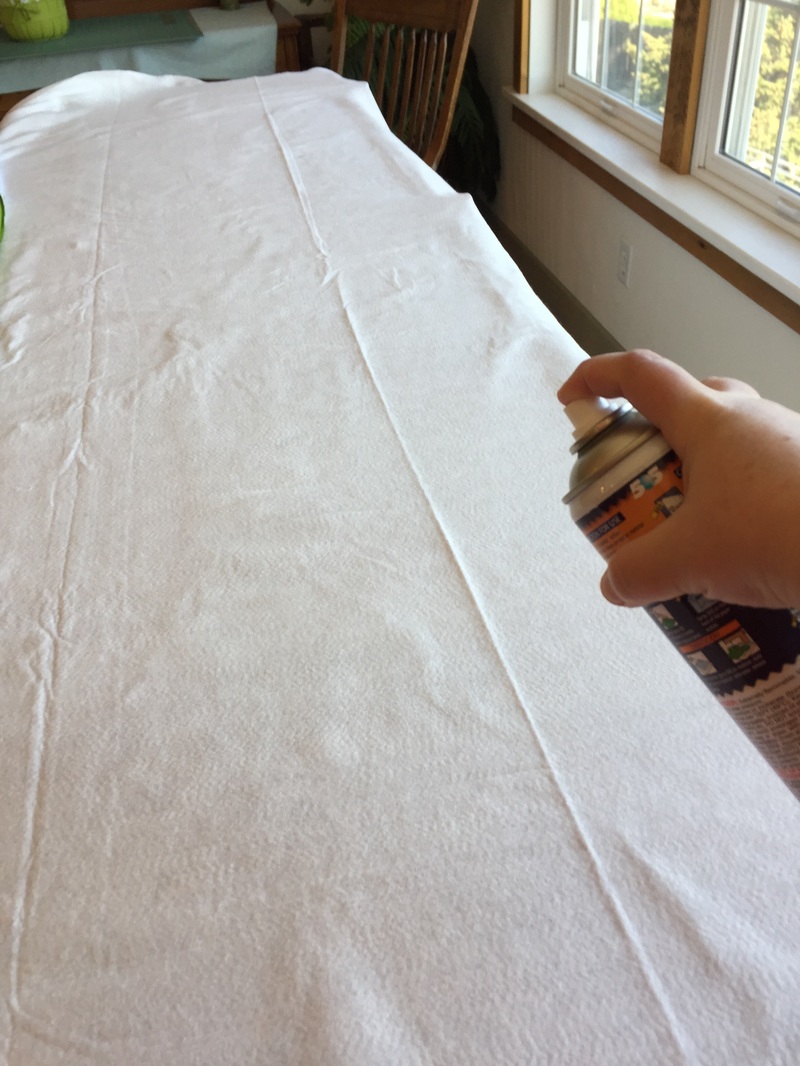
Next, peel back the batting and spray. If you chose to use pins, you would, of course, skip this step. 
Picture
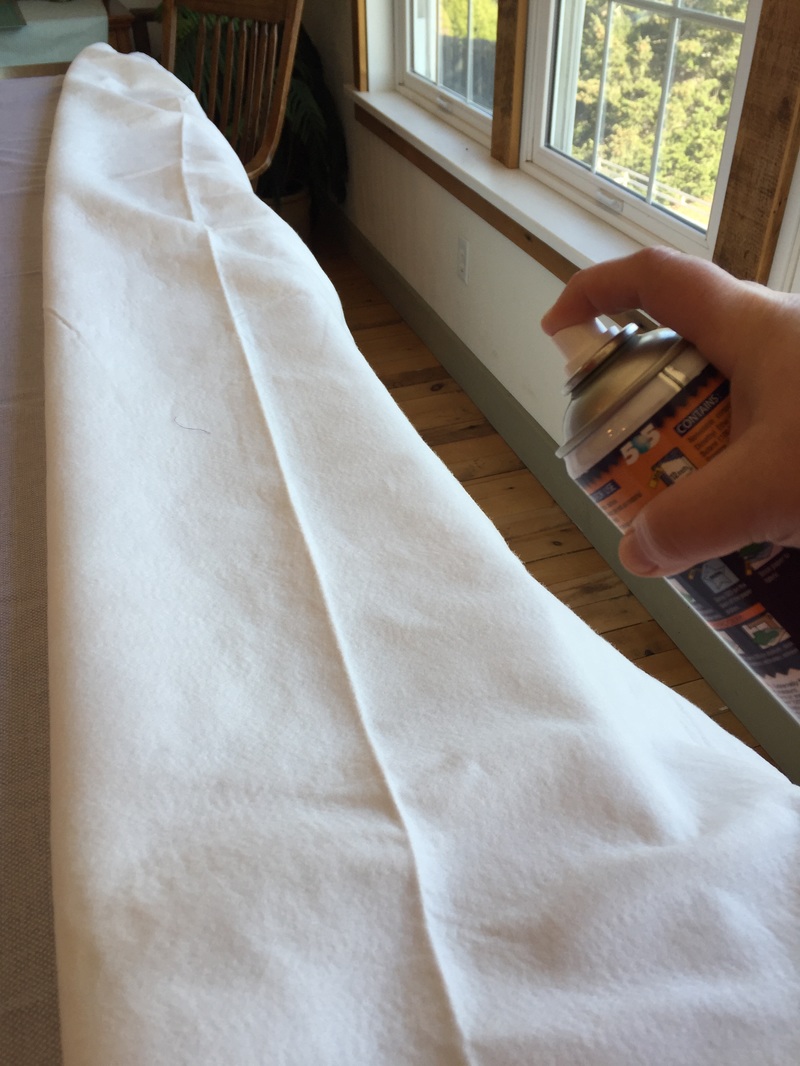
Not really an action shot; just pretending to be one.
Smooth the batting back down.
Picture
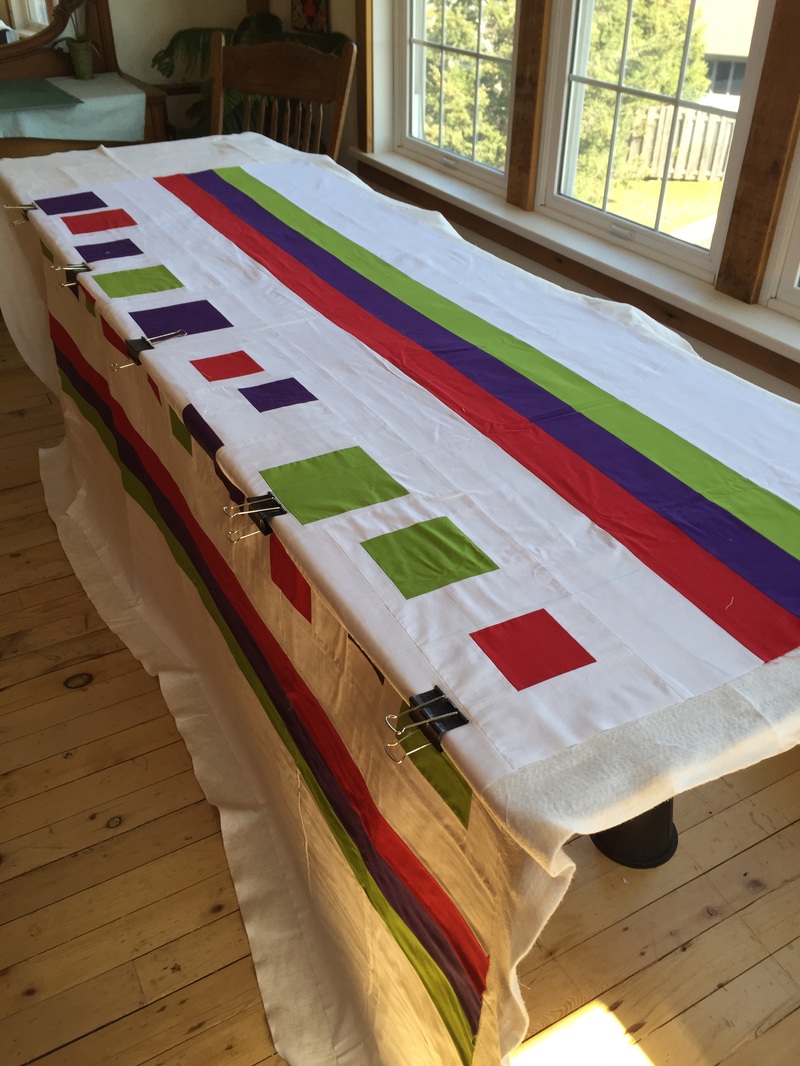
Now lay your top down. Note that I am only placing it here; there is no adhesive yet. I'm using the corner of the table again to ensure that it is straight.
Picture
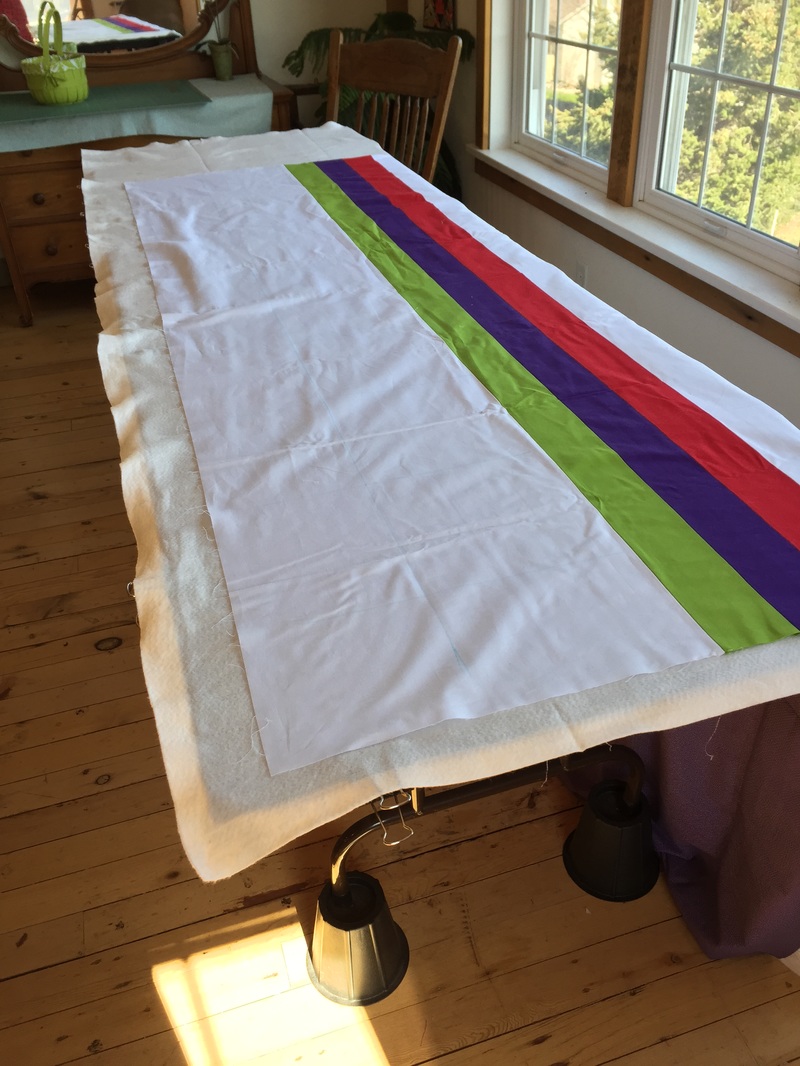
Now that you know how your top will be placed, peel it back and spray the top of the batting.
Picture
Lay the top down and smooth. Note that you will only be able to smooth down the part where you sprayed; in this case, it's only where the white fabric is.
Picture
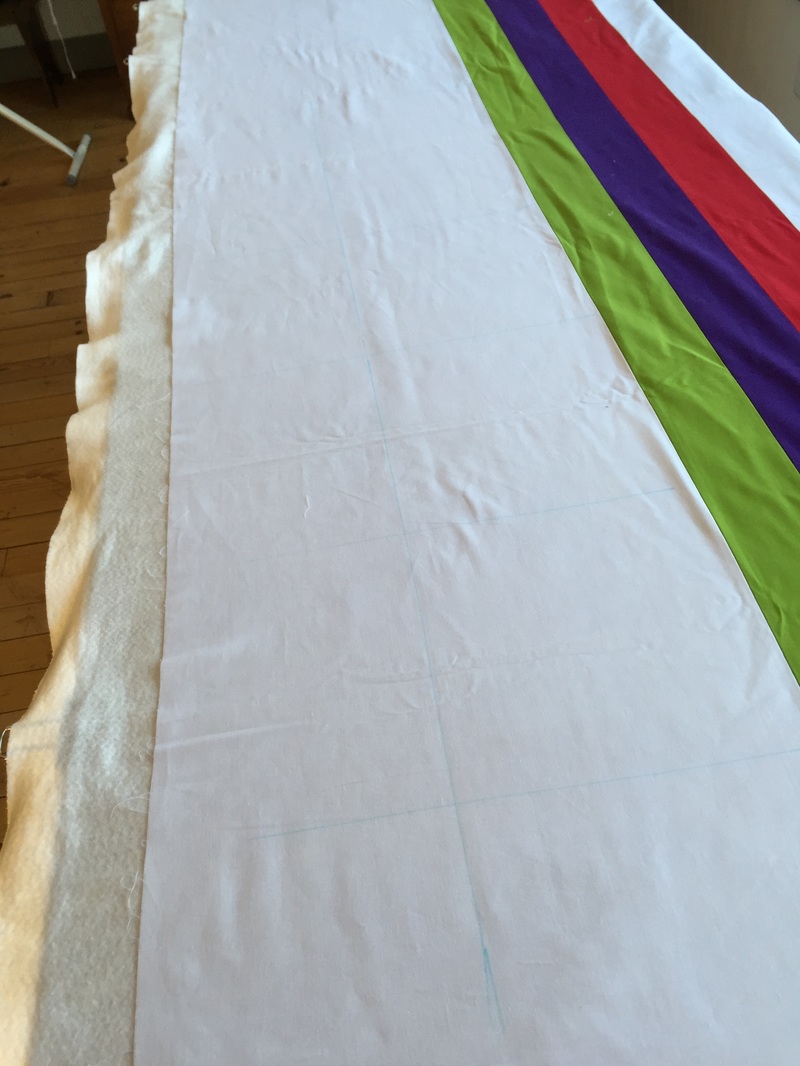
The blue lines are for my reference while quilting later.
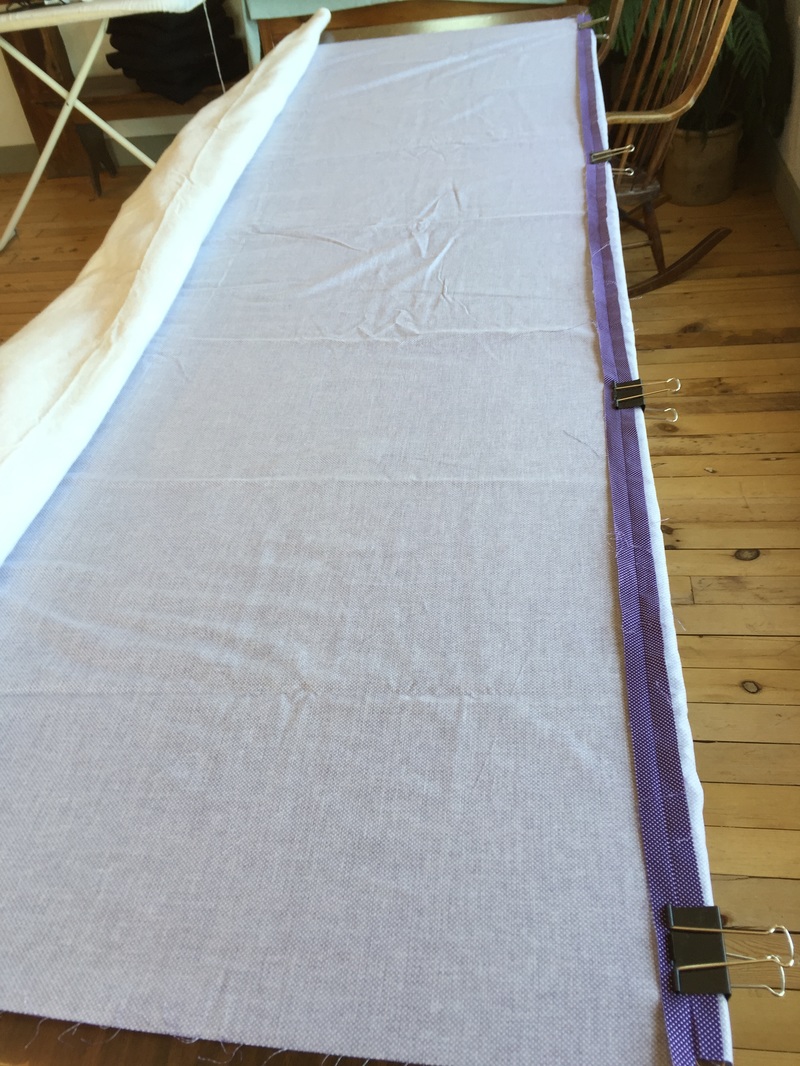
Now, unclip your binder clips and slide the quilt -- the part that's basted -- off the table. Remember that up until now I have only basted the part which is solid white. That's the part hat's hanging off of the table. Reclip.
Picture
Now flip the quilt top and the batting over where you just placed your binder clips, and smooth the rest of the backing and clip that down.
Picture
Here you can see the batting and top hanging off of the edge of the table.
Picture
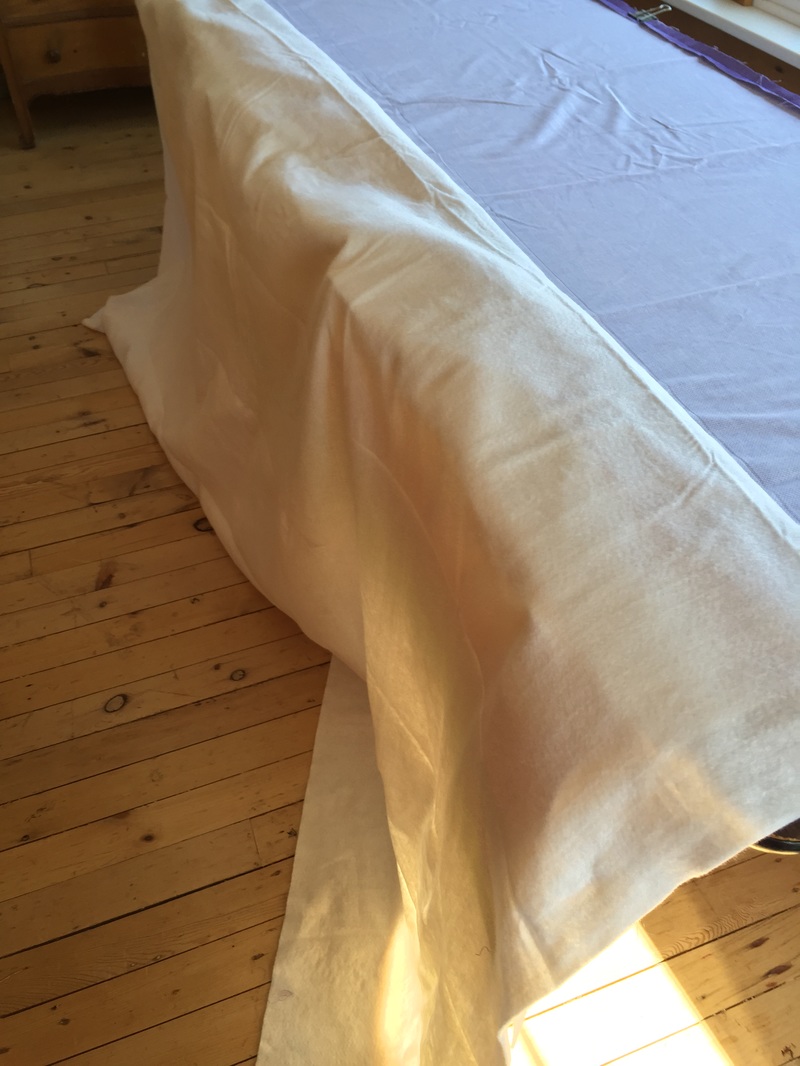
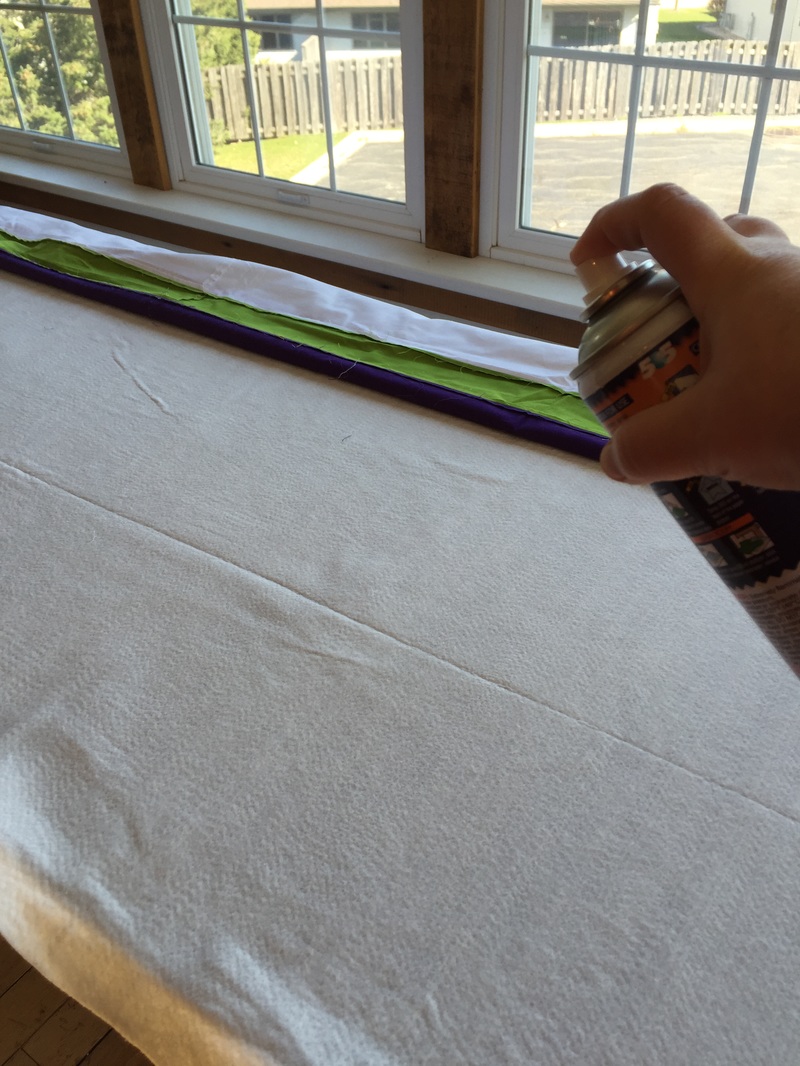
Lift the batting and spray, only covering the area that will be on the table in the next step (in other words, don't spray the rest of the batting, just the next 24 inches, or however wide your table is). Then smooth it down.
Picture
Not completely smoothed yet -- look how weird it is at the top. But you get the picture.
Spray the top of the batting.
Picture
Still a faked action shot!
Smooth the top down as before. Then, repeat the unclipping and sliding the quilt until you reach the last part.
Picture
Basically, you're going to repeat this until you're finished. If your quilt is longer than your table, repeat the same steps, but you might be able to get away with turning the quilt 90 degrees to get he bottom part.

And that's it! I usually flip the quilt over to the back side and smooth out the backing one more time. All of the clipping and unclipping can make things shift, and it will help the temporary adhesive adhere better anyway. On to quilting!
Picture
Yes, it can hold up to this much pushing and manipulating. A pin every 24 inches or so wouldn't hurt, but I haven't done it here.
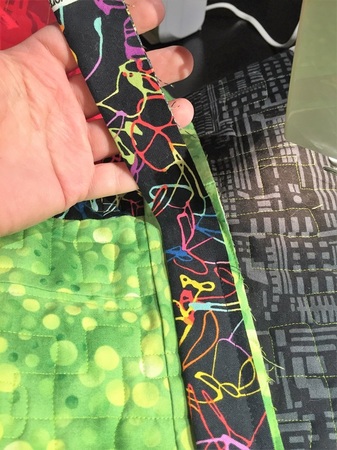
Thanks to my friend Shara for her quilt top. I'll be sure to post when I'm done quilting it for her!
0 Comments

how to baste a quilt without breaking your back, part 1

4/17/2016

0 Comments

 
We've all been there: on the floor, bending over, trying to not disturb our perfectly-laid-out quilt. It's awful, it hurts your back, it hurts your knees, etc. And to top it all off, unless you can suspend yourself over the quilt like Tom Cruise in Mission Impossible, you're going to have to crawl on your quilt in order to pin in the middle. Yuck.

In this post, I'm going to show you in photos how to baste your quilt using a table. It keeps it off the floor, it saves your back and knees, and you can do it yourself.

To start off, you need the following:

A large table. It's great if you have one of those older, heavy folding tables. Not the white, lightweight ones that bounce around when you sew on them. It's easier if you have one of those heavy ones that looks like this:
Picture
Big old heavy table.
If you don't have one like this, that's okay -- your local quilt shop probably does, and they are usually happy to let you use their classroom if there is no class in it. 

The next thing you need are a bunch of these:
Picture
1 inch binder clips
If you only have access to a thicker table than these will fit, you can get by with masking tape.

Next on the list, either of these:
Picture
Picture
Curved safety pins -- not the big ones!
Both of these options have their pros and cons.

The benefit of the spray (and I recommend 505, not the stuff in the pink or blue cans) is that it's quick. I also find that it's not too stinky. Some people insist that it be sprayed outside, and if you have breathing issues, I certainly would, but I use it inside my house and have had no issues with the smell, or even with overspray. However, if you don't want to spray it inside, note that it will take two people (one to hold the batting and the other to spray), and that weather will be an issue. Certainly that would be a con! The other is that it gets used up, so it's an ongoing expense. Also, because the spray won't hold up if you, say, catch your sandwiched quilt on the edge of the table, I often will put a few curved safety pins in the corners and every so often just to be safe.

The benefit of the curved safety pins is that they are reusable, and they are permanent. Note that if you leave them in your quilt for a really long time, they can leave holes that are difficult to get out. The newer ones shouldn't rust, and I haven't ever had a problem with them. The cons are that they only hold where they are located (as opposed to spray which holds everywhere), and they take a really long time. They can also wreak havoc on a manicure.

Theoretically either form of basting should work with this method, but I find that because the is some smoothing involved, spray makes more sense. Smoothing things out with pins means moving all of those pins. Again, yuck.

Next post? Getting started!
0 Comments

Perfect joined bindings

1/2/2016

6 Comments

 
Ah bindings, the last step to complete before your quilt is finished. Well, you should put a label on, but I'll assume that you've already done that. 

When I started quilting, I used to just tuck the end of the binding into where I started. It worked okay, but I wasn't quite happy. Then I learned how to join my binding ends together. It's such a good look, and it's too hard, provided you slow down and give yourself space to work.

How much fabric do you need?

First, you want to figure out how much binding you need. To do that, measure the perimeter of your quilt, then add 12 inches to account for going around the corners. For example if your quilt is 70 x 85 inches, you would add 70 + 70 + 85 + 85 = 310 + 12 = 322 inches. Divide that number by 40 (a conservative width of fabric) to get 7.75. This is the number of strips you need to go around your quilt. We'll round that up to the nearest whole number 8. 

I like to cut my bindings at 2.5 inches, so 8 strips multiplied by 2.5 inches equals 20 inches. If I were buying this from a quilt shop, I'd buy 2/3 yard (24 inches) to account for washing and squaring up. 

Making the binding

Join your 2.5 inch strips with a 45 degree angle seam so that you have one continuous length. 
Picture
Cut off the excess within the seam allowance and press your seams open. Then press the entire length of the binding wrong sides together. Trim dog ears.

Attaching the binding

I find a place to start, usually somewhere in the middle of one of the sides. I almost always lay out the binding as if I'm applying it to see if a seam is going to land at a corner. If it will, I adjust where I'm going to start. Once I've found a suitable place to start, I pin the binding to the quilt and take it to my machine.

I trim my quilt before I put the binding on. Then I lay the binding about 1/8 inch inside the raw edge of the quilt. You want the raw edges of the binding to be toward the outside. I leave a starting tail of about six inches before I start stitching. Stitch with a 1/4 inch seam allowance.
Picture
The bright green is the quilt top. The black and gray is the backing (you wouldn't necessarily see it here).
Stitch along merrily until you near the corner. Stop stitching 3/8 inch before the edge of the quilt. That 3/8 inch corresponds to the 1/4 inch seam allowance plus the extra 1/8 inch inside the edge that I've placed the binding. Backstitch.
Picture
What? Oh right, I'm not using my walking foot. My walking foot for this machine is jammed, so I just lower my presser foot pressure and it works just fine. Notice that I have a little indentation (and mark) on my foot. That, and the mark on my throat plate, let me know where 1/4 inch from the needle is. I eyeball that extra 1/8 inch.
Picture
Hopefully you can see where I've stopped stitching here.
This next part trips people up a little, but you'll get a chance to do it four times per quilt, so it'll be second nature before you know it.

First, take the quilt out of the machine. Then fold the binding away from the direction you're going to be heading. 
Picture
The trick here is to make sure you make that fold exactly 45 degrees. You should be able to fold it back on itself and not be able able to see any fabric peeking out.
Picture
NOT like this! Can you see that little sliver of fabric? That little sliver will cause big problems later.
Picture
MUCH better.
At this point it's a good idea to pin the binding in place while you get it situated under the needle. Once you've got it placed, start at the edge of the binding and backstitch.
Picture
Continue on this way, treating all of the corners the same way. When you get to the last side, stop about 8 or 9 inches from where you started stitching.
Picture
Stop here.
Trim off any selvage from the starting tail.
Picture
Now, I cut my binding 2 1/2 inches. If I had cut it, say, 2 1/4 inches, then that is the measurement I'd use for this next part. But we're sticking with 2 1/2 inches.

What we're going to do is measure and cut our ending tail so that we have exactly a 2 1/2 inch overlap of the two ends. 
Picture
Start with my ruler at the starting tail. Ignore the numbers on the ruler. I'm just going to use the marks on the ruler.
Picture
Here I have marked the 2 1/2 inch overlap on the ending tail.
Picture
Cut. It's only fabric! You might be able to see where I had marked 3 1/2 inches. That was wrong. :-)
Picture
All right! I have offset these a little so you can see the overlap. If anything it looks a little short here, but it worked just fine. Because the binding is cut width of fabric, there's enough stretch in it to take care of that. In fact, I'd rather err on the short side than the long side here.
Picture
Here you can see the two tails.
We are going to join these two ends with a 45 degree seam, just like when we made the binding. In order to do that, we need to bring the two ends together so that we can overlap them at that angle. I've pinned mine here to keep the bulk of the quilt out of the way.
Picture
We won't sew over this; it's just to bring the binding tails closer to each other.
Picture
This is the starting tail.
Picture
And here is the ending tail at a 90 degree angle to the starting tail, right sides together.
Picture
Pin that sucker! You'll be glad you did.
Picture
Mark a 45 degree line. See how I have the line on the ruler lined up with the edge of the fabric (well, sort of, it got shifted a little for the photo, but you get the idea).
Picture
My marked line. Now I stitch.
Picture
Picture
All done!
Before I trim the seam allowance to 1/4 inch, I'm going to unpin my quilt and make sure it lays correctly and that it's not twisted.
Picture
Happy day!
Picture
Here you can see what I'll be trimming out with scissors. Finger press the seam open.
Picture
Ever-so-slightly short, but that's fine. If it were too long, it would pucker for sure. I don't want it so short that it's going to distort the quilt, though.
Picture
Pin and stitch. You guessed it -- backstitch!
Picture
All done!
Picture
Here's the final quilt, before hand stitching the binding to the back.
I hope this tutorial helps you join those binding ends. No more tucked-in bindings!
6 Comments

tension issues

10/1/2015

0 Comments

 
One of the biggest problems experienced by machine quilters is tension issues. No, I'm not talking about headaches that cause you physical pain; I'm talking about thread tension. Though sometimes thread tension does seem to lead to physical headaches too!

Threads magazine has published a fantastic video that shows exactly what is happening when your machine takes a stitch. Check it out:
Okay, so now you know how the machine makes a stitch. So much is happening at amazing speeds! My straight stitch machine can sew at 1500 stitches per minute. That's 25 stitches a second!

You also saw how the two threads meet perfectly right where the two pieces of fabric meet. The video shows perfect thread tension. But what if you have your top thread showing on the bottom of your quilt? Or your thread breaks? Or any number of issues?

Well, I've put together a tension issues flowchart that will hopefully give you some tips on how to solve your own tension issues. I hope you find it helpful!​​
Picture
0 Comments

backings revisited

7/23/2015

0 Comments

 
So remember that post where I said I'd talk about other backing topics? So here are some of my thoughts that aren't related to just figuring out the math.

T-shaped backs

I'm talking about backings that have two pieces of fabric running in one direction and another running perpendicular. Thusly:

Picture
I can tell you that longarmers hate T-shaped backs. This is because of the warp and weft (or crosswise vs. lengthwise grain of the fabric). There is a little bit of stretch in the weft (crosswise, that is, selvedge to selvedge) grain of the fabric. When a longarmer is loading a quilt onto the frame, she has to work against gravity. That gravity is pulling down on the backing, which isn't actually attached to anything but a couple of roller bars on her frame. This means that the backing may sag and if it's sewn together in a T shape as illustrated above, it will sag weirdly. So, if you're sending your quilt to a longarmer, skip the t-shaped backing. In fact, if I were sending mine off, I would piece the back as little as possible. I know, I know, it's very popular to piece the back, and I'm not saying I wouldn't at all, but it does present possible issues when quilting on a longarm.

Wide backings

Wide backings are a popular choice, but keep in mind that they are often not made from the same high quality greige goods your regular quilt shop fabric is made from. So, wide backings can also be hard to square and they can be squirrely.

Sheets

I also understand that longarmers aren't fans of using bedsheets as backings. this is because the thread count on sheets is often too high to easily quilt through. However, though I haven't used a sheet as a back before, once I scored a used duvet cover from Crate and Barrel for under ten bucks and used that as a backing and it was just fine. But, it wasn't really a sheet, and because it was Crate and Barrel, it was of reasonably high quality.

Minky/Cuddle

This is the super soft, furry stuff that is so wonderful to touch. Longarmers don't seem to mind minky fabric on the back of quilts. Remember that quilting stitches will really disappear into your quilt if you use minky fabric on the back, so if you're wanting to highlight the quilting on the back, minky might not be your best choice.

A note about using minky: please don't use the yucky stuff they have at the discount fabric stores. That stuff feels okay (not as good as quilt shop Cuddle) but once you wash it, yuck. And contrary to popular belief, it isn't too bad to quilt with, as long as you use basting spray and not pins to baste.

Quilting at home

So all of the things above that I mentioned that longarmers aren't fans of? Well, they're often more do-able at home. If you're basting your quilt on a table or the floor, you don't have gravity working against you, and you're always going to be attaching the backing to the batting. No sag! The other thing about quilting from home is that you can deal more easily with things like pieced backs.

Ah yes, quilting at home. That will be a whole new series!

Happy quilting!


0 Comments

How to figure out fabric requirements for backings

7/16/2015

0 Comments

 
As some of you may know, I had a blog called My Feed Dogs Are Down for some time. I wasn't very good at updating it, but there were a few good posts. My plan is to migrate some of those over here on a semi-regular basis (read: as I remember to do it). I'll start with one of my more useful ones about backings. Depending on how easy or difficult the migration process is, I may or may not start with an introduction like this. I'll always tag them TBT, though, in case you need to know.

I recently stumbled upon a question in a quilt group on Facebook asking, "How much fabric do I need to back a 6' x 8' quilt?" Instead of just giving an answer, I decided to write this post to teach her (and others) how to figure it out herself. Sort of a, "tell a quilter how much backing fabric she needs, help her with one project; teach a quilter how to figure it out herself, help her for all of her projects" situation.

The first thing to do is take those numbers in feet and change them to inches. Instead of 6' by 8', we need to think of it as 72" by 96". Quilting fabric usually comes in widths ranging between 40 and 44 inches. I'm going to assume 40, because it's better to have too much than too little.

If we double 40, we get 80. Since 80 is generously bigger than 72, she won't need to sew more than two widths of fabric together. So we know that we will need two times the longer dimension of the quilt, which is 96. So, if we double 96, we get 192 inches. Divide that by 36 (because there are 36 inches in a yard) and voila, we get 5.33 yards. Of course, because we don't want to have to be super precise, and because shops don't cut perfectly, and everything else, we need to increase that amount. So, I would advise her to buy 6 yards of fabric.
Picture
This method works with larger quilts, too. If your shortest dimension is 90, you would simply sew three lengths of fabric together using the longer length multiplied by three (along with -- no kidding here -- about another yard of fabric to allow for cutting, sewing, and shrinkage). 

Keep in mind that my method above is assuming she is doing her own quilting. If she is sending the quilt to a longarmer, she needs to add 8 inches to each dimension (most times the longarmer will describe this as "four inches on each side"). So in that case, we would be looking at a backing that needs to be 80 by 104. The 80 is okay in this case; we were assuming we would only get 40 inches of usable fabric when in reality we will probably get a little more. Plus, though I'm not a longarmer (and I don't even play one on tv), I think most can get by with a smidgin less than four inches all around. But we would still need to double the 104 number to come up with 208. Divide that by 36 and we get 5.778 yards. Personally, I'd probably still go with 6 yards, but if she wanted to be really safe, she could get 6 1/4 yards.

So, that wasn't too painful, was it? I'll talk about wide backings and T-shaped backings in another post.

0 Comments

    Archives

    November 2017
    September 2017
    July 2017
    May 2017
    April 2017
    February 2017
    January 2017
    December 2016
    September 2016
    August 2016
    July 2016
    May 2016
    April 2016
    March 2016
    February 2016
    January 2016
    December 2015
    November 2015
    October 2015
    September 2015
    August 2015
    July 2015
    June 2015
    May 2015
    April 2015
    March 2015

    Categories

    All
    Blog Hop
    Classes
    Commissions
    Focus Through The Prism Challenge
    Quilts
    Shop
    Shows
    Skating
    Student Tuffets
    TBT
    Troubleshooting
    T Shirt Quilts
    T-shirt Quilts
    Tuffet
    Tuffet Retreat
    Tuffets
    Tutorials
    Website

    RSS Feed

All images on this site are (c) unSpooled, LLC. Thanks for reading this far. You want to make a tuffet, right? Don't forget to like unSpooled on Facebook!