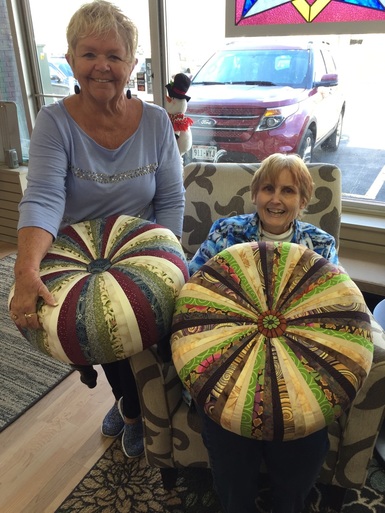
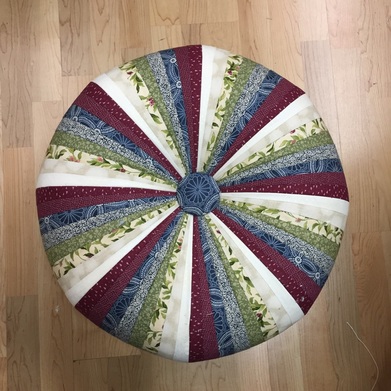
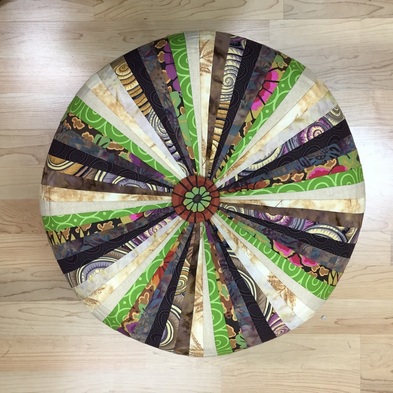
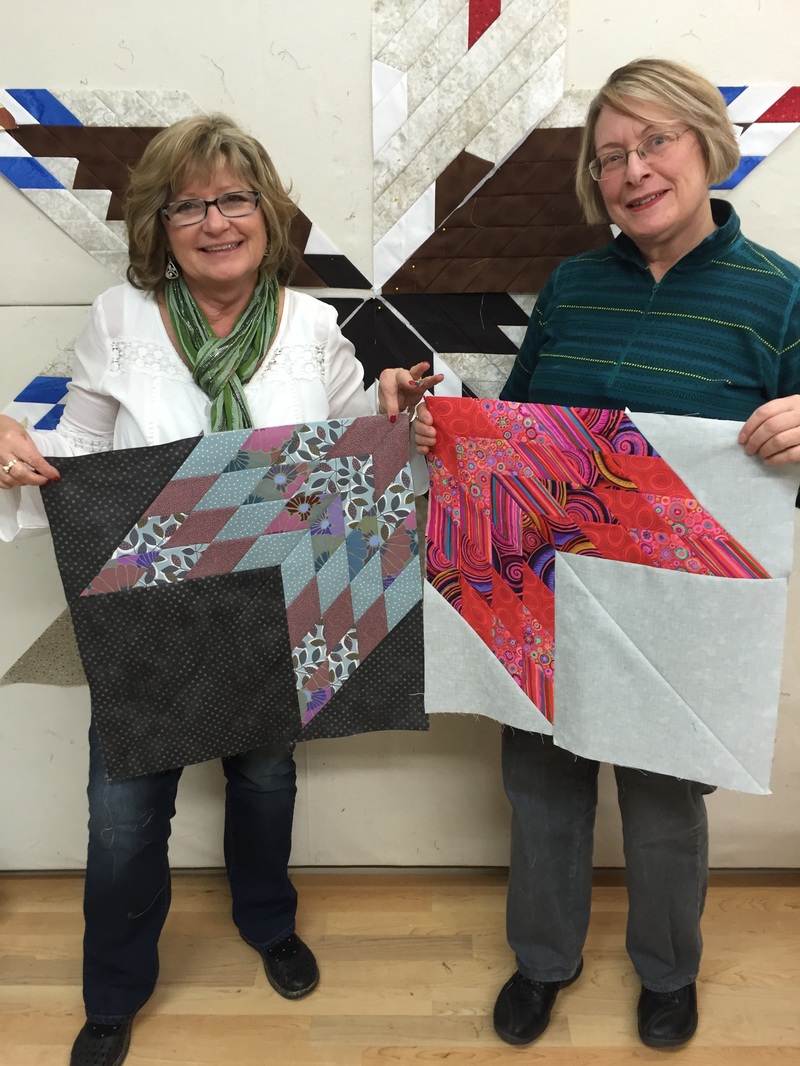
First up, tuffets! Here we have Elaine's first and Herni's third tuffets! Nice job, ladies!
|
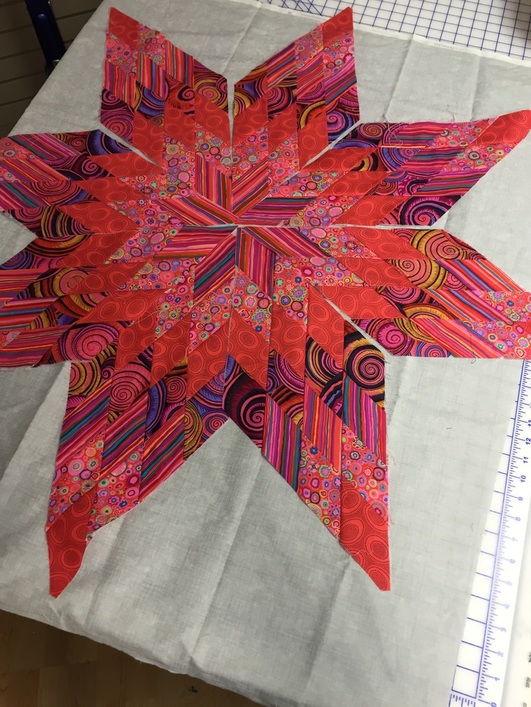
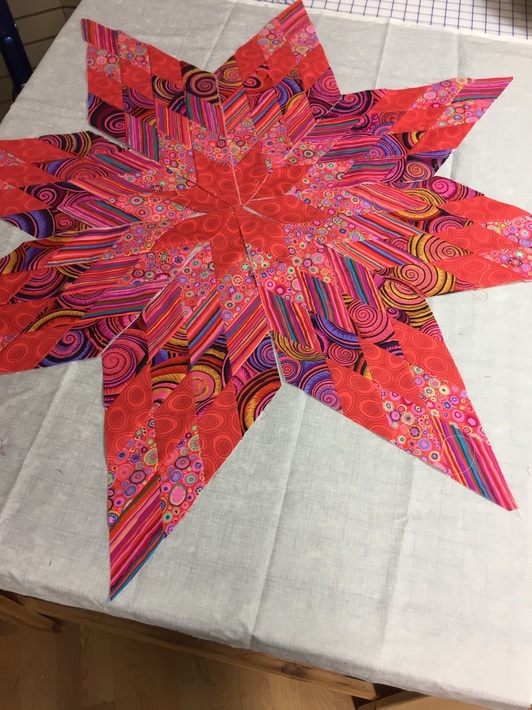
We had a busy couple of Thursdays at Quilt-agious in Mukwonago! I had three classes -- tuffets, a Lone Star quilt class, and a t-shirt quilt class. Those were some long, but fun, days! First up, tuffets! Here we have Elaine's first and Herni's third tuffets! Nice job, ladies! Next up: Lone Star quilts! We used the QuiltSmart foundation for these. The panel makes it easy to sew the diamond shapes without having to worry about wasting too much fabric. You can get these panels in a small or large size. For the first class, we work on the diamonds. For the second, we put it all together. I don't have photos of the t-shirt quilt class, but since it's a technique class, there's not too much to show. But we had fun!
0 Comments
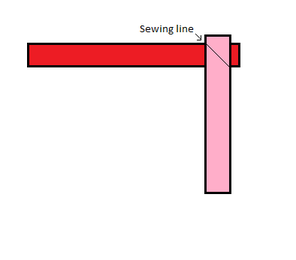
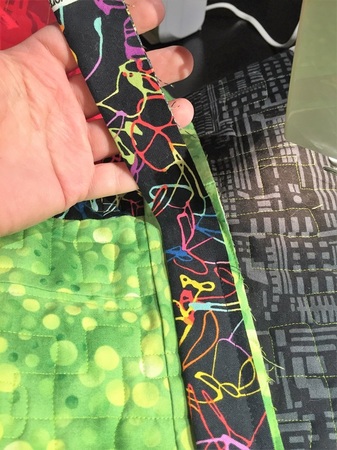
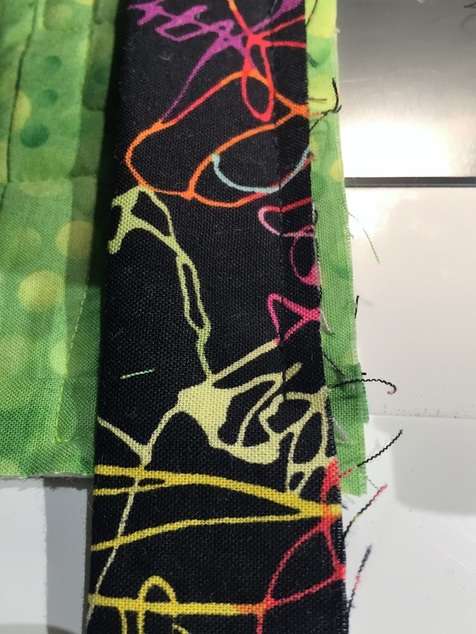
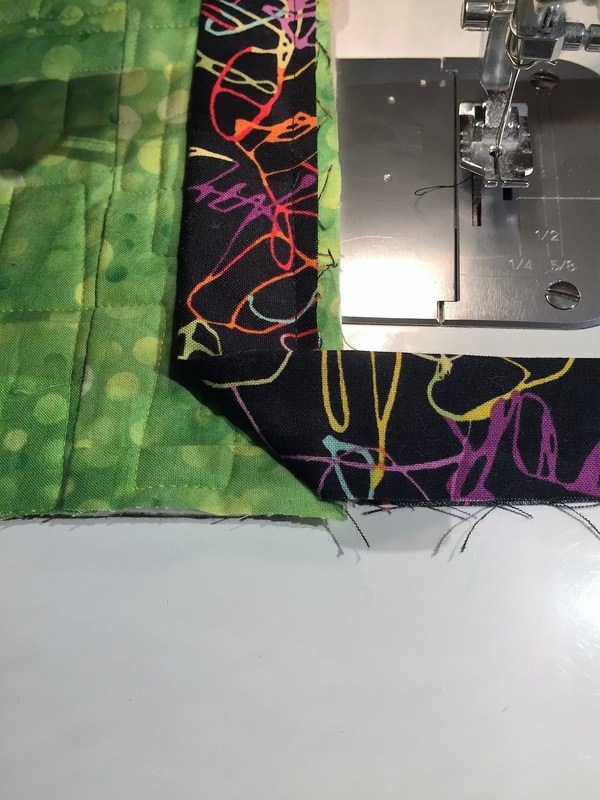
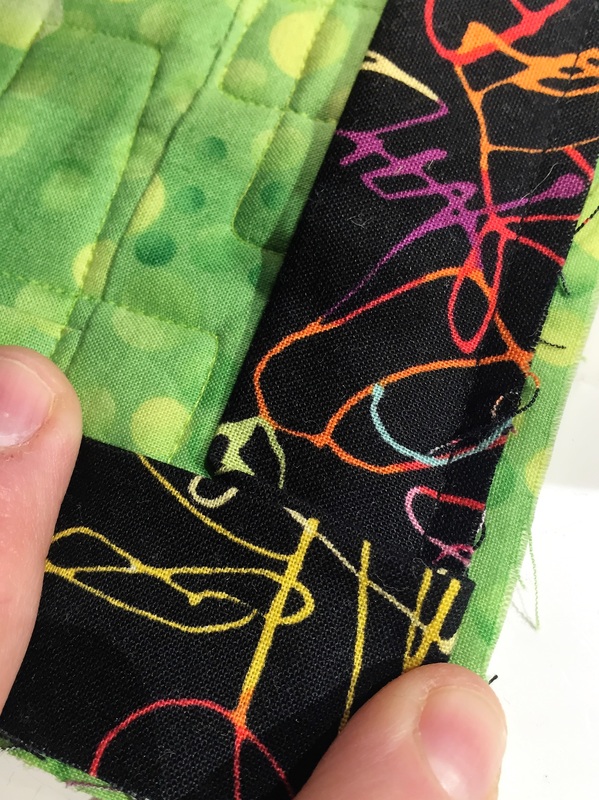
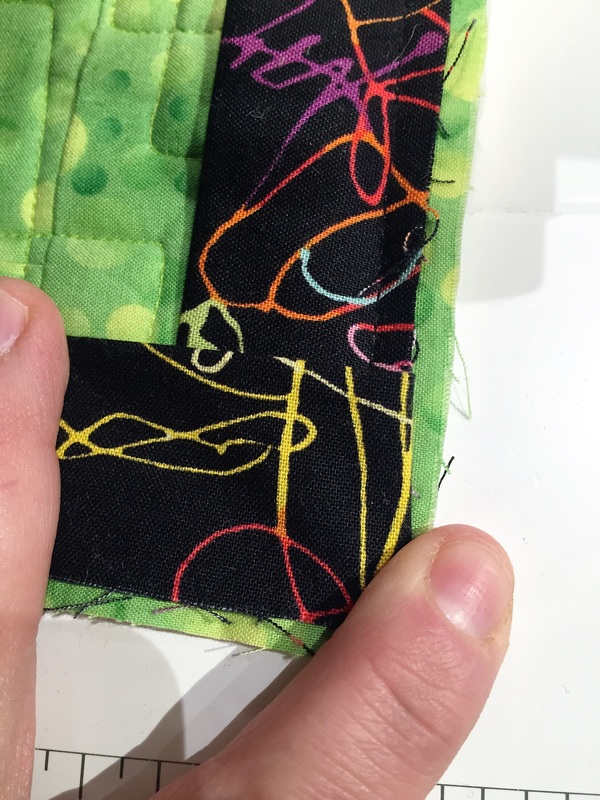
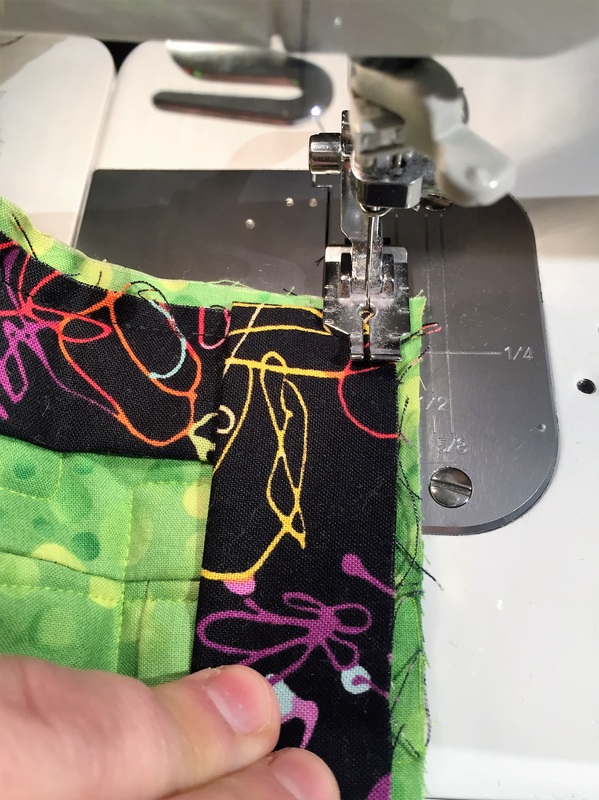
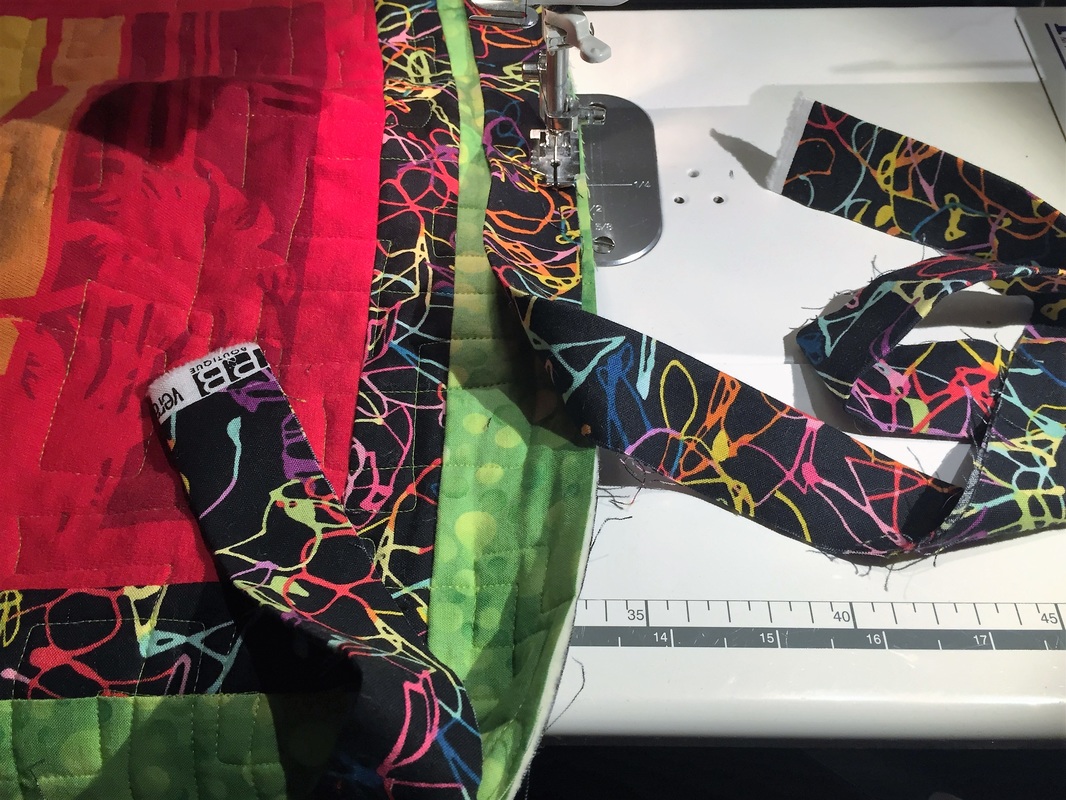
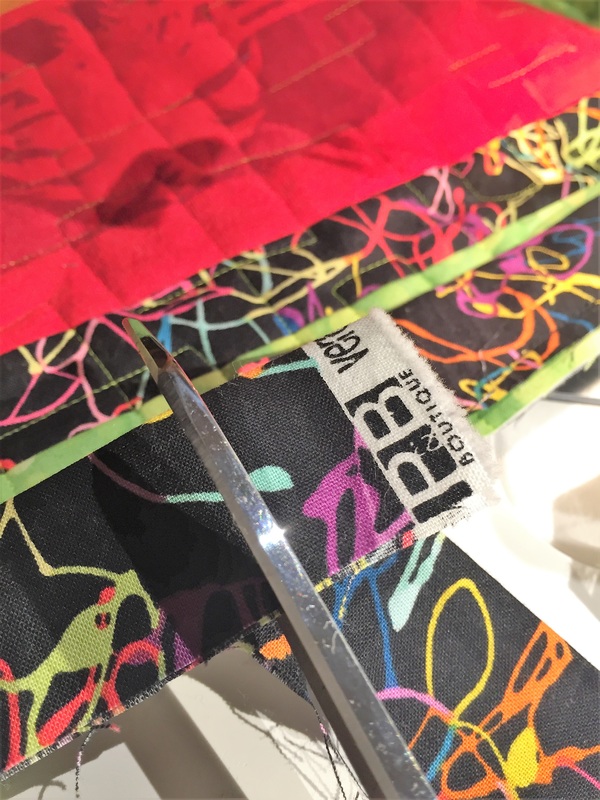
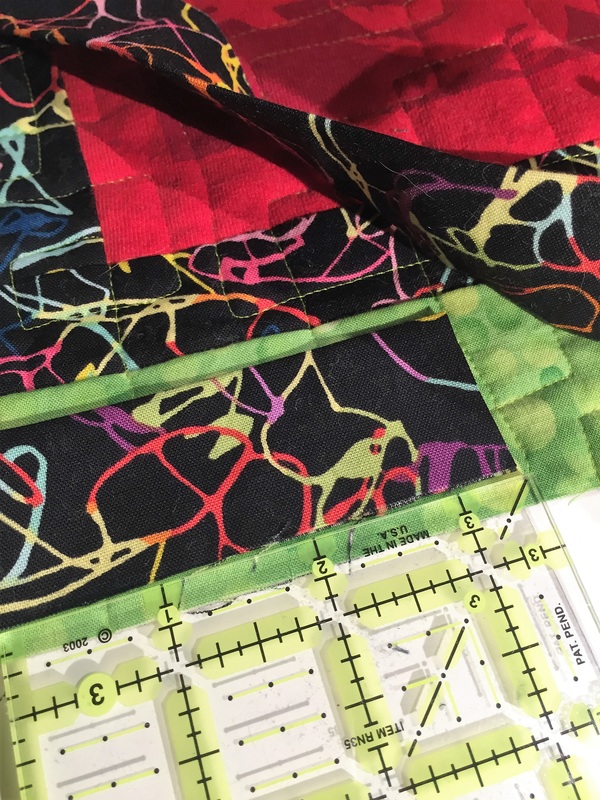
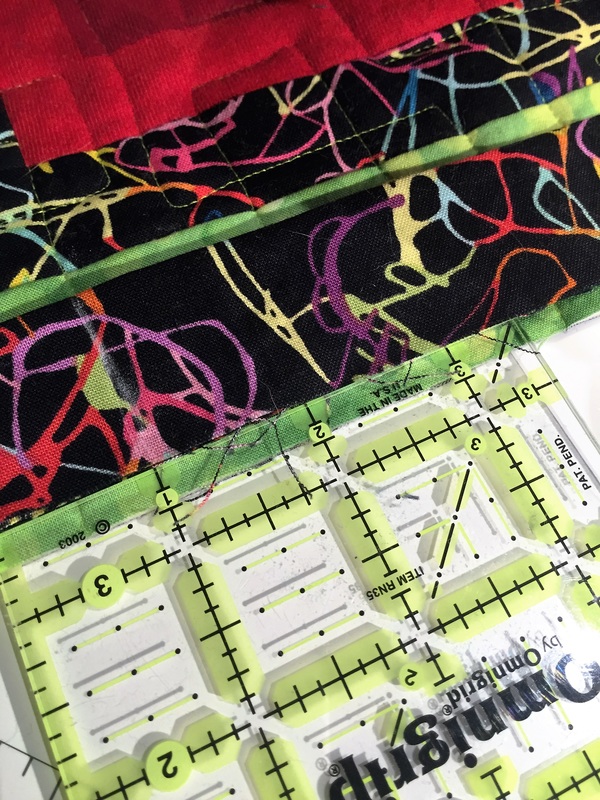
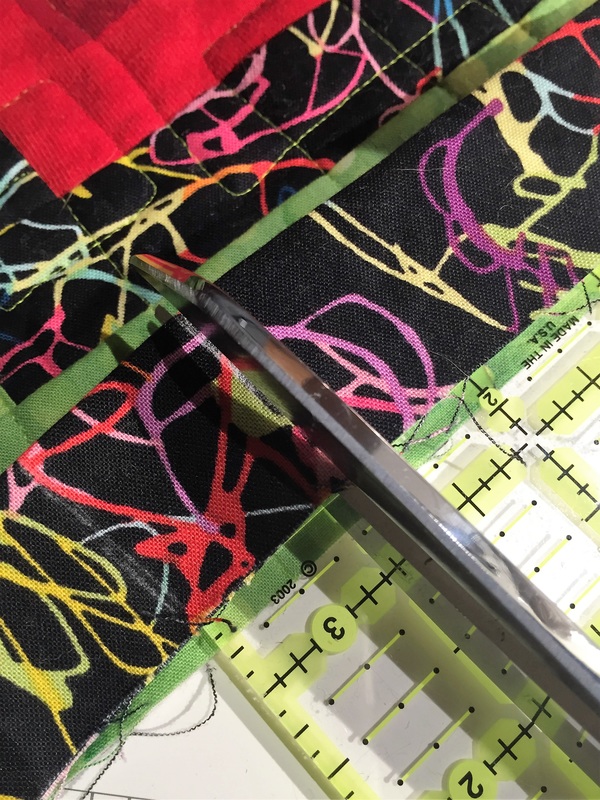
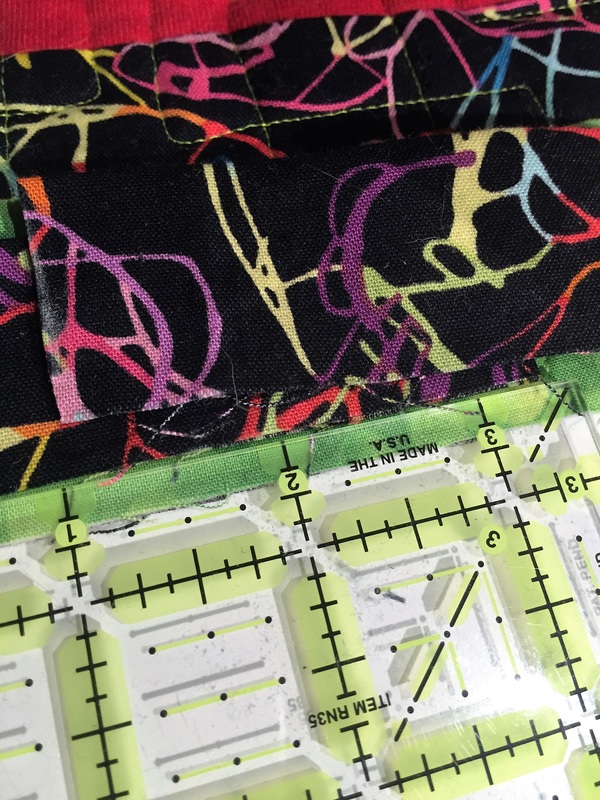
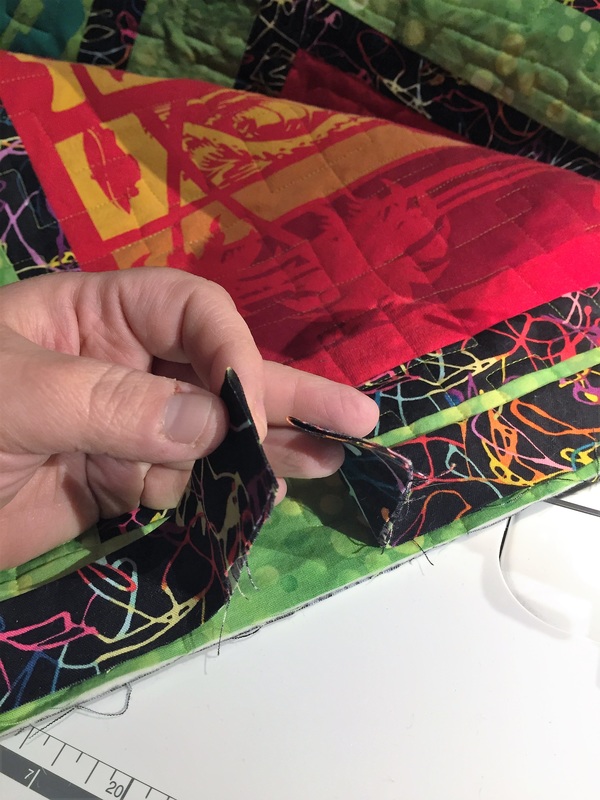
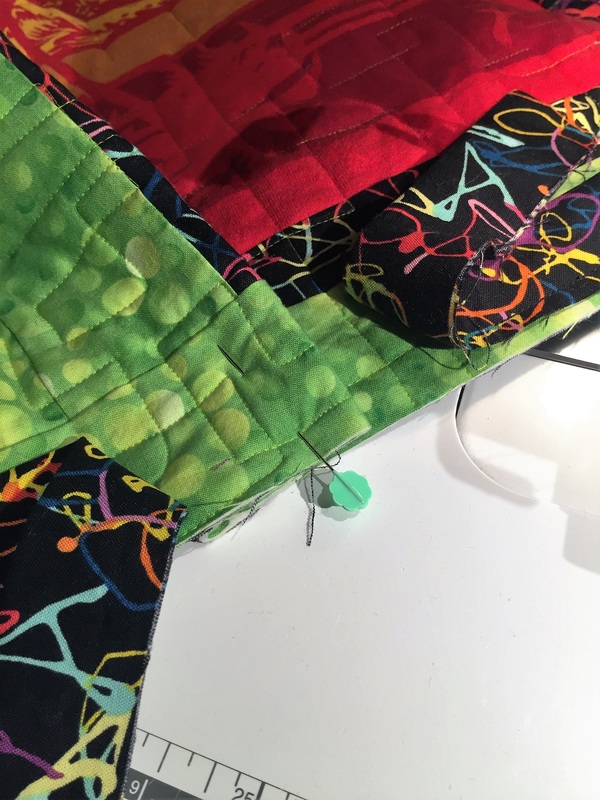
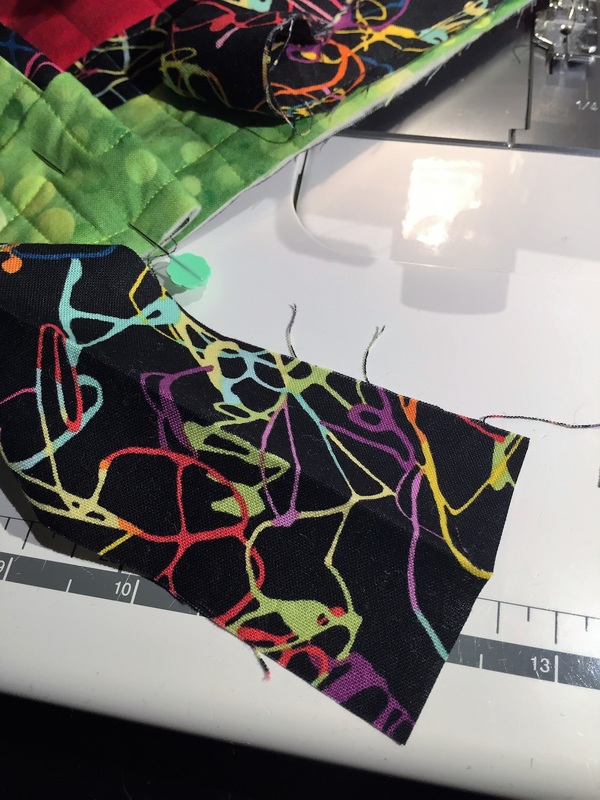
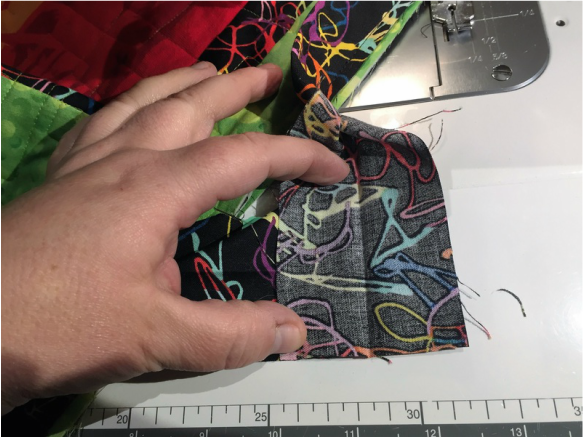
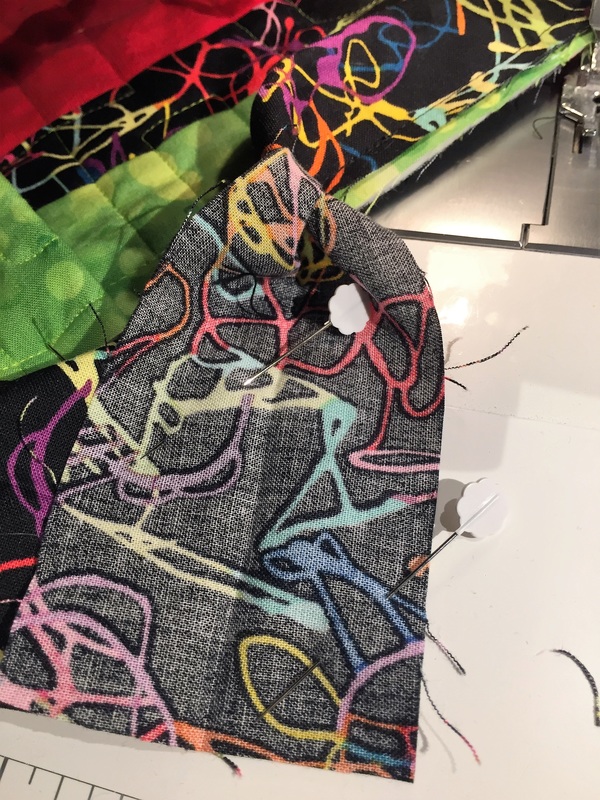
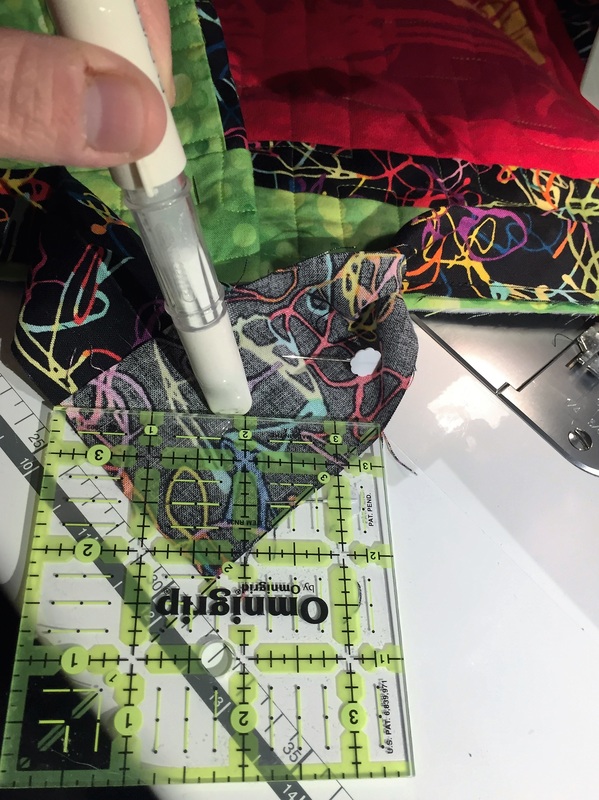
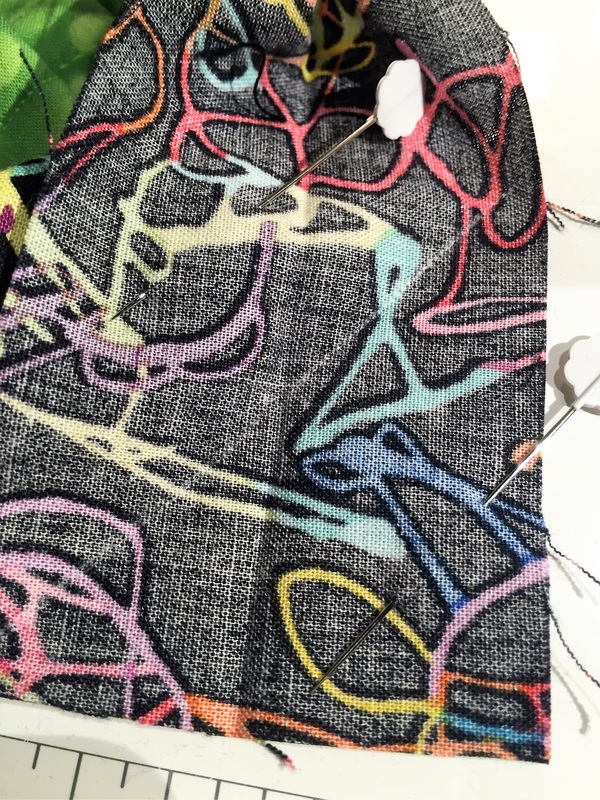
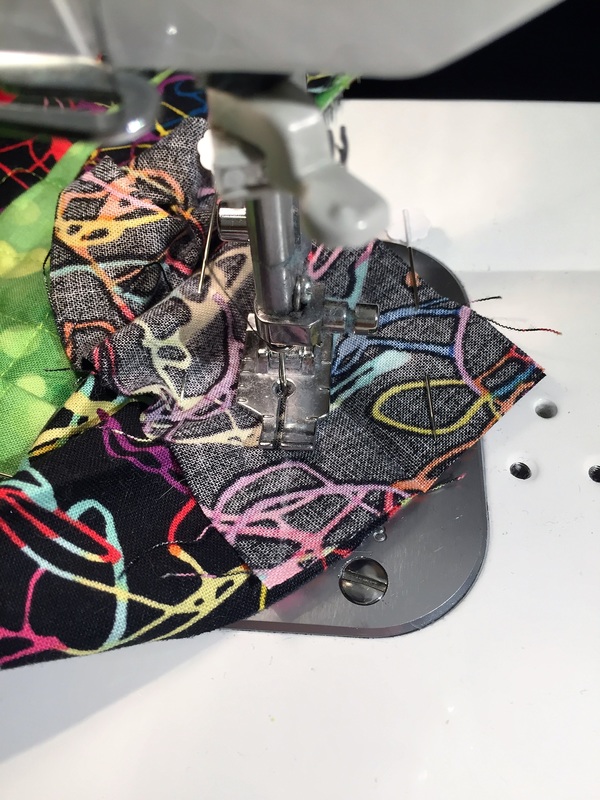
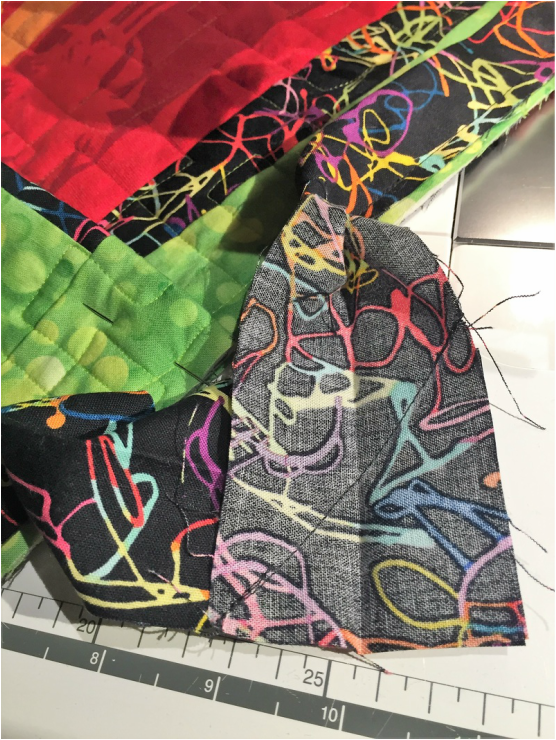
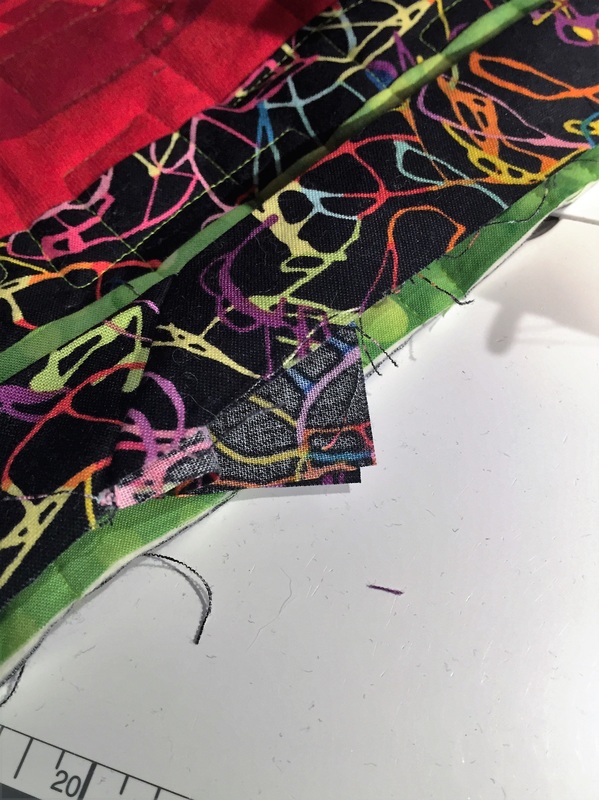
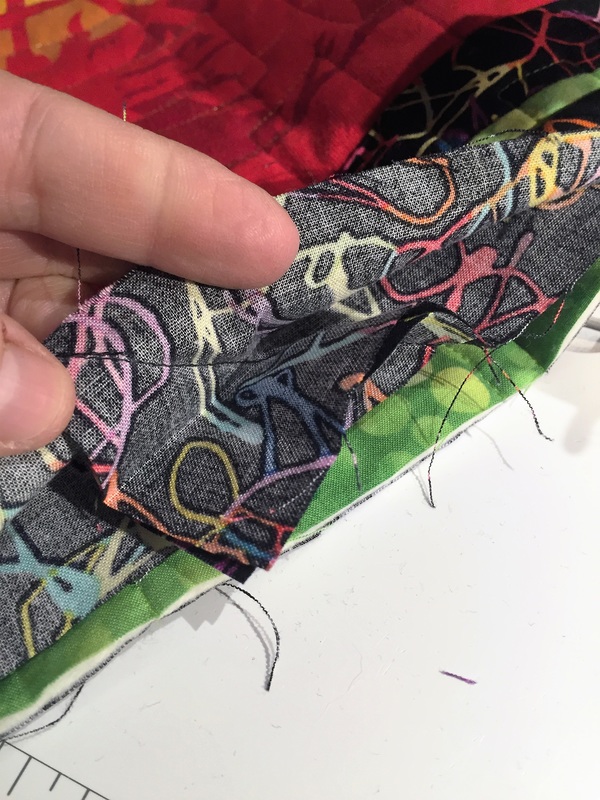
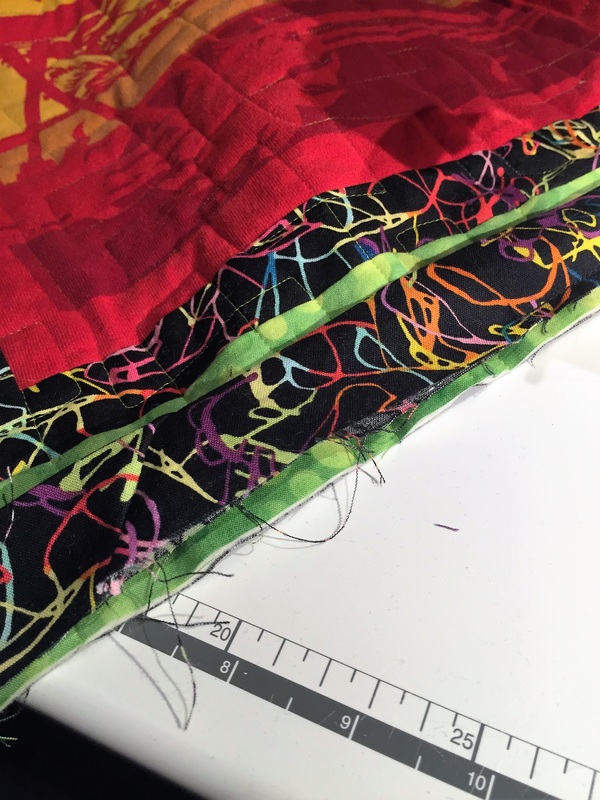
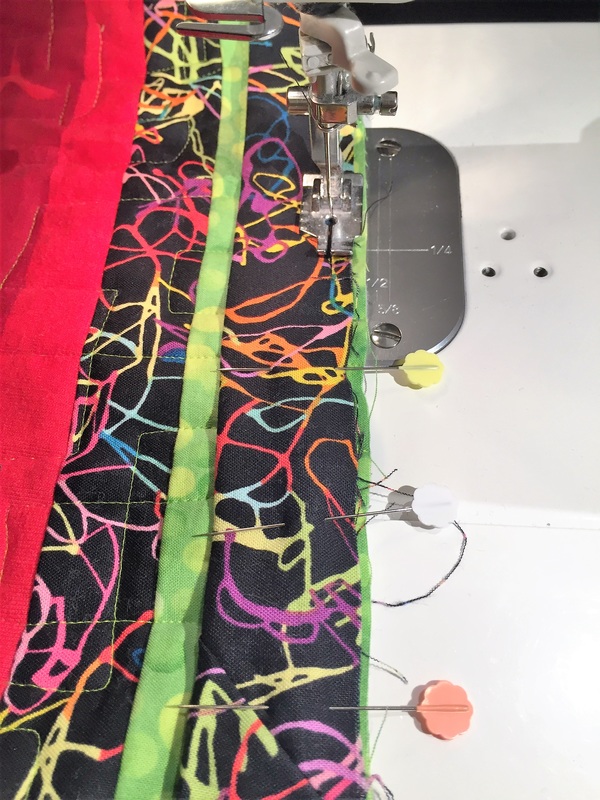
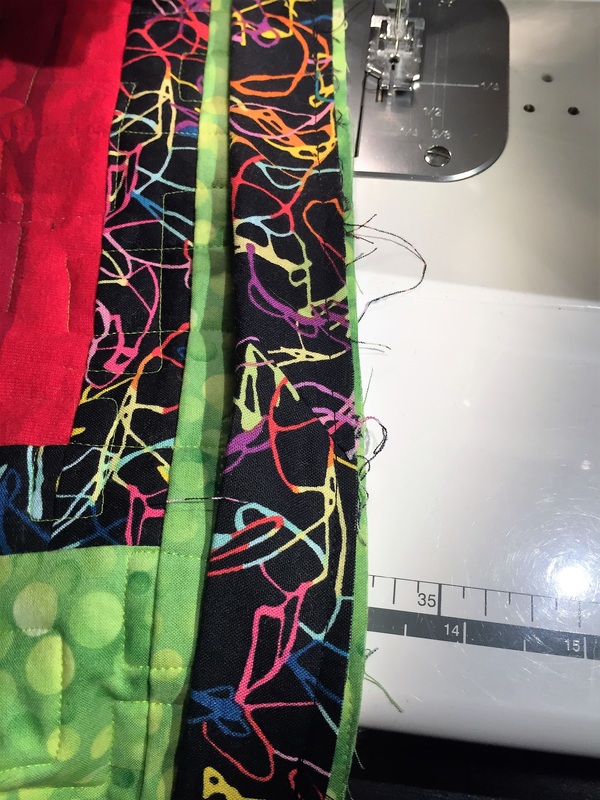
Ah bindings, the last step to complete before your quilt is finished. Well, you should put a label on, but I'll assume that you've already done that. When I started quilting, I used to just tuck the end of the binding into where I started. It worked okay, but I wasn't quite happy. Then I learned how to join my binding ends together. It's such a good look, and it's too hard, provided you slow down and give yourself space to work. How much fabric do you need? First, you want to figure out how much binding you need. To do that, measure the perimeter of your quilt, then add 12 inches to account for going around the corners. For example if your quilt is 70 x 85 inches, you would add 70 + 70 + 85 + 85 = 310 + 12 = 322 inches. Divide that number by 40 (a conservative width of fabric) to get 7.75. This is the number of strips you need to go around your quilt. We'll round that up to the nearest whole number 8. I like to cut my bindings at 2.5 inches, so 8 strips multiplied by 2.5 inches equals 20 inches. If I were buying this from a quilt shop, I'd buy 2/3 yard (24 inches) to account for washing and squaring up. Making the binding Join your 2.5 inch strips with a 45 degree angle seam so that you have one continuous length. Cut off the excess within the seam allowance and press your seams open. Then press the entire length of the binding wrong sides together. Trim dog ears. Attaching the binding I find a place to start, usually somewhere in the middle of one of the sides. I almost always lay out the binding as if I'm applying it to see if a seam is going to land at a corner. If it will, I adjust where I'm going to start. Once I've found a suitable place to start, I pin the binding to the quilt and take it to my machine. I trim my quilt before I put the binding on. Then I lay the binding about 1/8 inch inside the raw edge of the quilt. You want the raw edges of the binding to be toward the outside. I leave a starting tail of about six inches before I start stitching. Stitch with a 1/4 inch seam allowance. Stitch along merrily until you near the corner. Stop stitching 3/8 inch before the edge of the quilt. That 3/8 inch corresponds to the 1/4 inch seam allowance plus the extra 1/8 inch inside the edge that I've placed the binding. Backstitch. 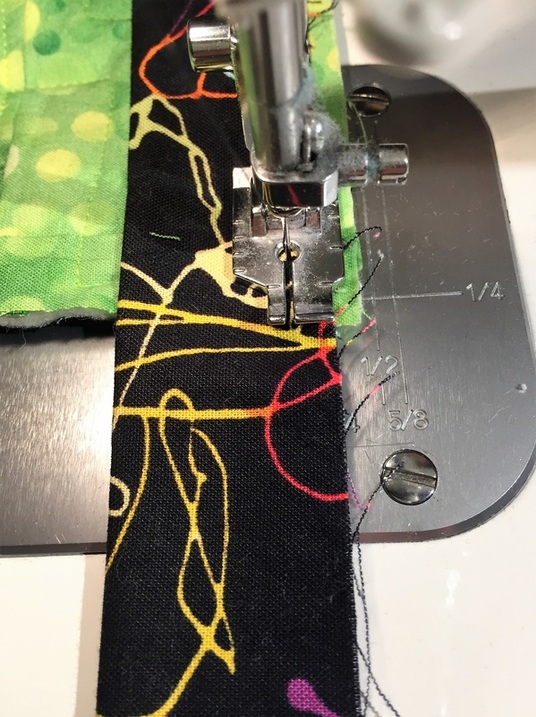 What? Oh right, I'm not using my walking foot. My walking foot for this machine is jammed, so I just lower my presser foot pressure and it works just fine. Notice that I have a little indentation (and mark) on my foot. That, and the mark on my throat plate, let me know where 1/4 inch from the needle is. I eyeball that extra 1/8 inch. This next part trips people up a little, but you'll get a chance to do it four times per quilt, so it'll be second nature before you know it. First, take the quilt out of the machine. Then fold the binding away from the direction you're going to be heading. The trick here is to make sure you make that fold exactly 45 degrees. You should be able to fold it back on itself and not be able able to see any fabric peeking out. At this point it's a good idea to pin the binding in place while you get it situated under the needle. Once you've got it placed, start at the edge of the binding and backstitch. Continue on this way, treating all of the corners the same way. When you get to the last side, stop about 8 or 9 inches from where you started stitching. Trim off any selvage from the starting tail. Now, I cut my binding 2 1/2 inches. If I had cut it, say, 2 1/4 inches, then that is the measurement I'd use for this next part. But we're sticking with 2 1/2 inches. What we're going to do is measure and cut our ending tail so that we have exactly a 2 1/2 inch overlap of the two ends. We are going to join these two ends with a 45 degree seam, just like when we made the binding. In order to do that, we need to bring the two ends together so that we can overlap them at that angle. I've pinned mine here to keep the bulk of the quilt out of the way. Before I trim the seam allowance to 1/4 inch, I'm going to unpin my quilt and make sure it lays correctly and that it's not twisted. I hope this tutorial helps you join those binding ends. No more tucked-in bindings!
|
Archives
November 2017
Categories
All
|

 RSS Feed