unSpooled
  • Home
  • Galleries
    • Tuffet Gallery >
      • Student Tuffet Gallery
    • Quilt Gallery
    • Costume Gallery
  • Retreats
  • Tuffets
    • Tuffet fabric requirements
  • Store
  • Blog
  • About
    • Contact
    • Newsletter
    • FAQ
  • Classes

tuffet mini-retreat

4/29/2016

0 Comments

 
So, you may or may not know that I'm holding a retreat at the Jones Mansion in Mineral Point, Wisconsin this June. If you didn't know that, you should check it out because it's going to be a lot of fun!

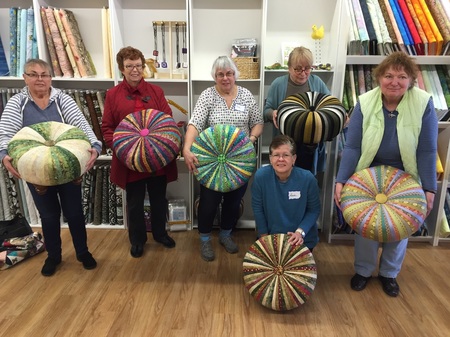
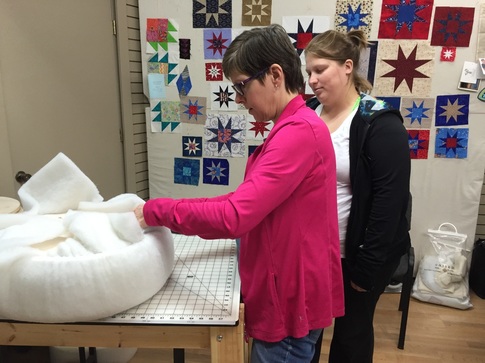
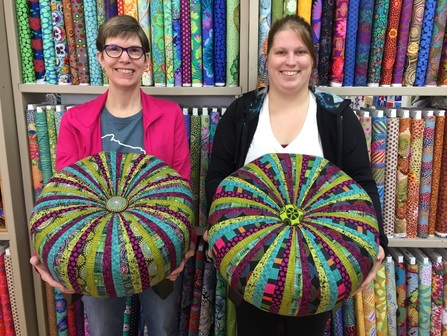
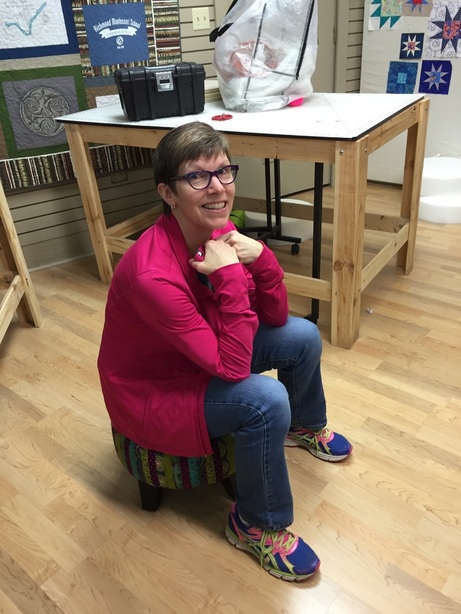
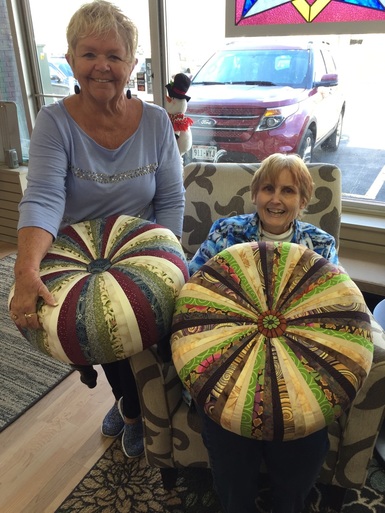
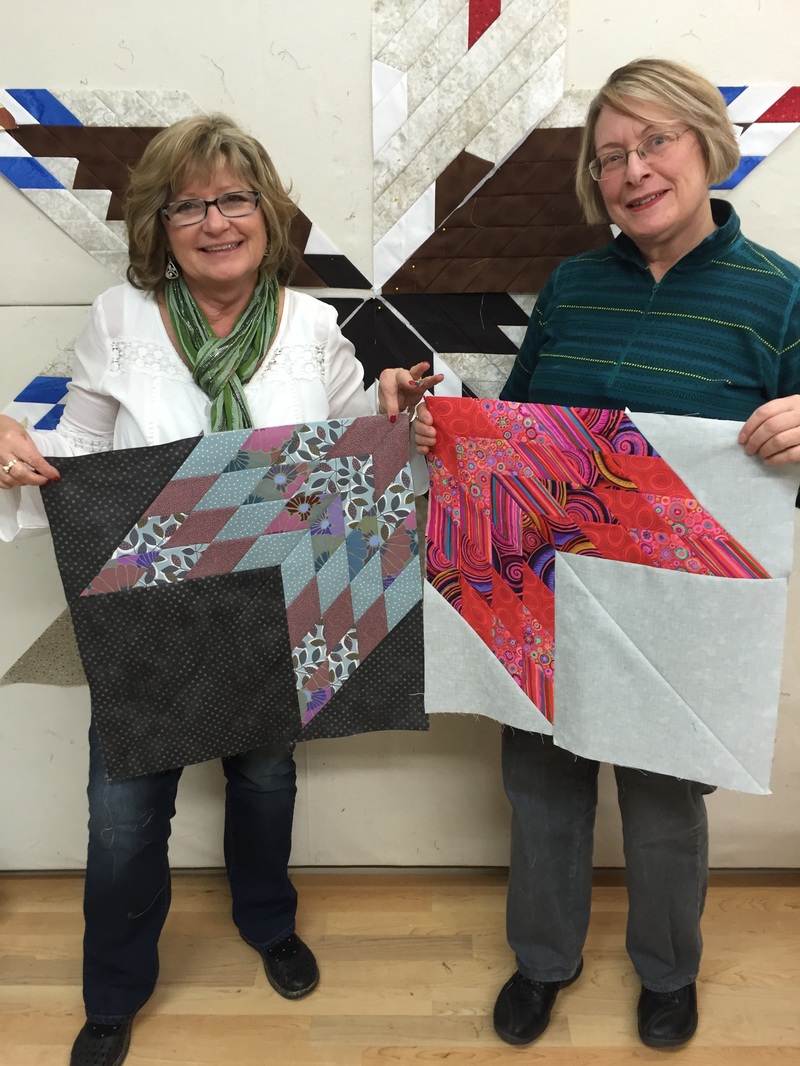
Anyway, I was honored to be asked to teach some members of a private retreat how to make tuffets. Lori, Hillyn, Jane, and Marcia all had a great time!
Picture
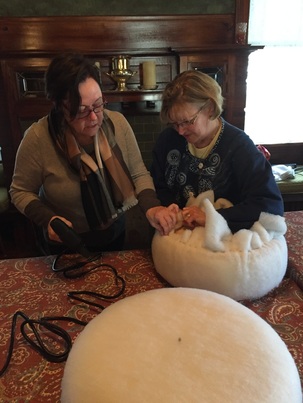
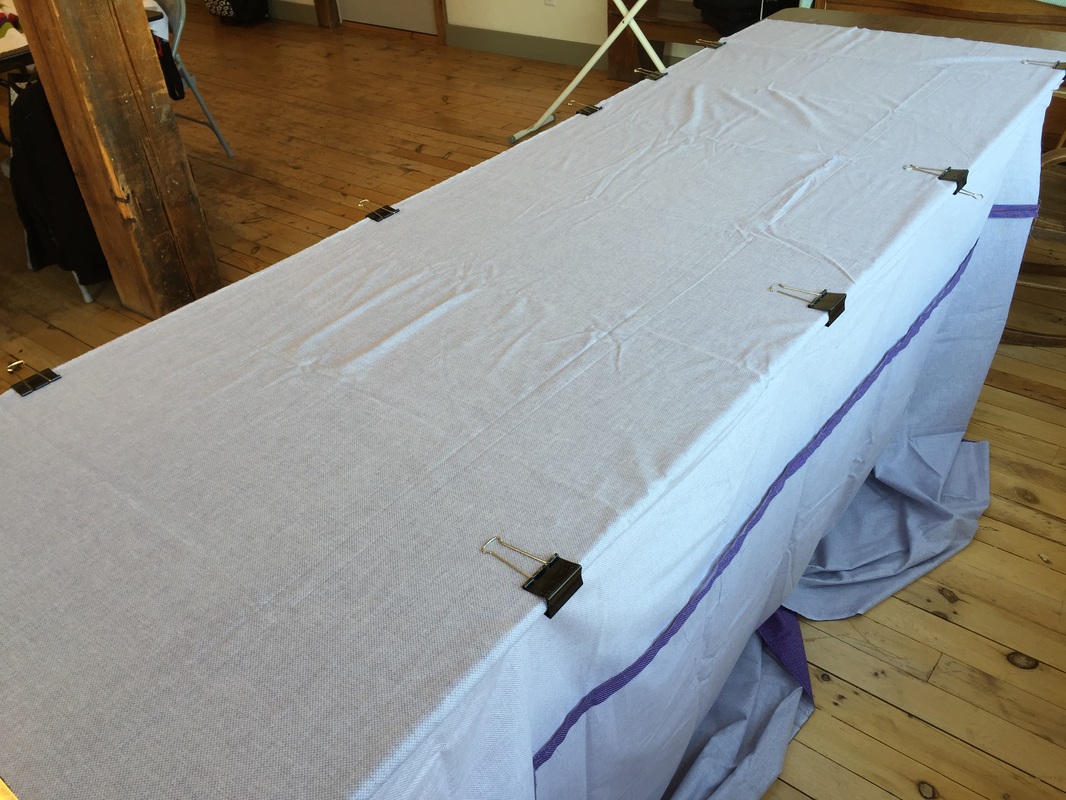
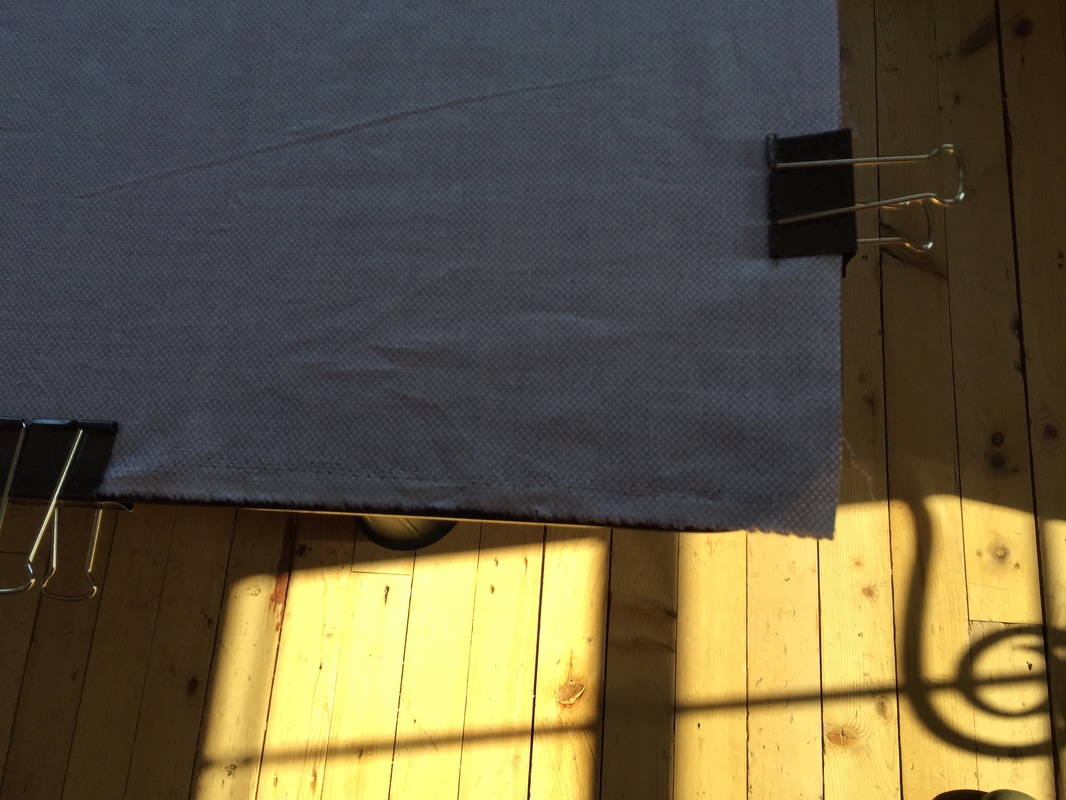
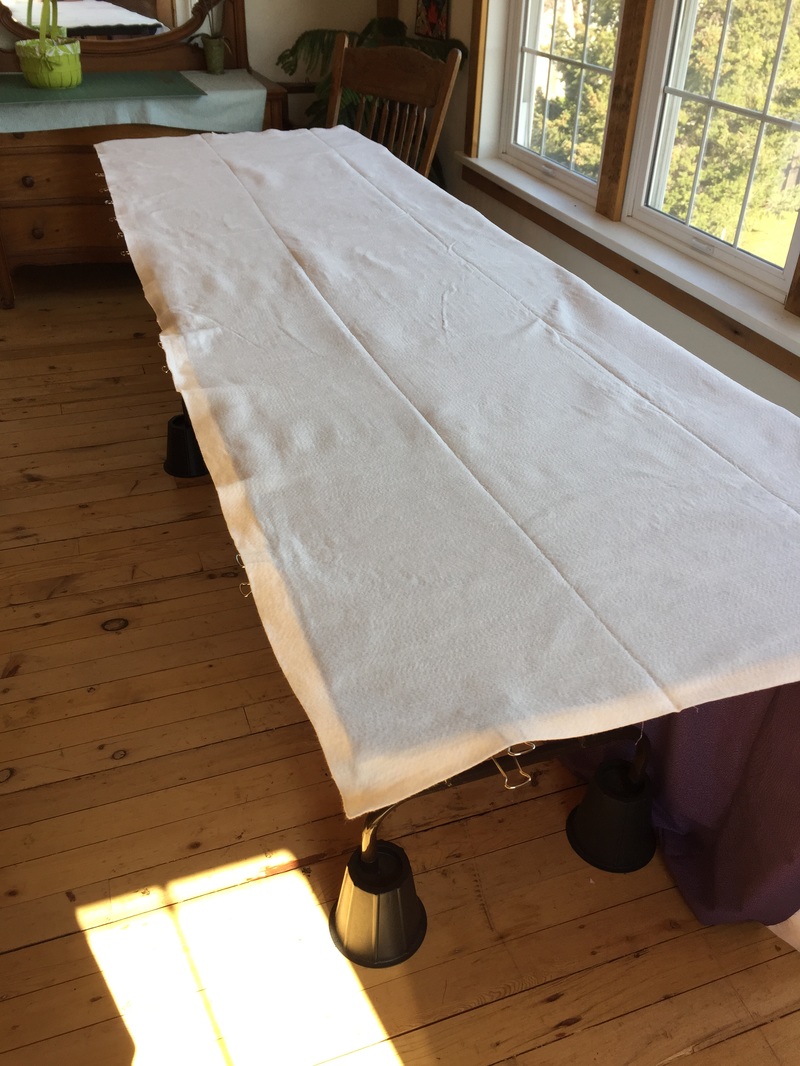
Working together to make their forms.
Picture
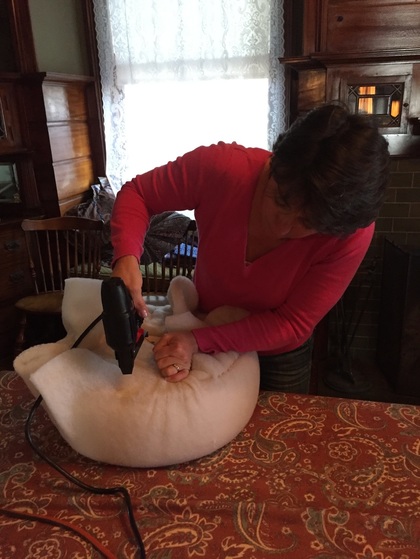
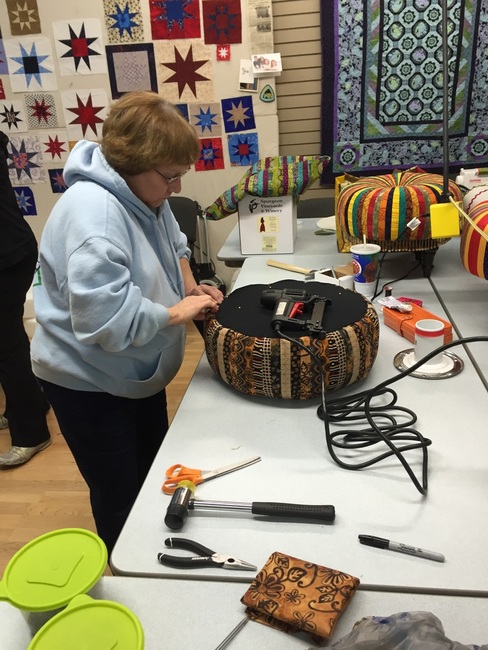
Lori does not fear the stapler!
Picture
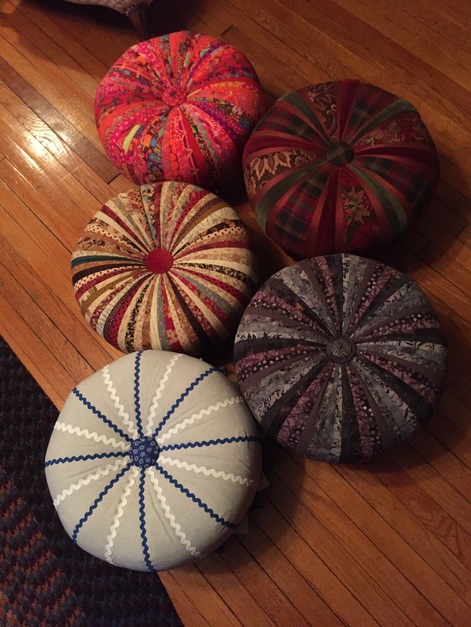
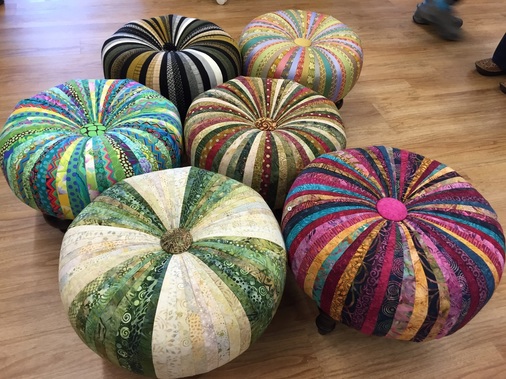
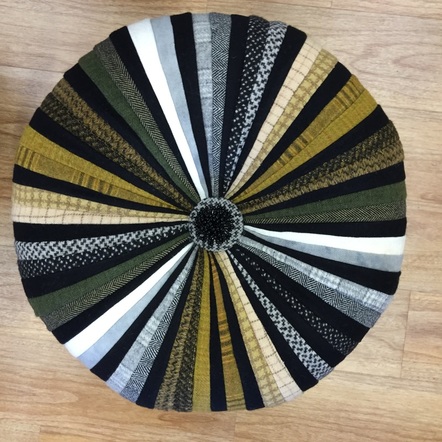
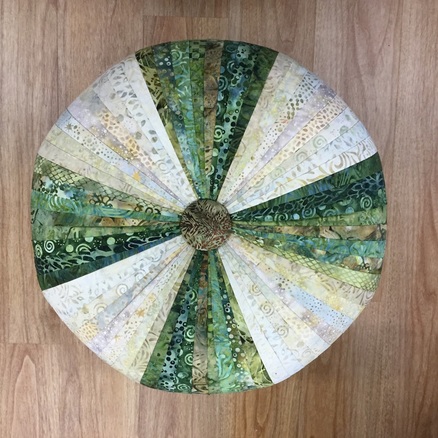
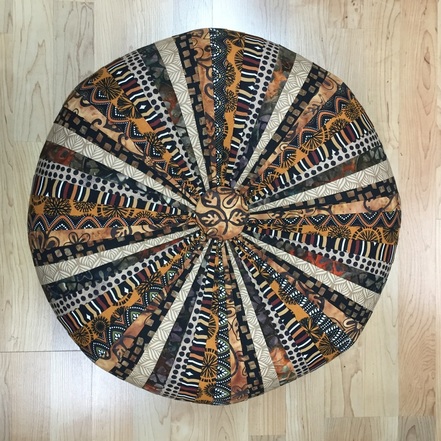
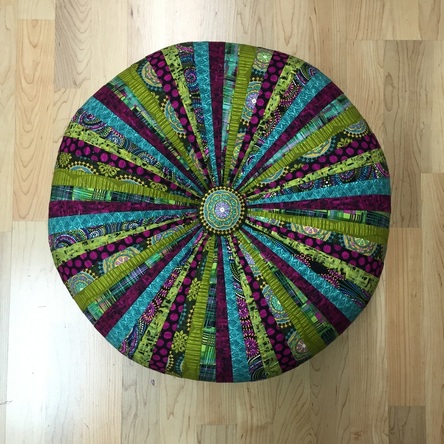
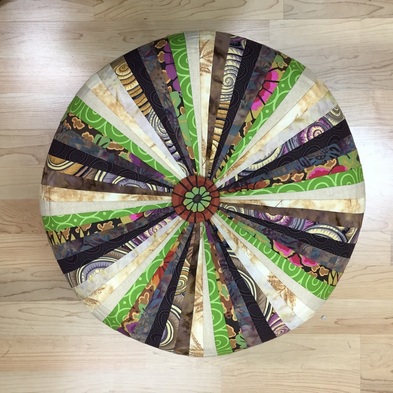
Sadly, I don't have top-down photos of all of these like I usually do -- it was dark when we finished. But I did get one of Lori's tuffet, which she created from fabrics that are already on furniture at the Mansion, so it fits right in! She also did a great job cutting her plaids so they all match, and working with very squirrely velveteen.
Picture
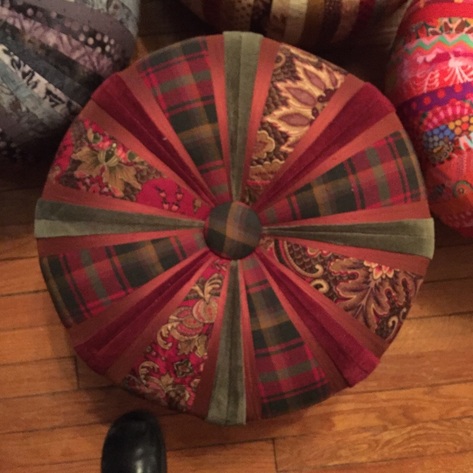
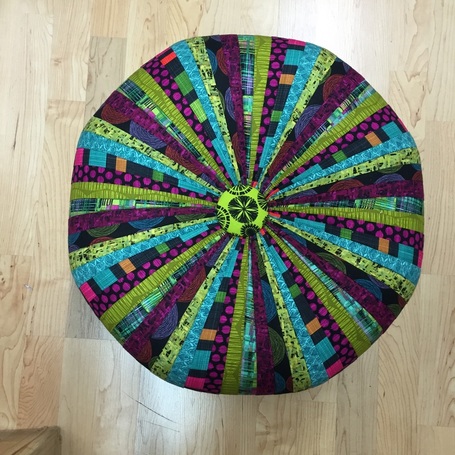
Stunning. Excuse my foot!
Picture
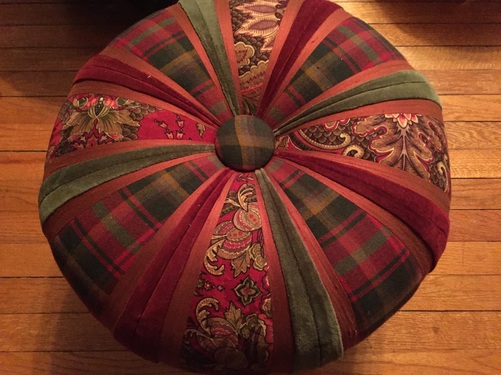
What a great job she did!
0 Comments

how to baste a quilt without breaking your back, part 2

4/19/2016

0 Comments

 
In my previous post, I showed you what you need to baste a quilt without breaking your back. Now it's time to get started!

So, the first thing I did was put my folding table on bed risers. This will raise it to more of a counter height and will help you from bending over as much. Shorter people might not need the bed risers. I've seen people use lengths of PVC pipe too, but bed risers work really well.

Lay out your backing on the large table, right side down. Make sure the backing is flat, but not stretched. Secure with binder clips, or masking tape if your top isn't too big. There are a few minor waves in this photo, but nothing that will cause a pleat in your quilt. 
Picture
Here you can see that I used the corner of the table to help make sure the backing is straight on the table.
Picture
Lay your batting out on top of the backing. You can see here where the batting is hanging over the edge of the table by a couple of inches. That will help you to hold on to your quilt while you're quilting it. You can also see the bed risers!
Picture
Next, peel back the batting and spray. If you chose to use pins, you would, of course, skip this step. 
Picture
Not really an action shot; just pretending to be one.
Smooth the batting back down.
Picture
Now lay your top down. Note that I am only placing it here; there is no adhesive yet. I'm using the corner of the table again to ensure that it is straight.
Picture
Now that you know how your top will be placed, peel it back and spray the top of the batting.
Picture
Lay the top down and smooth. Note that you will only be able to smooth down the part where you sprayed; in this case, it's only where the white fabric is.
Picture
The blue lines are for my reference while quilting later.
Now, unclip your binder clips and slide the quilt -- the part that's basted -- off the table. Remember that up until now I have only basted the part which is solid white. That's the part hat's hanging off of the table. Reclip.
Picture
Now flip the quilt top and the batting over where you just placed your binder clips, and smooth the rest of the backing and clip that down.
Picture
Here you can see the batting and top hanging off of the edge of the table.
Picture
Lift the batting and spray, only covering the area that will be on the table in the next step (in other words, don't spray the rest of the batting, just the next 24 inches, or however wide your table is). Then smooth it down.
Picture
Not completely smoothed yet -- look how weird it is at the top. But you get the picture.
Spray the top of the batting.
Picture
Still a faked action shot!
Smooth the top down as before. Then, repeat the unclipping and sliding the quilt until you reach the last part.
Picture
Basically, you're going to repeat this until you're finished. If your quilt is longer than your table, repeat the same steps, but you might be able to get away with turning the quilt 90 degrees to get he bottom part.

And that's it! I usually flip the quilt over to the back side and smooth out the backing one more time. All of the clipping and unclipping can make things shift, and it will help the temporary adhesive adhere better anyway. On to quilting!
Picture
Yes, it can hold up to this much pushing and manipulating. A pin every 24 inches or so wouldn't hurt, but I haven't done it here.
Thanks to my friend Shara for her quilt top. I'll be sure to post when I'm done quilting it for her!
0 Comments

how to baste a quilt without breaking your back, part 1

4/17/2016

0 Comments

 
We've all been there: on the floor, bending over, trying to not disturb our perfectly-laid-out quilt. It's awful, it hurts your back, it hurts your knees, etc. And to top it all off, unless you can suspend yourself over the quilt like Tom Cruise in Mission Impossible, you're going to have to crawl on your quilt in order to pin in the middle. Yuck.

In this post, I'm going to show you in photos how to baste your quilt using a table. It keeps it off the floor, it saves your back and knees, and you can do it yourself.

To start off, you need the following:

A large table. It's great if you have one of those older, heavy folding tables. Not the white, lightweight ones that bounce around when you sew on them. It's easier if you have one of those heavy ones that looks like this:
Picture
Big old heavy table.
If you don't have one like this, that's okay -- your local quilt shop probably does, and they are usually happy to let you use their classroom if there is no class in it. 

The next thing you need are a bunch of these:
Picture
1 inch binder clips
If you only have access to a thicker table than these will fit, you can get by with masking tape.

Next on the list, either of these:
Picture
Picture
Curved safety pins -- not the big ones!
Both of these options have their pros and cons.

The benefit of the spray (and I recommend 505, not the stuff in the pink or blue cans) is that it's quick. I also find that it's not too stinky. Some people insist that it be sprayed outside, and if you have breathing issues, I certainly would, but I use it inside my house and have had no issues with the smell, or even with overspray. However, if you don't want to spray it inside, note that it will take two people (one to hold the batting and the other to spray), and that weather will be an issue. Certainly that would be a con! The other is that it gets used up, so it's an ongoing expense. Also, because the spray won't hold up if you, say, catch your sandwiched quilt on the edge of the table, I often will put a few curved safety pins in the corners and every so often just to be safe.

The benefit of the curved safety pins is that they are reusable, and they are permanent. Note that if you leave them in your quilt for a really long time, they can leave holes that are difficult to get out. The newer ones shouldn't rust, and I haven't ever had a problem with them. The cons are that they only hold where they are located (as opposed to spray which holds everywhere), and they take a really long time. They can also wreak havoc on a manicure.

Theoretically either form of basting should work with this method, but I find that because the is some smoothing involved, spray makes more sense. Smoothing things out with pins means moving all of those pins. Again, yuck.

Next post? Getting started!
0 Comments

velvet and lace

4/10/2016

0 Comments

 
I was honored to make this dress for one of the skaters on the adult synchro team. She wanted the skirt a little longer so I added a strip of the velvet fabric with a slightly shorter strip of lace overlaid on top of it. The pattern is the Carmen dress from Jalie. I cant wait to see her skate in it!
Picture
Picture
0 Comments

Tuffets at Quintessential Quilts in madison

4/7/2016

0 Comments

 
We had a great time making tuffets at Quintessential Quilts in Madison! If you haven't been to QQ in a while, you should check them out -- they've expanded their space and added fabric and a beautiful classroom. They share a parking lot with Target and Michaels behind East Towne Mall. Tell them I sent you! ;-)
Picture
Happy tuffeteers!
Picture
Picture
Hints of silk dupioni and fabric from the Netherlands!
Picture
This tuffet is ALL WOOL!
Picture
Picture
Picture
Picture
0 Comments

mill house quilts

4/5/2016

2 Comments

 
I'm happy to announce that I'm teaching classes at Mill House Quilts in Waunakee! These are all new classes and different from what you've seen from me so far. I'm excited to be teaching at this shop, which has been around for quite a while but is under new ownership. 
Picture
My still-unquilted sample.
I'm also teaching the ferociously popular Fold N Stitch Wreath pattern. Here's my spring-y version. This class will be held on Thursday, May 5. You know you want to!
Picture
2 Comments

more mukwonago tuffets

4/3/2016

0 Comments

 
We had fun making more tuffets at Quilt-agious a couple of weekends ago. What can I say, I love that shop! And it's the only area shop that has a certified TuffetSource instructor (that would be me). Unfortunately, I'm better at teaching people how to make tuffets than I am at getting photos sometimes -- I'm missing one from this group. But on to the show!
Picture
Making the tuffet form!
Picture
Making sure the bottom is on correctly.
Picture
Like mother like daughter -- it applies in the tuffet world, too!
Picture
Picture
Picture
Picture
Little Miss Muffet?
0 Comments

quilt-agious happenings

4/1/2016

0 Comments

 
We had a busy couple of Thursdays at Quilt-agious in Mukwonago! I had three classes -- tuffets, a Lone Star quilt class, and a t-shirt quilt class. Those were some long, but fun, days! 

First up, tuffets! Here we have Elaine's first and Herni's third tuffets! Nice job, ladies!
Picture
Picture
Elaine's tuffet.
Picture
Henri's tuffet. They're both so pretty!
Next up: Lone Star quilts! We used the QuiltSmart foundation for these. The panel makes it easy to sew the diamond shapes without having to worry about wasting too much fabric. You can get these panels in a small or large size. For the first class, we work on the diamonds. For the second, we put it all together.
Picture
Stripe in the center....
Picture
... or stripe on the outside?
Picture
She chose the outside! Here are Penny (left) and Shar showing off their Lone Star quarters. Check out Cat's in the background. She was making an eagle!
I don't have photos of the t-shirt quilt class, but since it's a technique class, there's not too much to show. But we had fun!
0 Comments

    Archives

    November 2017
    September 2017
    July 2017
    May 2017
    April 2017
    February 2017
    January 2017
    December 2016
    September 2016
    August 2016
    July 2016
    May 2016
    April 2016
    March 2016
    February 2016
    January 2016
    December 2015
    November 2015
    October 2015
    September 2015
    August 2015
    July 2015
    June 2015
    May 2015
    April 2015
    March 2015

    Categories

    All
    Blog Hop
    Classes
    Commissions
    Focus Through The Prism Challenge
    Quilts
    Shop
    Shows
    Skating
    Student Tuffets
    TBT
    Troubleshooting
    T Shirt Quilts
    T-shirt Quilts
    Tuffet
    Tuffet Retreat
    Tuffets
    Tutorials
    Website

    RSS Feed

All images on this site are (c) unSpooled, LLC. Thanks for reading this far. You want to make a tuffet, right? Don't forget to like unSpooled on Facebook!