In this post, I'm going to show you in photos how to baste your quilt using a table. It keeps it off the floor, it saves your back and knees, and you can do it yourself.
To start off, you need the following:
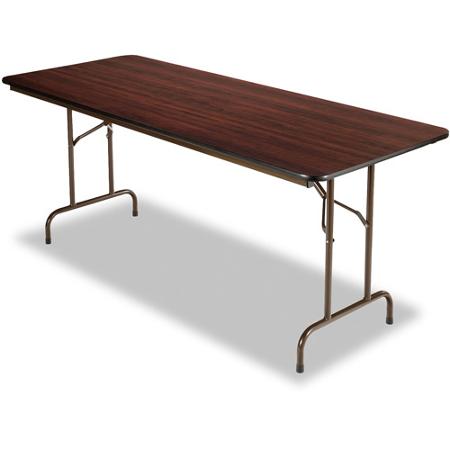
A large table. It's great if you have one of those older, heavy folding tables. Not the white, lightweight ones that bounce around when you sew on them. It's easier if you have one of those heavy ones that looks like this:
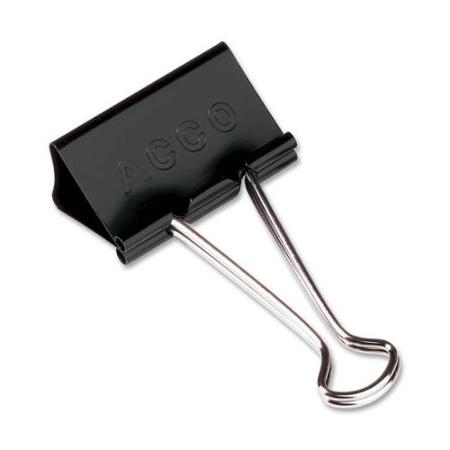
The next thing you need are a bunch of these:
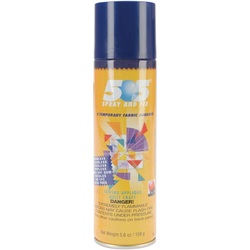
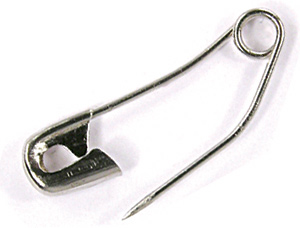
Next on the list, either of these:
The benefit of the spray (and I recommend 505, not the stuff in the pink or blue cans) is that it's quick. I also find that it's not too stinky. Some people insist that it be sprayed outside, and if you have breathing issues, I certainly would, but I use it inside my house and have had no issues with the smell, or even with overspray. However, if you don't want to spray it inside, note that it will take two people (one to hold the batting and the other to spray), and that weather will be an issue. Certainly that would be a con! The other is that it gets used up, so it's an ongoing expense. Also, because the spray won't hold up if you, say, catch your sandwiched quilt on the edge of the table, I often will put a few curved safety pins in the corners and every so often just to be safe.
The benefit of the curved safety pins is that they are reusable, and they are permanent. Note that if you leave them in your quilt for a really long time, they can leave holes that are difficult to get out. The newer ones shouldn't rust, and I haven't ever had a problem with them. The cons are that they only hold where they are located (as opposed to spray which holds everywhere), and they take a really long time. They can also wreak havoc on a manicure.
Theoretically either form of basting should work with this method, but I find that because the is some smoothing involved, spray makes more sense. Smoothing things out with pins means moving all of those pins. Again, yuck.
Next post? Getting started!


 RSS Feed